
That first sip of coffee should be pure bliss, not a bitter disappointment. When your Keurig starts brewing slow, leaves grounds in your cup, or serves lukewarm coffee, it’s screaming for attention. Vinegar cleanings take forever and leave lingering odors, but there’s a faster solution hiding in plain sight: Keurig rinse pods. This guide reveals exactly how to clean Keurig with rinse pod in under 10 minutes—no messy measurements or vinegar fumes. You’ll restore peak performance while keeping your machine coffee-ready faster than traditional methods.
Rinse pods contain food-grade citric acid solution engineered specifically for Keurig systems. They dissolve coffee oils, mineral deposits, and stubborn residue from internal components like the brew chamber and exit needle. Unlike vinegar, they leave zero chemical taste or odor, making them perfect for regular maintenance. By the end of this guide, you’ll know precisely when to use rinse pods, how to execute the cleaning cycle flawlessly, and how to prevent future buildup—all while avoiding common pitfalls that ruin your machine.
When Rinse Pods Become Essential
Spot These Warning Signs Immediately
Sluggish brewing that turns your morning routine into a waiting game? That’s your Keurig begging for a rinse pod. Bitter coffee tasting like stale leftovers, visible grounds floating in your cup, or abnormal grinding noises during operation all signal critical buildup. If your coffee arrives barely warm or you notice residue clinging to the drip tray, don’t wait—these aren’t minor glitches but urgent red flags requiring immediate cleaning.
Set Your Cleaning Schedule Based on Usage
Casual coffee drinkers brewing 1-2 cups daily should run a rinse pod every 3-4 weeks. Heavy users chugging 3+ cups need maintenance every 2 weeks to prevent clogs. After flavored K-Cups like caramel or mocha, clean immediately—sugary residues crystallize fast. Emergency clean at the first sign of slow flow or off-tastes; delaying causes permanent damage to internal components.
Quick Pre-Clean Setup
Power Down Safely
Unplug your Keurig and let it cool completely before starting. Remove any used K-Cup pod stuck in the holder—old grounds will sabotage your cleaning cycle. This step prevents electrical hazards and ensures no coffee debris contaminates the rinse solution. Never skip this safety checkpoint; rushing leads to incomplete cleaning.
Prep the Reservoir Properly
Empty the water tank and wash it with warm, soapy water. Rinse thoroughly under running water to eliminate soap residue, then dry with a lint-free towel. Refill with fresh cold water to the MAX fill line—using filtered water here reduces future mineral deposits. Pro tip: Place the reservoir back with a firm click; improper seating triggers “Add Water” errors during cleaning.
How to Clean Keurig with Rinse Pod: The Cleaning Cycle
Insert and Position Correctly
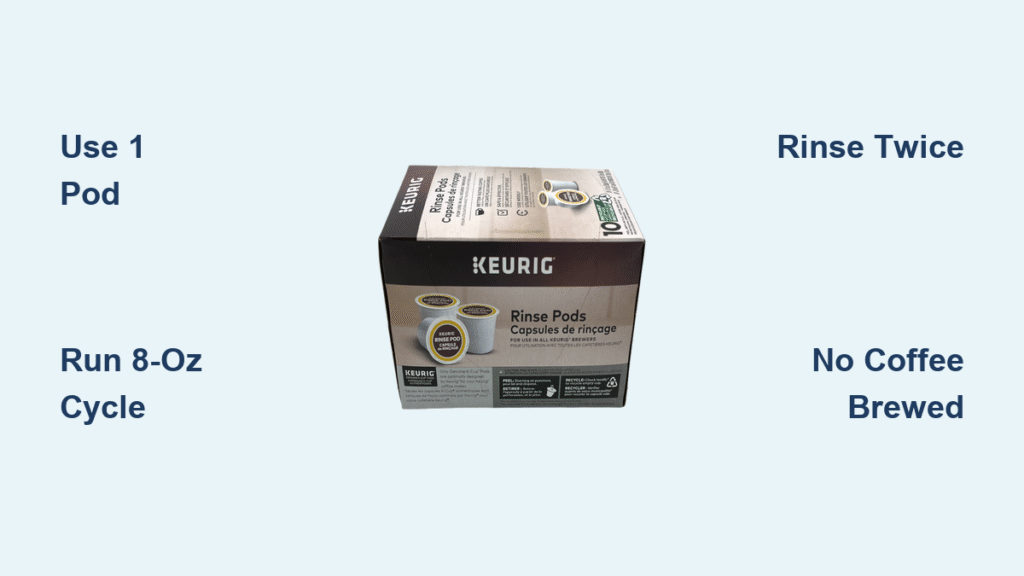
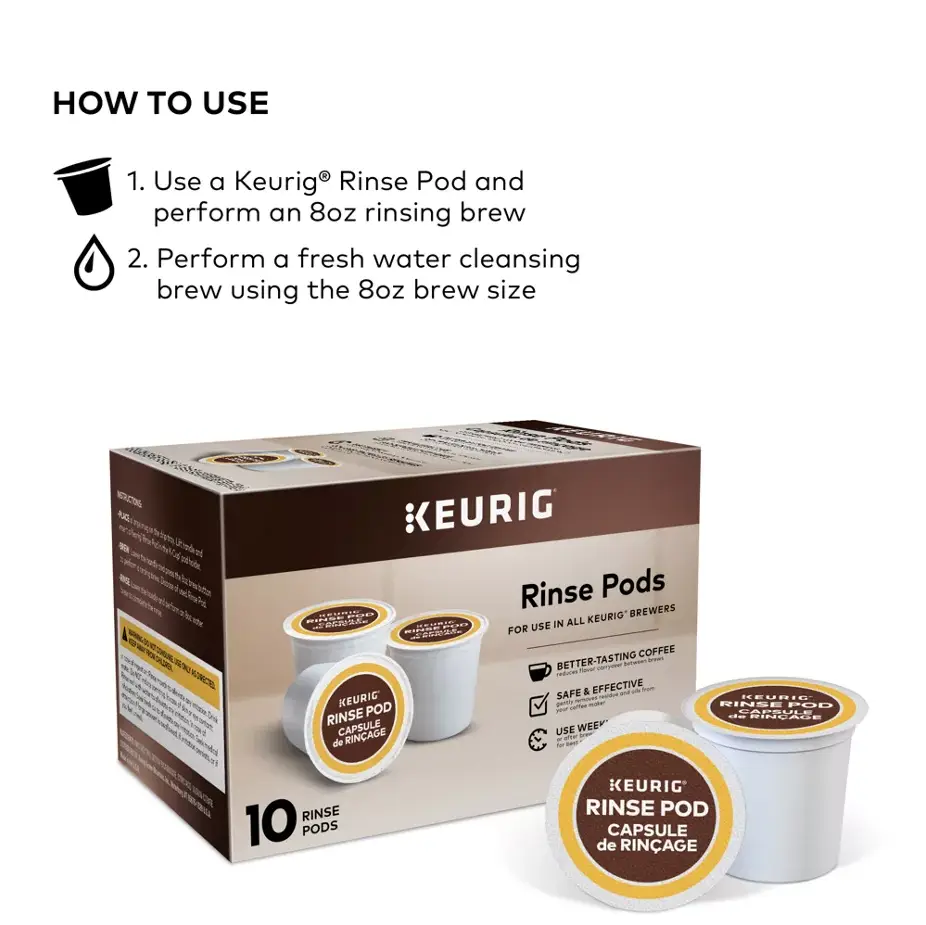
Drop one rinse pod into the pod holder with the handle in the UP position. Lower the handle firmly until you hear a distinct puncture sound—this ensures full solution release. Place a large 12-ounce mug on the drip tray to catch the entire flow. Critical check: If the handle doesn’t lock down completely, the pod won’t puncture, wasting your cleaning cycle.
Run the Cleaning Cycle Flawlessly
Select the 8-ounce brew size (or your machine’s largest setting) and press brew. Watch as the solution flows through internal lines, dissolving months of coffee oils. Expect brown or cloudy discharge—this is removed gunk, not a malfunction. The entire process takes 3-5 minutes; never interrupt the cycle mid-flow or residue will redeposit in lines.
How to Clean Keurig with Rinse Pod: The Rinse Process
Remove and Discard Safely
Lift the handle immediately after the cycle finishes and discard the used pod. Never reuse rinse pods—they’re single-use only, and squeezing out extra solution risks damaging the puncture mechanism. Leaving spent pods inside breeds mold and bacteria, turning your machine into a health hazard.
Double Rinse Protocol for Zero Residue
Run one full reservoir of clean water through the machine without any pod. Repeat with a second reservoir, brewing the largest cup size each time. Taste the final cup—it must be completely tasteless and clear. Troubleshooting: If chemical aftertaste lingers, run 2-3 additional water cycles until flavor vanishes. This step is non-negotiable; skipping it ruins your next coffee.
Handle Heavy Buildup Issues
Repeat When Initial Cleaning Fails
If water runs brown after the first rinse pod cycle, run a second pod immediately. Machines neglected for months require aggressive treatment—don’t assume one pod fixes severe buildup. For persistent slow flow, clean the exit needle with a straightened paper clip: insert gently while running water to flush debris.
Persistent Problems Demand Targeted Fixes
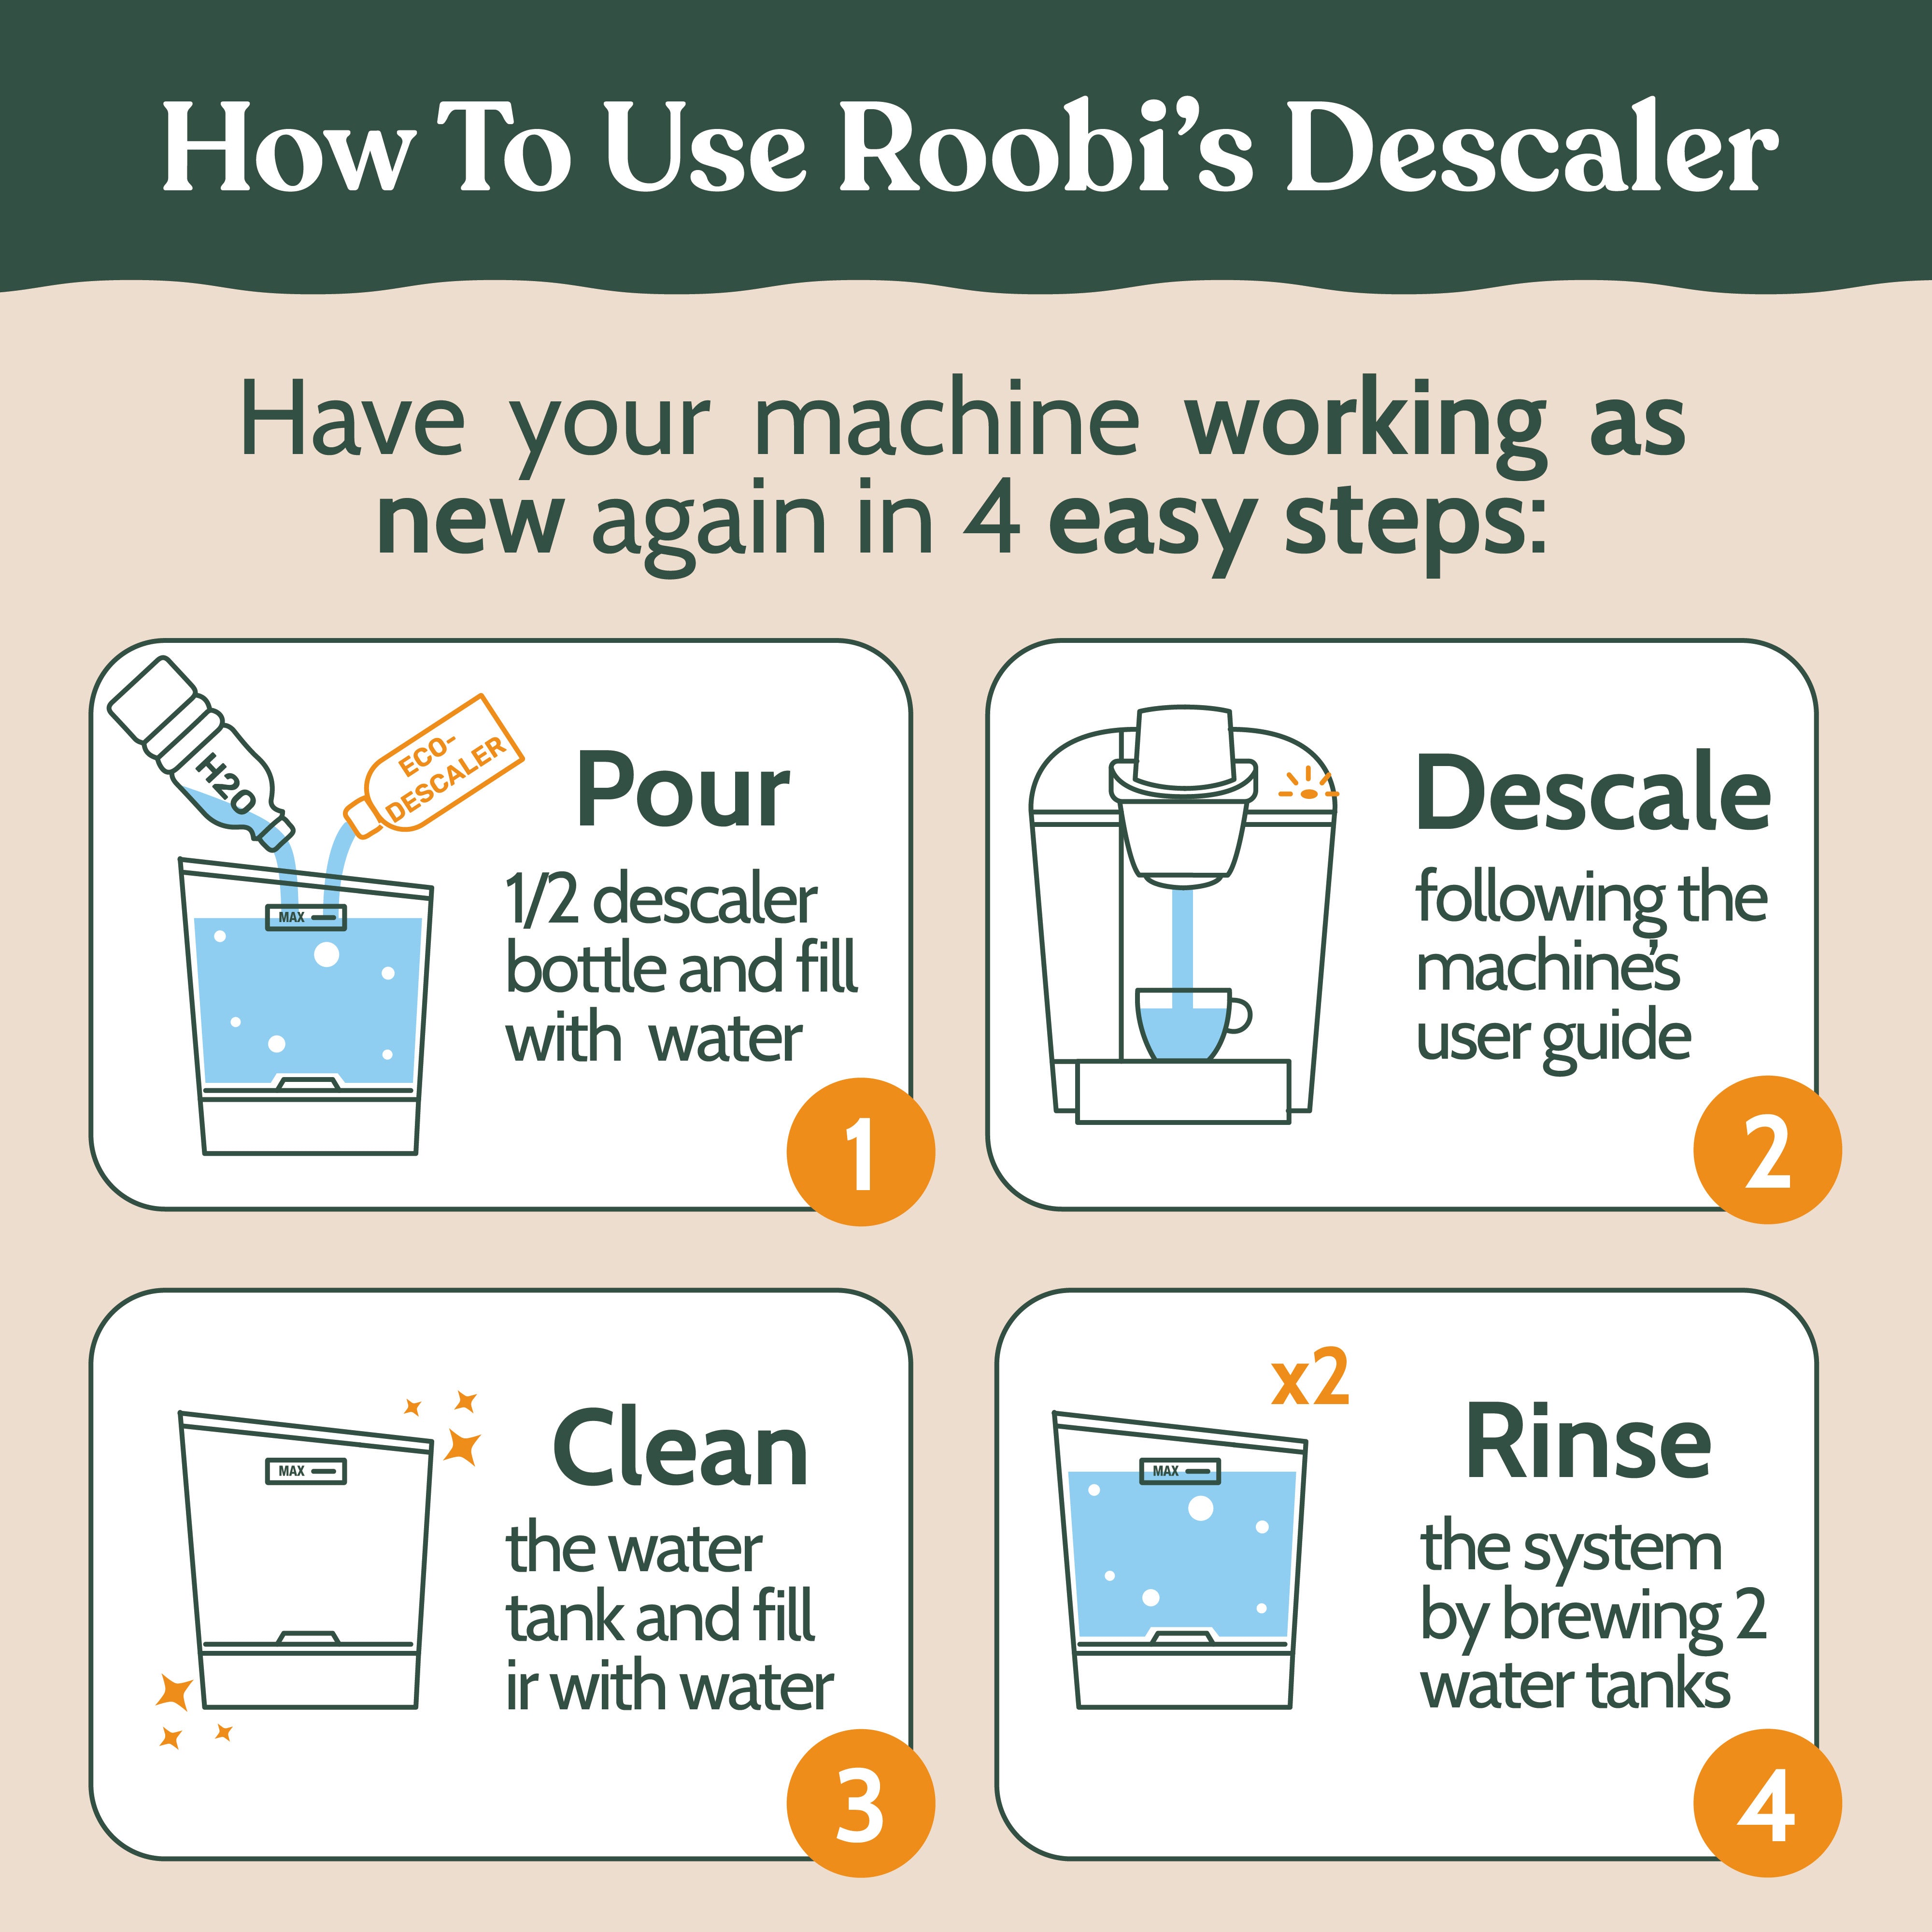
- Mineral deposits visible: Switch to descaling solution—rinse pods don’t combat hard water scale
- Ongoing clogs: Remove and soak the pod holder assembly in vinegar for 30 minutes
- Lukewarm coffee: Check heating element after cleaning; buildup insulates critical components
Maintain Between Cleanings
Daily Quick Tasks Prevent Disasters
Empty the drip tray every morning to avoid overflow messes. Wipe the exterior and lid with a damp microfiber cloth to stop sticky residue. Leave the pod holder open after use to air-dry—this simple habit prevents 90% of mold issues. Pro tip: Run hot water through the machine weekly if you skip flavored drinks.
Weekly Deep Touches Extend Machine Life
Remove the pod holder assembly and rinse under warm water to clear hidden grounds. Clean the K-Cup puncture needle with a paper clip to maintain optimal flow. If your model has a water filter, replace it monthly—clogged filters cause bitter tastes even after cleaning.
Fix Common Cleaning Failures
Cycle Won’t Start? Handle These Errors
“Add Water” errors mean the reservoir isn’t seated correctly—remove, refill, and reinsert with firm pressure. “Descale” messages indicate mineral buildup requiring descaling solution, not rinse pods. “Prime” warnings need 3-4 water-only cycles to reset the system. Critical fix: If the handle won’t lock, check for pod deformation from humid storage—replace the pod immediately.
Residual Taste Solutions That Work
Chemical aftertaste means insufficient rinsing. Run 3-4 full water reservoirs until the final cup tastes pure. This usually takes 10-15 minutes total but saves your next coffee from tasting like cleaner. Never brew coffee until taste tests confirm complete rinsing—contaminated drinks damage your machine further.
Check Your Model Compatibility

Guaranteed Compatible Models
All Keurig 2.0 systems, K-Classic (K50/K55), K-Select, K-Elite, K-Supreme, and K-Café/Latte models work perfectly with rinse pods. These machines accept standard pods without modification. Note: K-Mini series requires two pods due to smaller water capacity—run the first pod, then immediately insert a second without rinsing.
Special Cases Need Custom Approaches
Vue or Rivo systems use incompatible pod designs—never force standard rinse pods into these models. Commercial units (like office brewers) need industrial-strength solutions; check your manual first. If your machine displays “Not Compatible” during cleaning, stop immediately to avoid internal damage.
Safety First, Always
Critical Warnings You Must Follow
Never brew coffee with a rinse pod inserted—the solution ruins your drink and damages internal components. Keep pods away from children and pets; if ingested, drink water immediately and call Poison Control (1-800-222-1222). Never heat rinse pods—they’re designed for cold-water cycles only. Ignoring these rules voids your warranty and risks electrical hazards.
Eco-Conscious Cleaning Habits
While rinse pods aren’t recyclable due to mixed materials, you can minimize waste by alternating with vinegar cleanings. Recycle the cardboard packaging through standard curbside programs. For heavy water hardness, switch to descaling solution quarterly to reduce pod usage by 30%.
Rinse Pod vs. Alternative Methods
Speed and Effectiveness Compared
Rinse pods deliver 5-10 minute cleanings with zero odor versus vinegar’s 45+ minutes and multiple rinses. They outperform descaling solution for daily coffee residue but can’t tackle hard water minerals. Best practice: Use rinse pods monthly for oil removal, descaling solution quarterly for minerals, and vinegar only as an emergency backup.
Cost-Saving Smart Shopping
Buy 5-pod packs ($8-$15) for standard households—this covers 3-6 months of maintenance. Store pods in a dry, room-temperature spot (not the fridge!) to preserve effectiveness; humidity degrades the citric acid solution. Pro tip: Walmart often undercuts Amazon on multi-packs, but Keurig.com guarantees authentic pods with freshness dates visible.
Your Keurig now brews faster, hotter coffee with zero residue—no vinegar stench or wasted mornings. Set a recurring phone reminder based on your usage: every 2 weeks for heavy drinkers, 4 weeks for casual users. Between cleanings, prevent 80% of issues by emptying the drip tray daily, using filtered water, and wiping the pod holder after each brew. One final check: if coffee still tastes off after proper cleaning, contact Keurig support—your machine might need professional servicing. Now go enjoy that perfect cup you’ve earned.


