
Your Keurig sputters out lukewarm coffee that tastes like chalky dishwater while taking twice as long to brew. That gritty white coating in your water reservoir isn’t just ugly—it’s strangling your machine’s internal components and sabotaging your morning ritual. Limescale, the hard mineral deposit formed when heated hard water evaporates, silently destroys heating elements and clogs critical pathways in as little as three months. But here’s the good news: you can completely eliminate this performance killer using household items in under an hour. This guide delivers the exact steps to restore your Keurig’s speed, flavor, and longevity—no special tools required.
Spot Limescale Buildup Before It Kills Your Machine
White Flakes Floating in Your Water Reservoir
Check your reservoir weekly for telltale white specks that resemble snowflakes suspended in water. These mineral particles cling to reservoir walls and form a gritty film on the bottom that won’t wipe away with normal cleaning. When you notice these floating deposits, limescale has already penetrated internal tubing and requires immediate action.
Critical Performance Warning Signs
Your Keurig takes 3-4 minutes instead of 1-2 to heat water when limescale insulates the heating element. Listen for the pump’s strained whine replacing its normal hum—that’s the motor fighting restricted water flow. If your machine stops mid-brew or delivers only half a cup, mineral deposits are blocking internal channels. These symptoms mean your machine is working twice as hard while brewing worse coffee.
Quick Hard Water Test for Prevention
Fill a water bottle halfway, add five drops of dish soap, and shake vigorously for 15 seconds. Soft water creates thick, lasting suds covering the surface. Hard water produces minimal bubbles with an oily film—that’s your signal to descale every 2 months instead of quarterly. Check your municipal water report; anything above 120 mg/L calcium carbonate demands aggressive maintenance.
Choose the Right Descaling Solution for Your Keurig
White Vinegar Method (Budget Powerhouse)
Fill your reservoir with undiluted 5% white vinegar ($2-3 per gallon) and run it through your machine. This removes 80-90% of limescale in one treatment but requires 8-10 rinse cycles to eliminate the vinegar taste. Pro tip: Add a teaspoon of baking soda to your first rinse reservoir to neutralize lingering odors faster.
Citric Acid Powder (Odor-Free Professional Choice)
Mix 2 tablespoons of food-grade citric acid powder ($0.05 per treatment) with 34 ounces of water. This scent-free solution penetrates scale better than vinegar and costs pennies per use. Store powder in an airtight container—it won’t clump or expire. Warning: Never use lemon juice as a primary descaler—it lacks sufficient acidity for thorough cleaning.
Commercial Solution Cost Comparison
| Method | Cost Per Treatment | Rinse Cycles Needed | Best For |
|---|---|---|---|
| Keurig Brand | $1.00 | 8-10 | Convenience seekers |
| Citric Acid | $0.07 | 6-8 | Odor-sensitive users |
| White Vinegar | $0.15 | 10-12 | Budget-conscious owners |
Prep Your Keurig for Maximum Descaling Effectiveness
Critical Pre-Cleaning Steps
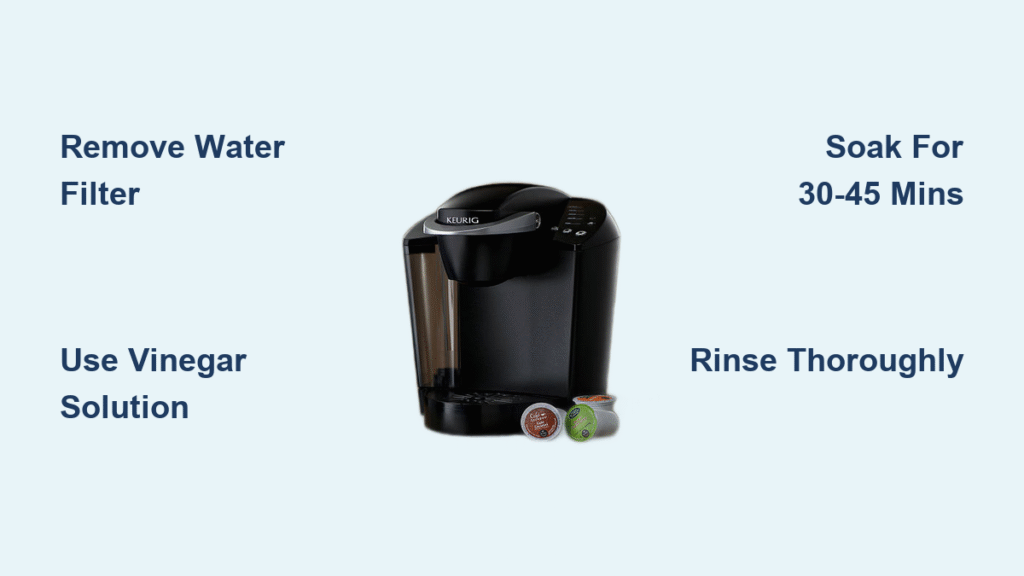
Remove the water filter cartridge immediately—descaling solutions will damage its charcoal core. Empty the reservoir completely, then wash all removable parts (drip tray, K-cup holder, funnel) in warm soapy water. Run 2-3 fresh water cycles to flush coffee oils that could react with descaling agents. Pro tip: Place a paper towel under the drip tray to catch stray water during disassembly.
Must-Have Tools Checklist
- Large ceramic mug (12+ oz capacity)
- Microfiber cloths (lint-free for component drying)
- Straightened paperclip (for needle cleaning)
- Timer (set for 30-minute soak periods)
- Fresh water (minimum 2 liters for rinsing)
Execute the 3-Phase Descaling Process That Actually Works

Phase 1: Solution Introduction (5 Minutes)
Fill the reservoir to MAX line with your chosen descaling solution. Power on the machine, disable auto-off mode, then place an empty mug on the drip tray. Lift and lower the handle without inserting a K-cup, then select the largest cup size. Discard the hot solution—this initial cycle begins dissolving surface deposits. Critical: Never leave the machine unattended during this phase.
Phase 2: Deep Soaking Cycle (40 Minutes)
Continue brewing cycles until the reservoir empties (typically 4-6 large cups). After the final cycle, power off the machine and set a timer for 30-45 minutes. This soaking period is non-negotiable—it allows the solution to penetrate stubborn scale inside heating chambers and horizontal tubing. Gently tilt the machine side-to-side during soaking to dislodge deposits in hard-to-reach areas.
Phase 3: Complete Rinse Process (15 Minutes)
Refill with fresh water only and run 8-10 complete brewing cycles using the largest cup size. Taste the final water sample—if you detect any vinegar or chemical flavor, continue flushing. Pro tip: Add a slice of lemon to your last rinse reservoir for natural flavor refreshment.
Fix Model-Specific Descaling Headaches
Keurig 2.0 Series Shortcut
Hold the 8 oz and 10 oz buttons simultaneously for 3 seconds to activate automated descale mode. The machine will run a 12-minute cycle with strategic pauses—no button pressing required. Reset the indicator by holding both buttons for 5 seconds after completion. Warning: Never skip the water filter removal step—this causes $50 pump damage.
K-Supreme Series Protocol
Press the 8 oz and 12 oz buttons together for 3 seconds to enter descale mode. Always remove the water filter first, then use 12 oz cycles exclusively for optimal flow through multi-stream technology. After descaling, run an extra 3 rinse cycles through the carafe side if applicable.
Compact Mini Models Manual Fix
These units lack automatic modes—manually run 3 full reservoirs of solution while continuously pressing the brew button. Complete minimum 5 fresh water reservoirs post-treatment to prevent taste contamination. Pro tip: Place a towel under the machine—it often leaks during manual descaling.
Deep Clean Hidden Problem Zones

Needle Unclogging Technique
Remove the K-cup holder by twisting counterclockwise. Insert a straightened paperclip into the entrance needle (under the top lid) and rotate gently to dislodge scale. Clean the exit needle (in the holder’s bottom) using the same method. Critical: Flush both needles with water using a turkey baster to verify unobstructed flow before reassembly.
Reservoir Restoration for Severe Buildup
For thick mineral deposits, fill the reservoir with 50/50 vinegar solution and soak overnight. Use a soft-bristled toothbrush to scrub loosened scale without scratching plastic. Rinse thoroughly 3-4 times—any vinegar residue will taint your next 10 brews.
Prevent Future Limescale with Smart Habits

Water Quality Strategy That Saves $100s
Install an $8 inline water filter or use refrigerator-filtered water to reduce mineral intake. In hard water areas, alternate between tap and distilled water every fourth fill. Pro tip: Choose bottled water with TDS under 50 ppm—check labels for “low mineral content” claims.
Maintenance Schedule Based on Water Hardness
- Daily: Empty drip tray and wipe exterior
- Weekly: Rinse reservoir with fresh water
- Monthly: Clean K-cup holder and needles
- Quarterly: Descale (or monthly if TDS > 120 ppm)
- Annually: Replace water filter assembly
Fix Lingering Problems After Descaling
Stubborn Scale That Won’t Dissolve
Repeat the entire process using triple-strength citric acid (3 tablespoons per liter) and extend soaking to 2 hours. Gently rock the unplugged machine to dislodge deposits from horizontal tubing. Warning: Never use CLR or bathroom cleaners—they corrode internal seals.
Eliminating Persistent Vinegar Taste
Run 15-20 complete rinse cycles with fresh water. Add ½ teaspoon baking soda to the first rinse reservoir to neutralize acid. Finish with a lemon water rinse (1 lemon slice per reservoir) for natural flavor reset.
Error Message Troubleshooting
- “Prime” indicator: Remove and firmly reseat the reservoir, then run 3 cycles
- “Add Water” with full tank: Tap the reservoir sides to free stuck float sensors
- Thermal error: Wait 30 minutes for cooling before resuming descaling
Calculate Your Long-Term Savings
Regular descaling extends your Keurig’s lifespan from 1-2 years to 3-5 years while maintaining 15-20% better energy efficiency. Using bulk citric acid ($0.05 per treatment) instead of commercial solutions saves $40 annually. Combined with $30/year water filters, this $40 annual investment prevents $100 pump replacements and delivers café-quality coffee daily.
Your Keurig will reward this 45-minute maintenance session with faster brewing, cleaner taste, and years of reliable service. Set phone reminders every 3 months (or monthly in hard water areas) and keep citric acid powder in your pantry. The small effort you invest today prevents the $80 frustration of replacing a machine destroyed by preventable limescale buildup.


