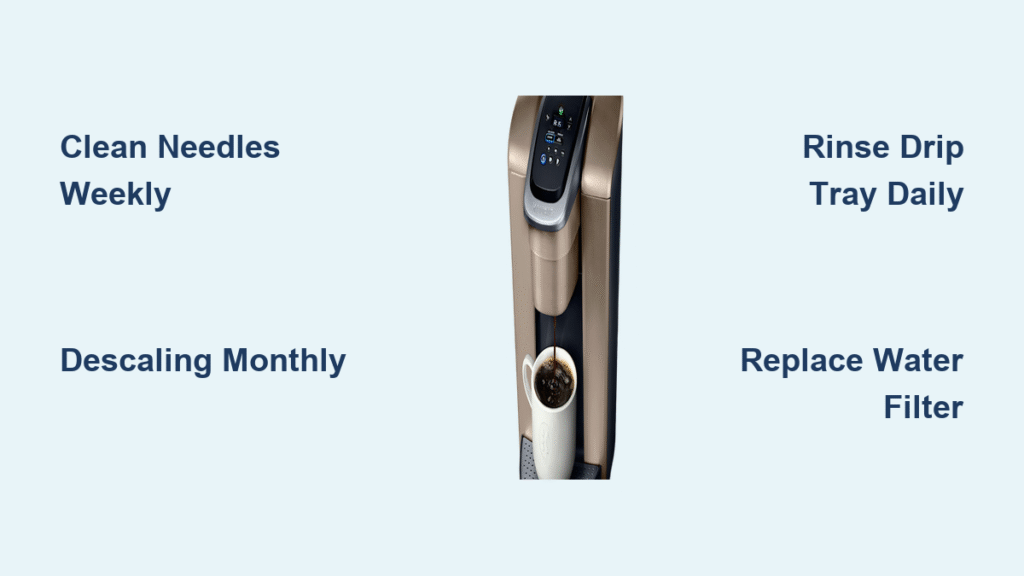
Your morning coffee suddenly tastes bitter, and your Keurig Elite is taking twice as long to brew. These frustrating symptoms mean mineral deposits and coffee oils have built up inside your machine. Learning how to clean Keurig Elite properly isn’t just about better coffee—it prevents costly repairs and extends your brewer’s life. This guide delivers precise cleaning steps that eliminate guesswork, ensuring every cup delivers perfect flavor from day one.
Why Your Keurig Elite Needs Daily Cleaning
Stop Coffee Grounds from Ruining Your Brew
Coffee grounds accumulate in your Keurig Elite’s pod holder after each use, creating bitter flavors in subsequent cups. Immediately after brewing, lift the handle and pull the K-Cup holder straight toward you. Rinse it under warm running water for 10 seconds—no soap needed daily—to flush loose grounds from the puncture needles. Let it air dry while you enjoy your coffee to prevent moisture-related mold.
Pro tip: Keep a dedicated microfiber cloth near your machine for quick wipe-downs—paper towels can scratch surfaces and leave lint.
Eliminate Drip Tray Stains Before They Set
Pull out your Keurig Elite’s drip tray while your coffee brews for a 15-second maintenance win. Dump accumulated liquid and rinse under warm water to prevent coffee stains and stop standing water from attracting fruit flies. Once weekly, wash the tray with soapy water and use an old toothbrush to scrub the grid pattern underneath where grounds hide.
Weekly Deep Cleaning That Actually Works
Water Reservoir Mineral Prevention
Every Sunday, remove and empty your Keurig Elite’s water reservoir completely. Wash inside and out with warm, soapy water using a soft sponge—never abrasive scrubbers that scratch plastic. Focus on bottom corners where mineral deposits first appear as white flakes. Rinse until no soap bubbles remain, then dry thoroughly to prevent water spots that attract more buildup.
Critical step: Don’t skip cleaning the reservoir lid—it collects condensed coffee vapors that create stubborn residue over time.
Needle Unclogging for Perfect Extraction

Your Keurig Elite’s two needles (entrance and exit) get clogged with coffee oils, causing weak brews. Use the orange maintenance tool provided, or carefully straighten a paperclip for this weekly task:
– Insert the tool into each needle hole with gentle twisting motion
– Work it in and out 2-3 times to dislodge particles
– Run a water-only brew cycle to flush debris
– Warning: Handle needles carefully—they’re sharp enough to puncture skin
Monthly Descaling That Fixes Slow Brewing
Recognize When Your Elite Needs Descaling
Watch for these 5 red flags signaling mineral buildup in your Keurig Elite:
– Brewing takes 30+ seconds longer than usual
– Cup fills 20% less than selected size
– Machine makes louder pumping noises
– Coffee develops metallic aftertaste
– “DESCALE” message appears on display
Most users need descaling every 3-6 months, but hard water households should do it every 2 months—check for white flakes in your reservoir as confirmation.
Complete Descaling in 10 Minutes
- Unplug your Keurig Elite—safety first
- Empty water reservoir completely
- Fill to max line with Keurig descaling solution or equal vinegar-water mix
- Place 12+ oz mug on drip tray
- Power on and wait for ready light
- Brew without K-Cup until “ADD WATER” appears
- Let sit 30 minutes with power on
- Finish brewing until reservoir empties
- Rinse with fresh water only
- Flush with 12-15 water-only cycles
Verification test: Brew one water-only cycle and taste it—any vinegar flavor means you need 3-5 more rinse cycles.
Quarterly Maintenance That Prevents Breakdowns
Water Filter Replacement Timing

Replace your Keurig Elite’s water filter every 2 months or 60 tank refills—whichever comes first. The filter lives at the reservoir bottom. Before installing:
– Soak new filter in water for 5 minutes
– Rinse under running water for 60 seconds
– Set replacement reminder if your model supports it
Expert note: Mark your calendar when installing filters—old filters harbor off-tastes that ruin even properly cleaned machines.
Complete Disassembly Cleaning Protocol

Every three months, give your machine this deep treatment:
– Unplug and cool completely—internal components stay hot
– Remove all parts: reservoir, drip tray, K-Cup holder
– Scrub components with warm, soapy water using soft brushes
– Inspect hidden areas for mold under the drip tray
– Clean base carefully with damp cloth, avoiding electrical areas
– Air dry completely—trapped moisture causes electrical issues
Fixing Common Cleaning Failures
Grounds in Coffee After Cleaning
If coffee still contains grounds:
– Deep clean needles using orange tool more thoroughly
– Run 5+ extra rinse cycles—particles hide in tubing
– Inspect K-Cup holder for hairline cracks
– Check K-Cup placement—improper seating causes overflow
Slow Brewing After Maintenance
When your Elite brews slowly post-cleaning:
– Repeat descaling—mineral deposits may need second treatment
– Verify reservoir seating—poor connection reduces flow
– Recheck needles—small clogs significantly affect performance
– Replace water filter—clogged filters restrict water flow
Hard Water Solutions That Work
High Mineral Content Countermeasures
Hard water households must:
– Descale every 2 months regardless of performance
– Use filtered or bottled water for brewing
– Install water softener for extreme hardness cases
– Monitor for white flakes in reservoir weekly
Critical adjustment: In hard water areas, replace water filters monthly instead of bimonthly—clogged filters accelerate mineral buildup.
Essential Cleaning Safety Rules
Electrical Safety Non-Negotiables
- Always unplug before any cleaning beyond exterior wipe-downs
- Never submerge the base unit—even during deep cleaning
- Dry completely before reconnecting power
- Check power cord for damage before each use
Personal Injury Prevention
- Cool completely before cleaning—internal components stay hot
- Handle needles carefully—puncture injuries happen quickly
- Use caution with hot water during rinse cycles
- Wear gloves when using descaling solutions to protect skin
Your 5-Minute Maintenance Calendar
Every Morning (90 seconds)
- Wipe exterior with damp microfiber cloth
- Empty and rinse drip tray
- Quick pod holder rinse
Every Sunday (12 minutes)
- Deep clean water reservoir
- Clean needles thoroughly
- Run 3 flush cycles
Every Month (35 minutes)
- Complete descaling process
- Inspect all components
- Verify no mineral deposits
Every 3 Months (50 minutes)
- Replace water filter
- Complete disassembly clean
- Check rubber seals for cracks
Final reminder: Consistent cleaning prevents 90% of Keurig Elite problems. Your machine will reward proper maintenance with years of perfect coffee, while neglect leads to bitter brews and expensive repairs. Mark these tasks on your calendar—your taste buds (and wallet) will thank you for decades of flawless brewing. The difference between a coffee maker that lasts 2 years versus 10 comes down to these simple cleaning routines performed consistently.


