
That morning cup of coffee suddenly tastes flat or off, and your Keurig seems to brew slower than usual. More often than not, the culprit is a neglected water filter clogged with mineral deposits and impurities. Knowing how to clean a Keurig water filter properly isn’t just about better-tasting coffee—it’s essential for maintaining your machine’s performance and extending its lifespan. This comprehensive guide delivers every step you need to restore your filter system to peak condition, ensuring consistently fresh coffee with every brew.
Identify Your Keurig Filter System Before Cleaning
Side vs Rear Reservoir Models: Know Your Machine
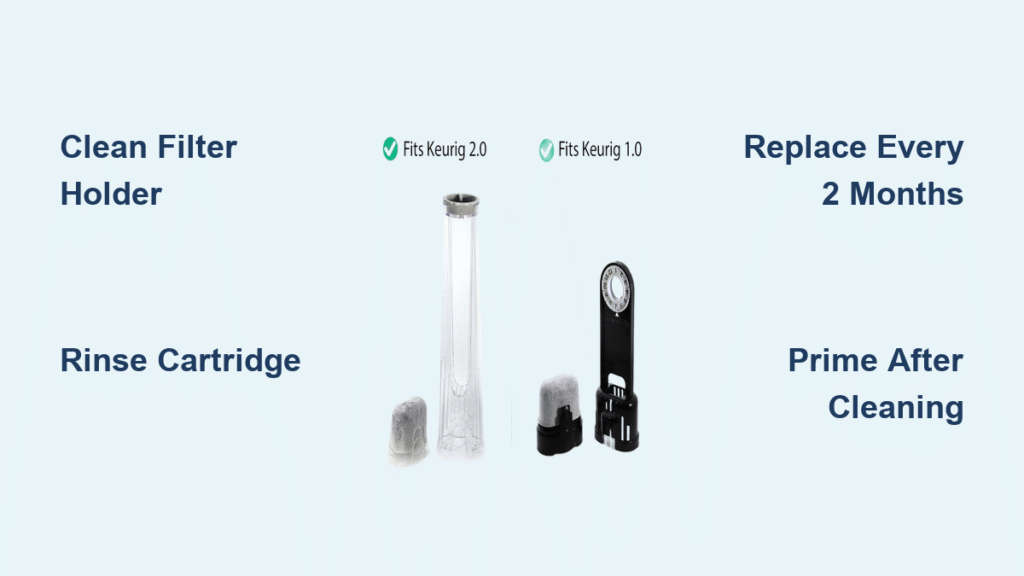
Side Reservoir Systems (K-Supreme, K-Supreme Plus, K-Supreme Plus SMART, K-Duo Plus) feature tall, slim filter holders that sit inside the water tank. These systems use charcoal cartridges measuring approximately 2 inches in height. When you lift the reservoir, you’ll see a narrow cylindrical filter holder standing vertically in the center of the tank.
Rear Reservoir Systems (K-Elite, K-Select, K-Cafe, K-Compact) contain short, wide filter holders positioned at the back of the reservoir. Their cartridges measure about 1.5 inches tall but offer identical filtration properties. You’ll find this holder built into the rear wall of the water tank—look for a small compartment with side tabs you can pinch.
Filter Cartridge Lifespan and Replacement Signs
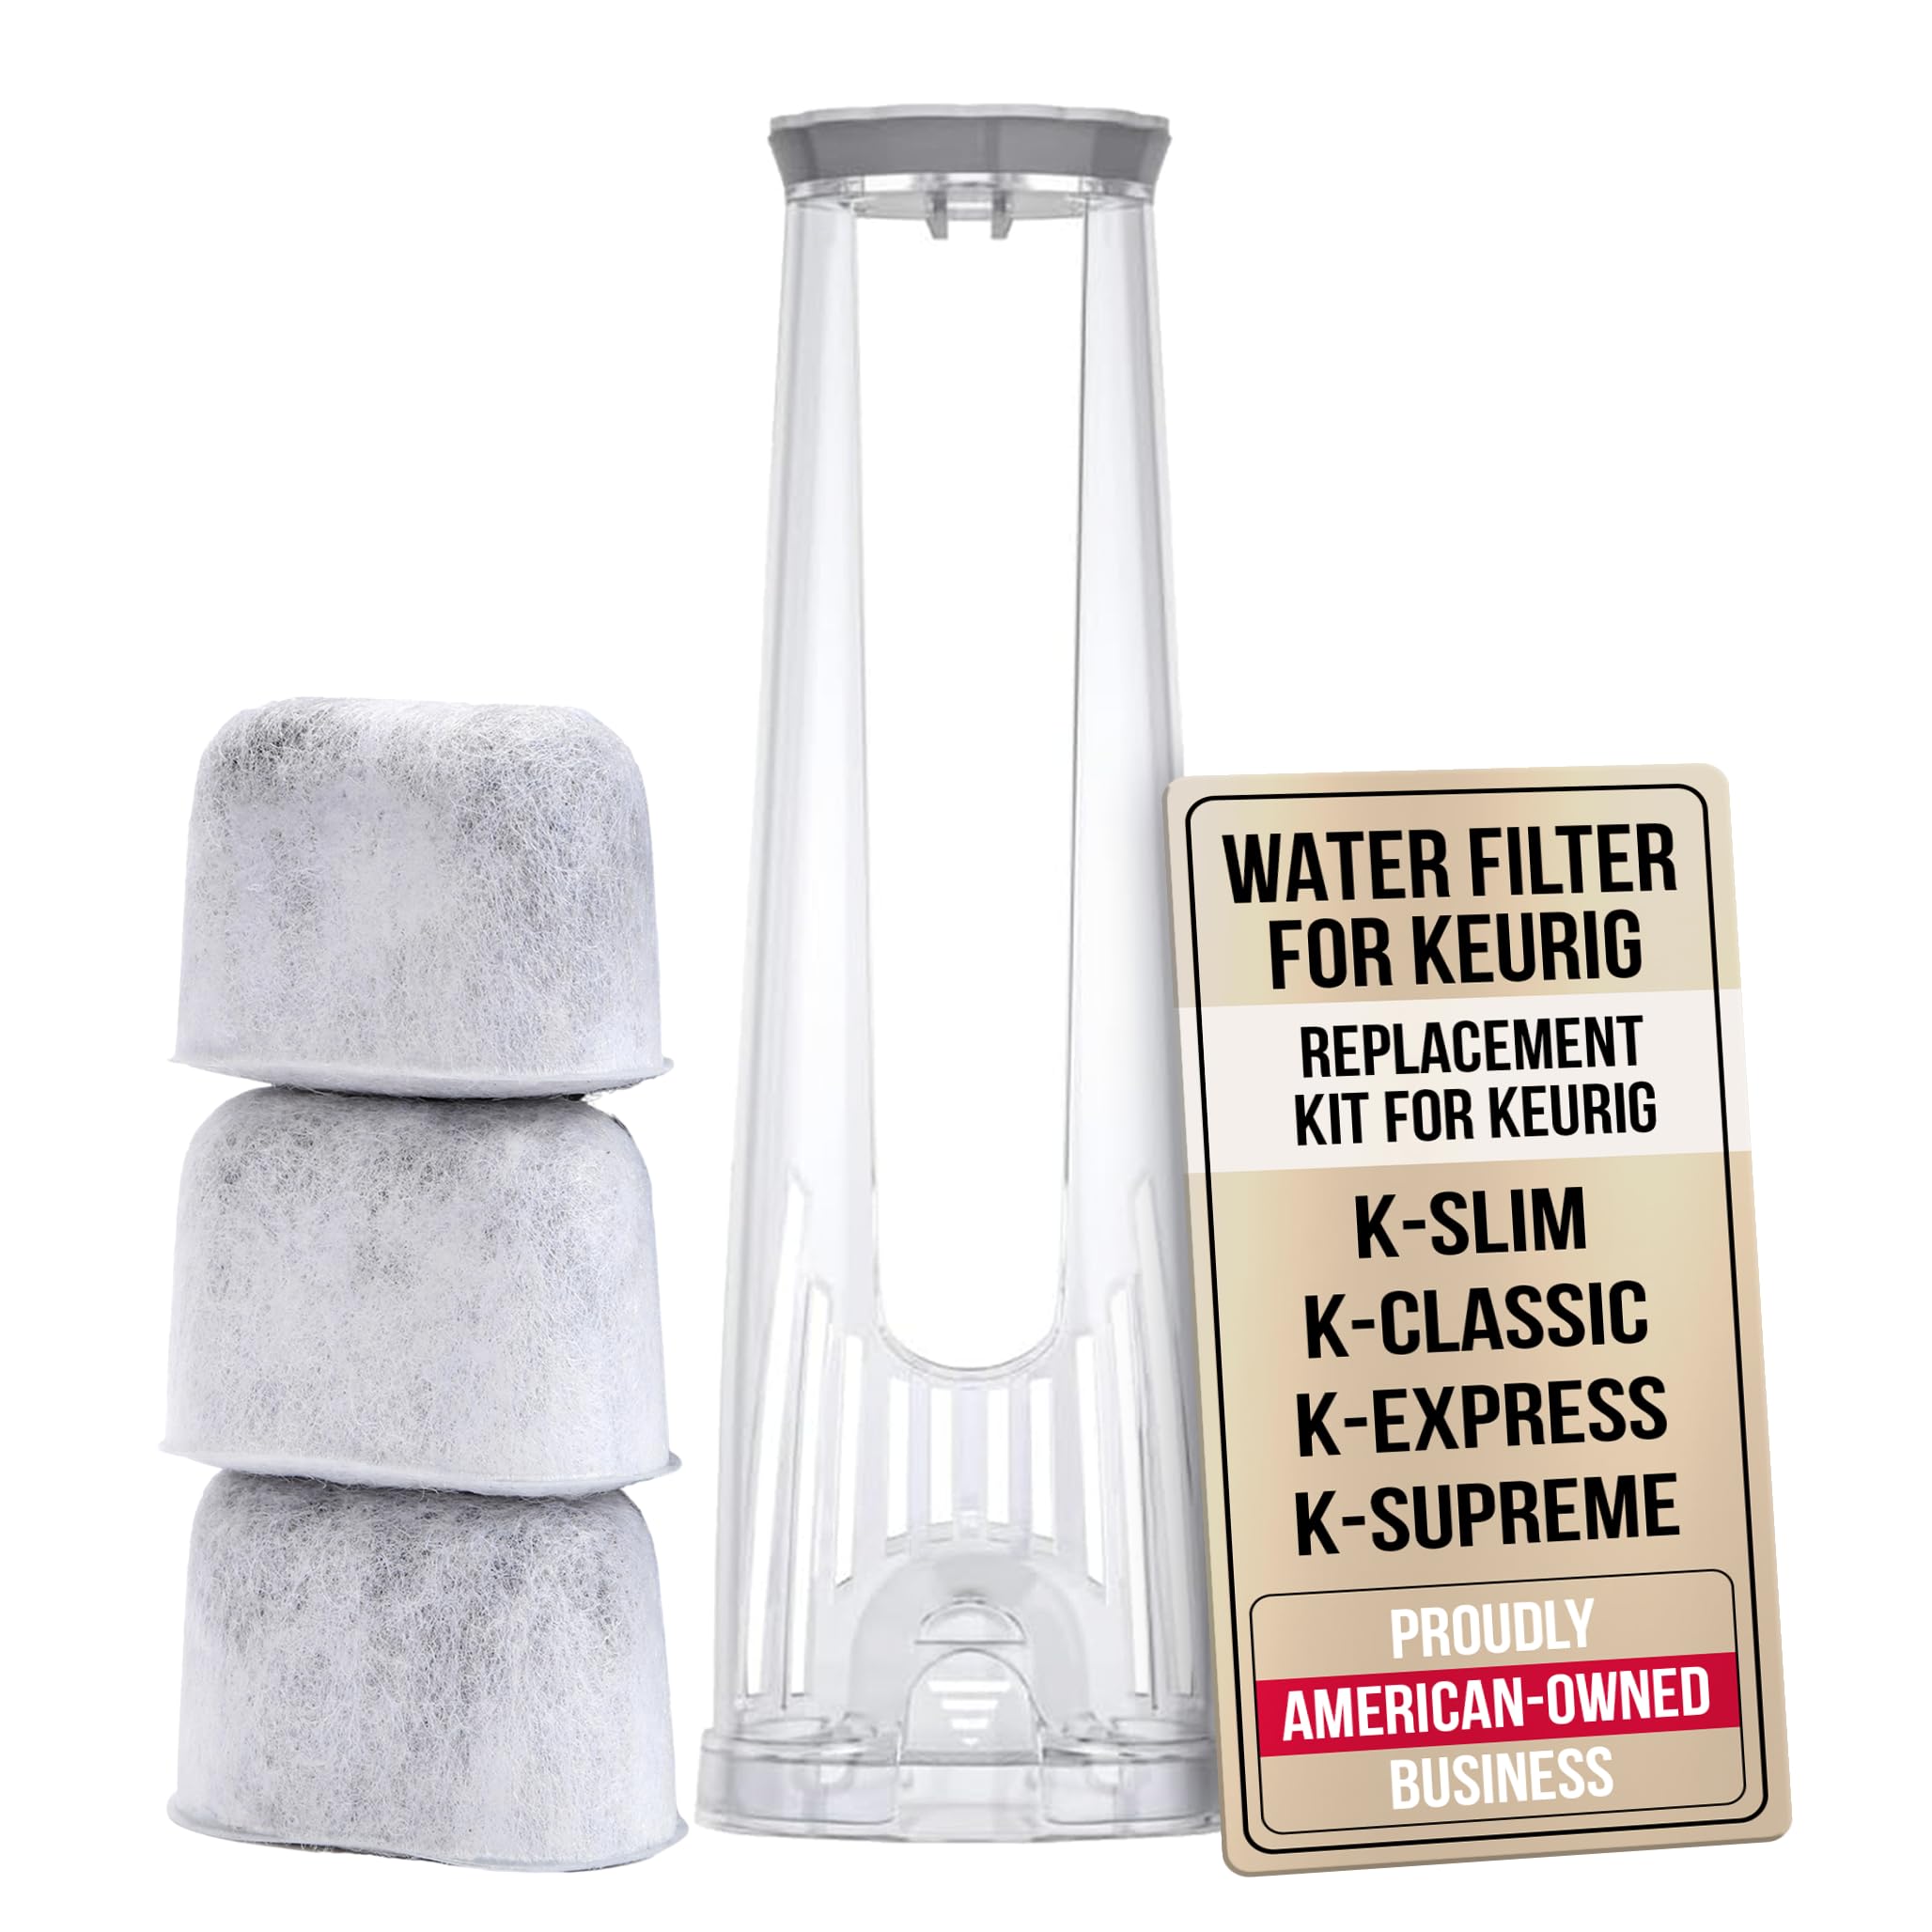
Every genuine Keurig filter contains activated charcoal with a micro-porous structure designed to trap chlorine, odors, and impurities. Each cartridge lasts exactly 2 months or 60 tank refills—whichever comes first. After this point, cleaning won’t restore effectiveness; replacement becomes necessary. If you notice white mineral deposits on your cartridge or if it’s been more than 60 refills, replace it immediately rather than attempting to clean it.
Gather Essential Cleaning Supplies for Filter Maintenance
Required Items Checklist:
– Clean, fresh water (filtered preferred)
– Mild dish soap (non-abrasive formula)
– Soft-bristled bottle brush or sponge
– Lint-free cloth or paper towels
– Replacement cartridge (if current one exceeds lifespan)
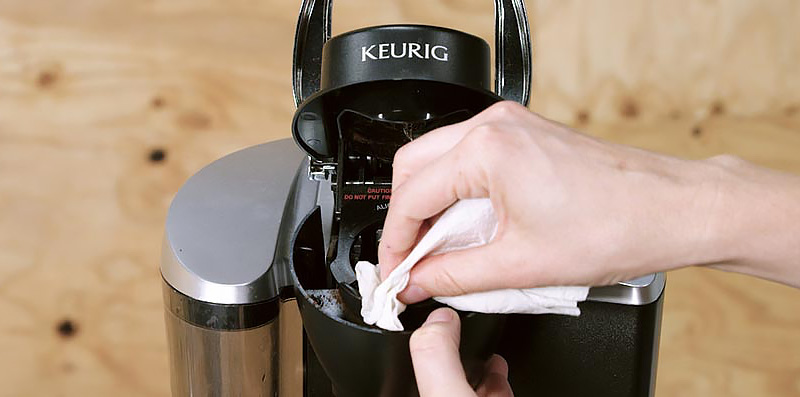
Critical Safety Setup: Power down your Keurig completely and unplug it from the wall. Let the machine cool for 30 minutes if recently used. Remove any K-Cup from the holder, empty the water reservoir completely, and set aside the drip tray. Never attempt to clean filter components while the machine is plugged in or still warm.
Remove Filter Components Without Damage
Side Reservoir Disassembly Process
Lift the water reservoir straight up from the base. Locate the tall, cylindrical filter holder with perforations. Grasp the top handle firmly and pull straight up to remove. Separate the cartridge from the holder by pulling it out through the bottom opening—don’t force it if it feels stuck. Gently wiggle it side-to-side while applying upward pressure.
Rear Reservoir Extraction Technique
Slide the reservoir forward to detach from the machine. Find the short filter holder at the reservoir’s rear. Pinch the side tabs firmly while lifting upward—this releases the holder from its seat. Extract the cartridge by inverting the holder and sliding it out. If resistance occurs, rotate the holder slightly while pulling to release any vacuum seal.
Clean Filter Holder to Eliminate Mineral Buildup
Complete Holder Cleaning Method:
1. Hold the holder under warm running water for 30 seconds, rotating to reach all interior surfaces
2. Apply 2-3 drops of mild soap to a soft bottle brush and scrub all interior surfaces using circular motions for 60 seconds
3. Focus on perforated areas where mineral deposits accumulate most
4. Clean exterior surfaces thoroughly, including handle and base connection points
5. Rinse for 90 seconds until no soap residue remains—check by feeling for slipperiness
6. Hold to light to verify all perforations are clear before proceeding
Pro Tip: For stubborn debris in small perforations, use a pipe cleaner or soft toothbrush to gently dislodge buildup without damaging the plastic.
Handle Filter Cartridge Correctly During Cleaning
When to Replace vs Clean Your Water Filter
Replace Immediately: Cartridges used for 2+ months or 60+ refills. Cleaning cannot restore filtration effectiveness at this point. If your coffee tastes off or you notice reduced flow, replace the cartridge now.
Clean Only If: Cartridge is within lifespan but has visible debris. Never attempt to clean a cartridge beyond its recommended usage period—this compromises water quality and machine performance.
Cleaning Process for Reusable Cartridges
Rinse under cool water for 45 seconds while rotating slowly. Gently tap against your palm to dislodge charcoal particles—this releases trapped impurities without damaging the filter structure. Air dry on a paper towel for 2+ hours in a well-ventilated area. Critical inspection step: Before reinstalling, hold the cartridge up to light to ensure no charcoal dust remains that could enter your coffee.
Deep Clean Water Reservoir to Prevent Contamination
Complete Reservoir Cleaning Method:
Empty all water, including base connection areas. Fill 1/4 of the reservoir with warm water and 3-4 drops of mild soap. Scrub all surfaces thoroughly with a bottle brush: bottom sediment areas, water level markings, and filter holder connection points. Don’t skip the area beneath the filter holder seat where debris collects unnoticed.
Target These Specific Areas:
– Bottom surface where sediment collects
– Walls near water level indicators
– Under filter holder seat
– Reservoir connection point to machine
Rinse 3-4 times until completely soap-free—any residue will affect coffee taste. Dry with a clean cloth before reassembly.
Install New Filter Cartridge for Optimal Performance
Preparation Steps for New Filters:
Remove packaging from new charcoal filter. Rinse under cool water for 60 seconds to remove carbon dust. Soak in fresh water for 5 minutes to activate charcoal—this critical step ensures maximum filtration capacity. Perform a quick 15-second rinse before installation to remove any remaining particles.
Installation Process:
Insert cartridge into holder with rounded end downward. Ensure snug fit with no gaps—improper seating causes leaks. Press holder into reservoir until it clicks. Fill with fresh, cold water to MAX line. Reattach reservoir to machine base, making sure it seats properly.
Prime System After Cleaning to Ensure Proper Function
Power on your Keurig and run 3-4 cleansing brews using largest cup size—no K-Cup needed. Discard hot water from each cycle. Check for clear flow without carbon particles—any discoloration means you need to rinse the filter more thoroughly. Test brew with regular K-Cup to verify proper flavor—your coffee should taste noticeably cleaner and fresher.
Weekly Maintenance Schedule for Long-Term Success
Every Week:
– Empty and rinse water reservoir immediately after last use
– Wipe filter holder exterior with damp cloth
– Check for visible buildup around holder
Monthly Deep Clean:
– Complete filter holder cleaning as outlined above
– Full reservoir scrub with mild soap
– Inspect cartridge for replacement needs
Bi-Monthly Replacement:
– Install new charcoal filter every 60 refills
– Complete full system descaling if mineral buildup appears
Troubleshoot Common Filter Problems Immediately
Fix Slow Water Flow in 4 Steps
Check cartridge installation for proper seating—improper placement is the #1 cause of flow issues. Inspect filter holder perforations for clogs using a flashlight. Verify reservoir is fully connected to the machine base. Clean entrance needle of mineral buildup with a paper clip—gently insert and twist to remove obstructions.
Stop Water Leakage Around Filter Holder
Confirm correct cartridge size for your specific model—using the wrong size causes leaks. Check holder seal for cracks or damage that would compromise the watertight seal. Never exceed MAX water level as overflow damages internal components. Ensure level reservoir placement on machine—uneven positioning creates pressure imbalances.
Handle Stubborn Buildup with Professional Techniques
Heavy Mineral Deposits Solution:
Mix equal parts white vinegar and water. Soak filter holder for 30 minutes—this dissolves hard water deposits. Gently scrub with soft toothbrush to remove loosened buildup. Rinse thoroughly for 2-3 minutes to eliminate vinegar taste. Final soak in fresh water for 10 minutes ensures complete vinegar removal.
Mold or Mildew Emergency Protocol:
Create solution of 1 tablespoon bleach per quart water. Soak affected parts for 5 minutes maximum—never exceed this time. Rinse extensively for 5+ minutes to eliminate all bleach residue. Air dry in sunlight when possible—UV rays provide natural disinfection. Never use bleach on filter cartridges—replace them immediately if contaminated.
Long-term Filter Care for Peak Performance
Vacation Storage Protocol:
Empty reservoir completely if unused for 3+ days. Remove and dry filter holder separately—trapped moisture causes mold. Store in cool, dry place away from sunlight which degrades plastic components. Keep replacement cartridges sealed until use to maintain effectiveness.
Hard Water Adjustments:
Increase cleaning frequency to every 2 weeks if you have hard water. Consider pre-filtered water to extend cartridge life by 30-50%. Monitor for white, chalky deposits—these indicate you need more frequent maintenance.
Your Keurig’s water filter requires monthly cleaning and bi-monthly replacement for optimal performance. This simple maintenance routine ensures consistently fresh-tasting coffee while significantly extending your machine’s lifespan. Mark your calendar now for regular filter maintenance—your taste buds will thank you with every perfect cup tomorrow morning. For models without built-in filters (K-Mini, K-Express, K-Slim), always use pre-filtered water to prevent mineral buildup and maintain coffee quality.


