
Your morning coffee should taste fresh, not like stale mineral deposits and mold. When your Keurig Platinum starts brewing weak, slow, or bitter coffee, it’s screaming for a proper cleaning. Mineral scale from hard water, dried coffee oils, and bacterial buildup clog internal pathways and ruin flavor—plus they trigger those annoying “Descale” messages. This complete guide gives you the exact system to restore peak performance using only household supplies. You’ll learn daily wipe-downs, weekly descaling, and monthly deep cleans that take under an hour and extend your machine’s life by years.
Most owners make the critical mistake of only running vinegar cycles—they miss hidden clogs in exit needles and reservoir sensors. But with this proven method, you’ll dissolve stubborn scale, eliminate vinegar aftertaste, and prevent error messages. Whether you’re battling sputtering brews or prepping for vacation storage, these steps work for every Keurig Platinum model (K475, K525, K575, K585). Let’s transform your machine from sluggish to showroom-new.
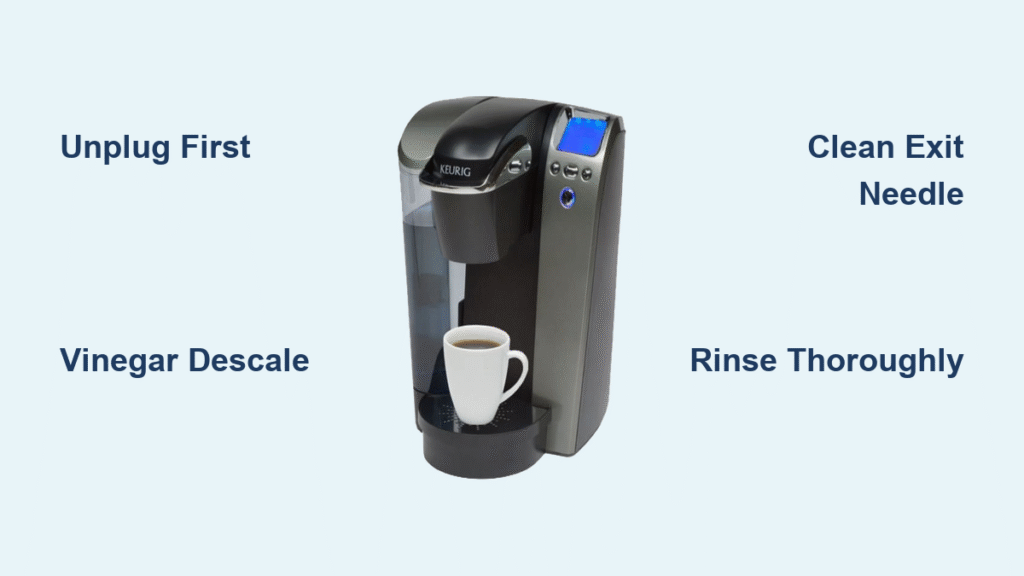
Critical Safety Steps: Unplug and Cool Your Keurig Platinum First
Never clean while plugged in. Disconnect the power cord immediately and wait 30 minutes if the machine was recently brewing—hot water lines and heating elements can cause severe burns even when the unit appears off. This isn’t just manufacturer caution; water contacting live electrical components risks shock or permanent damage to your Platinum’s internal sensors. A cooled machine ensures safe access to all parts without triggering error codes.
Always unplug before handling removable components. The glossy housing might hide residual heat, so test the exterior with your palm. If it’s warm to the touch, wait longer. Skipping this step risks cracking plastic housings when cold water hits hot surfaces during rinsing.
Why Your Keurig Platinum Shuts Down During Cleaning
The Platinum model’s auto-shutoff feature activates if internal temperatures exceed safe limits during operation. But during cleaning, this becomes a hazard—residual heat in the boiler can flash-steam vinegar solutions, causing pressure spikes. Unplugging eliminates this risk entirely. If you skip cooling time, mineral deposits may harden further from rapid temperature changes, making them harder to remove later.
Gather Your Cleaning Arsenal: Must-Have Supplies for Keurig Platinum
Don’t use generic cleaners—your Platinum needs specific tools:
– 48 oz white distilled vinegar (never apple cider or cleaning vinegar)
– Mild dish soap (fragrance-free)
– Two lint-free microfiber cloths (paper towels scratch glossy surfaces)
– Soft-bristled bottle brush (to reach drip tray channels)
– Straightened paperclip (1.5-inch cleaning probe)
– Baking soda (for vinegar odor removal)
– Fresh charcoal filter (quarterly replacement)
Set up your workspace near a sink with good lighting. The Platinum’s tight internal tolerances mean one dropped component can crack its plastic housing. Place a towel under the brewer to protect counters from vinegar spills. Crucially, skip bleach or citrus cleaners—they corrode aluminum heating elements and void warranties.
Why Distilled Vinegar Beats Commercial Descalers
White vinegar’s 5% acetic acid concentration perfectly dissolves mineral scale without damaging Platinum’s aluminum boilers. Commercial descalers often contain harsh chemicals that leave bitter residues affecting coffee taste. Vinegar’s mild acidity also sanitizes mold in reservoirs without harming rubber seals—unlike bleach-based solutions that degrade silicone over time.
Daily Wipe-Down Routine: Prevent Mold in 5 Minutes
Control Panel Care That Avoids Electronics Damage
Dampen one microfiber cloth with water only—never spray liquids near the LCD display. Wipe the touch-sensitive panel in straight vertical strokes to avoid smudges. For coffee splatters on brushed-metal housing, add one drop of dish soap to the cloth, wring until almost dry, and wipe with the grain. Immediately dry with a second cloth. Residual moisture in the control panel’s crevices causes sticky buttons and error codes within weeks.
Drip Tray Deep Clean to Stop Mildew Growth
Lift the tray straight up to separate the grate from the base. Soak both in warm soapy water for 2 minutes, then scrub drainage channels with your bottle brush—focus on the corners where mold hides. Rinse thoroughly and air-dry upside down for 1 hour. Reinstalling a damp tray traps moisture against the heating element, breeding pink slime bacteria within 48 hours.
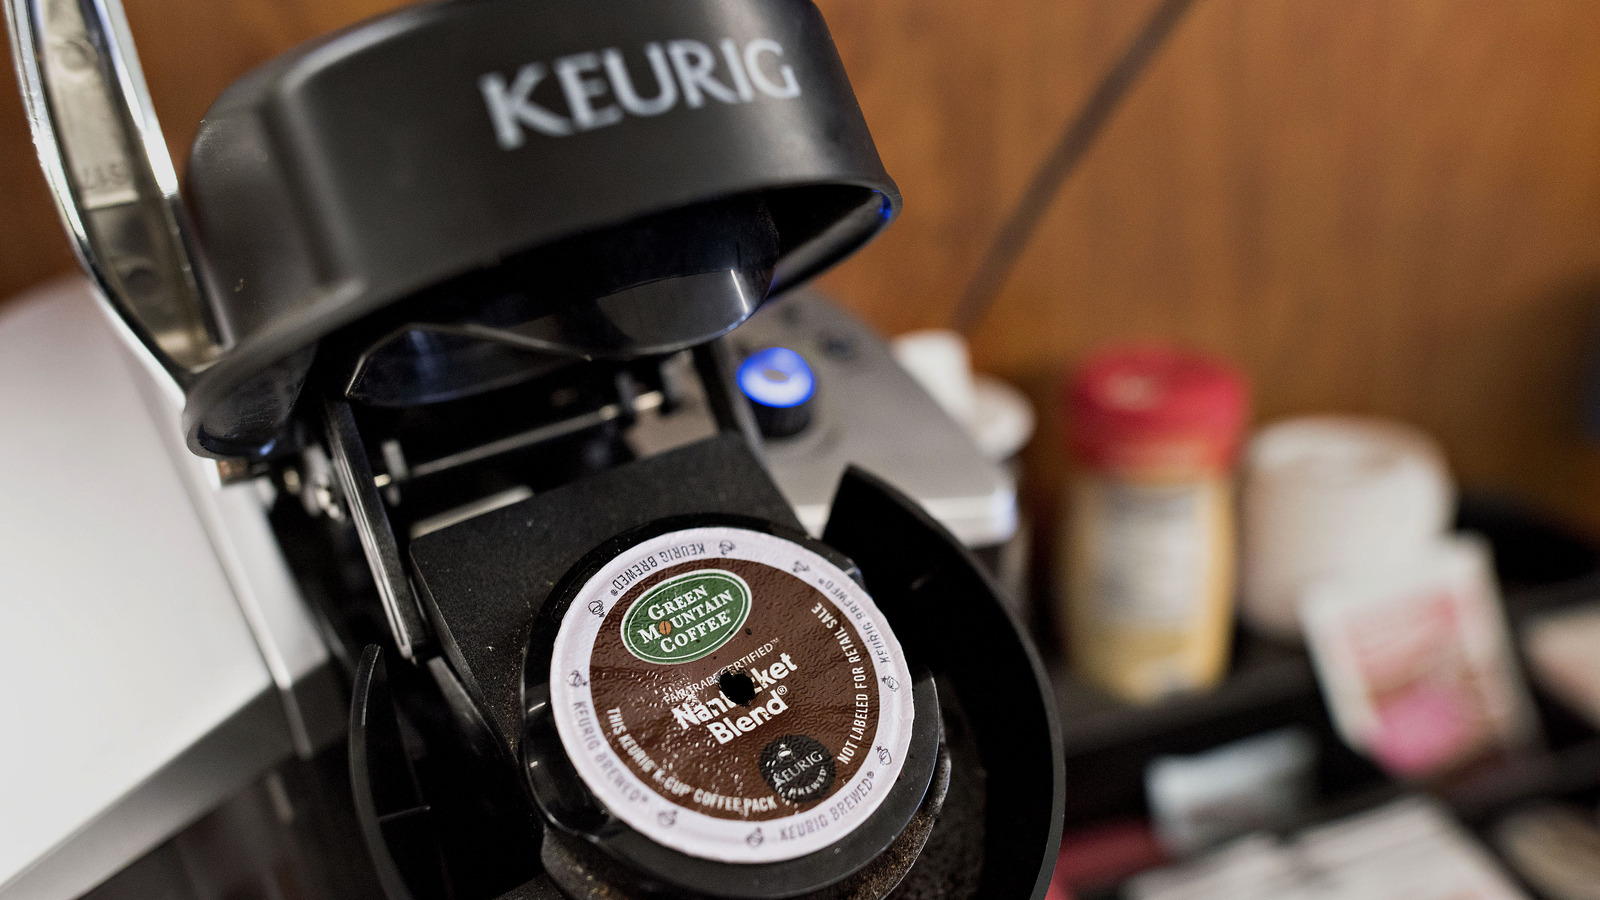
K-Cup Holder Refresh Without Soap Residue
Remove the holder by pushing up firmly from below while wiggling. Separate the funnel at the hinge and rinse both parts under warm tap water. Never use soap here—detergent clings to the exit needle and creates chemical aftertaste in your next brew. Shake vigorously to dislodge grounds, then air-dry for 30 minutes before reassembly. Skipping this step causes clogs from hardened coffee oils within days.
Weekly Vinegar Descale Cycle: Eliminate Scale in 4 Hours
Prepare Full-Strength Vinegar Solution for Maximum Effect
Fill the reservoir to MAX with undiluted white vinegar—diluting reduces acidity and fails to dissolve stubborn scale. The Platinum’s sensors require full-strength solution to trigger proper calibration cycles. Place a 12-ounce ceramic mug on the drip tray (plastic melts from hot vinegar).
Execute the 7-Step Brew Sequence Flawlessly
- Select the 12-ounce brew size
- Run cycle without a K-Cup
- Discard hot vinegar immediately
- Repeat until “Add Water” appears (5-7 cycles total)
- Leave remaining vinegar in reservoir
- Let machine sit powered-on for 4 hours
- Post a “Do Not Use” note—accidental coffee brewing into vinegar ruins internal parts
Complete Water Flush to Remove Vinegar Taste
Empty and rinse the reservoir twice. Refill with fresh water and run 12 large-cup cycles (144 oz total). Taste-test the final cup—if vinegar odor lingers, add 1 tbsp baking soda to the reservoir and run 4 more cycles, followed by 2 plain-water cycles. Stopping early leaves acidic residue that corrodes pumps.
Monthly Deep Maintenance: Unclog Needles and Reservoirs

Exit Needle Cleaning That Restores Full Flow
Straighten a paperclip to 1.5 inches. With the K-Cup holder removed, locate the hollow exit needle in the brew head. Insert the paperclip into all three side holes and the bottom opening, twisting gently to dislodge coffee sludge. Flush with warm water while cleaning—debris left behind causes weak brews and “Prime” errors.
Reservoir Sanitization to Kill Biofilm
Mix 1 tsp baking soda in 1 cup warm water. Scrub the reservoir interior, focusing on the float mechanism and corners. Rinse until water runs clear—baking soda neutralizes vinegar odors better than plain water. Skip this monthly step and slimy biofilm develops on the reservoir walls within 60 days.
Fix Post-Cleaning Problems Before They Worsen
Weak Flow Solutions When Descaling Fails
If brews remain slow after cleaning, repeat exit-needle cleaning immediately—dried coffee often re-clogs the tiny holes. For persistent issues, run a commercial aluminum-safe descaler (like Keurig’s official solution) to target scale in heating tubes vinegar misses. Ignoring this accelerates pump failure.
Eliminate Vinegar Taste in 3 Cycles
Flush with 1 tbsp baking soda dissolved in a full reservoir. Run 4 brew cycles, then 2 plain-water cycles. Never skip the baking soda step—lingering vinegar acidity ruins coffee flavor and erodes metal components over time.
Clear “Add Water” Errors With Sensor Cleaning
Wipe the two metal sensor pins on the reservoir’s rear wall with a vinegar-dampened cotton swab. These pins detect water levels—if coated in mineral deposits, they falsely trigger “Add Water” messages even when full. Cleaning restores accurate readings instantly.
Pro Tips for Keurig Platinum Longevity
- Use filtered water—tap water’s minerals cause 80% of scale buildup
- Never submerge the brewer—water damages the base electronics
- Clean holder after flavored pods—sugar residues clog 3x faster than coffee
- Store paperclip inside cabinet—instant access for emergency needle cleaning
- Reset filter indicator monthly—prevents premature “Replace Filter” alerts
Quick Reference Cleaning Schedule
| Frequency | Critical Tasks | Time Required |
|---|---|---|
| Daily | Wipe control panel, empty drip tray | 3 minutes |
| Weekly | Full vinegar descale cycle | 45 minutes |
| Monthly | Clean exit needle, sanitize reservoir | 20 minutes |
| Quarterly | Replace charcoal filter, deep descale | 60 minutes |
A meticulously cleaned Keurig Platinum delivers hotter, faster brews with zero off-flavors—no more weak coffee or “Descale” panic. By following this schedule, you’ll avoid 90% of common failures that send machines to landfills prematurely. Your morning ritual should taste like fresh coffee, not yesterday’s neglect. Start today: unplug your brewer, grab that vinegar bottle, and reclaim perfect cups for years to come.


