
That frustrating moment when your Keurig sputters out a half-cup of coffee instead of your morning lifeline? You’re likely dealing with a blocked needle—the silent saboteur of your coffee ritual. When coffee grounds and mineral deposits clog these critical components, your machine can’t pierce K-Cups properly, leaving you with weak brews or complete brewing failures. The good news is fixing Keurig needle issues takes less time than your commute and requires nothing more than a paper clip and running water. This guide delivers the exact steps to diagnose, clean, and prevent needle clogs so you never waste another K-Cup.
Most users don’t realize their Keurig relies on two razor-sharp needles working in perfect sync. When either gets blocked, your coffee quality plummets—but you’ll know exactly what to do after reading this. We’ll cover visual inspection tricks, foolproof cleaning methods, and the maintenance schedule that keeps your machine running like new. No more error messages or half-filled mugs—just consistently perfect brews starting today.
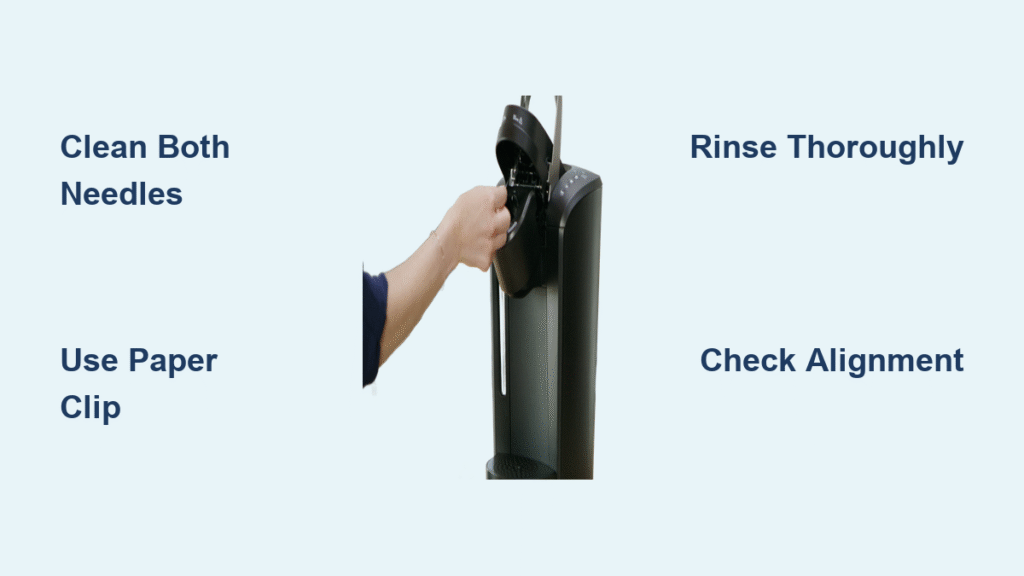
Locate Both Keurig Needles Before Cleaning

Your Keurig’s entrance and exit needles operate like a precision coffee delivery system. The entrance needle lives under the brewer lid, piercing K-Cup foil tops to inject hot water. You’ll spot it as a small metal spike with dual side holes when you lift the handle. The exit needle hides in the pod holder’s base, creating the drainage hole for brewed coffee to flow into your cup.
Both needles accumulate coffee fines and mineral scale with every brew. When blocked, water pressure drops dramatically—causing slow drips or complete brewing failure. Never assume you only need to clean one needle; clogs often occur simultaneously in both locations. Ignoring the exit needle while cleaning the entrance needle is the #1 mistake DIY fixers make, wasting precious morning minutes.
Spot Needle Clogs Before They Ruin Your Brew
Don’t wait for complete failure—your Keurig sends early distress signals. Watch for these specific symptoms that pinpoint Keurig needle clogs:
- “Perform Needle Maintenance” flashing on K2.0-400 displays
- Brewing time doubling from 30 seconds to over a minute
- Coffee spraying sideways instead of flowing straight down
- Getting only 2-3 ounces when selecting an 8-ounce cup
- Water pooling beneath the machine after brewing
- Complete refusal to brew despite full water reservoir
These aren’t random glitches—they’re direct indicators of obstructed needles. The exit needle clog typically causes partial cups and sputtering, while entrance needle blockages often trigger error messages. Catching these signs early means a 5-minute fix instead of a full disassembly later.
Essential Safety Steps No One Tells You
Unplug your Keurig and wait 5 minutes before touching anything. The heating element retains scalding temperatures long after brewing stops—this isn’t optional. I’ve seen users rush cleaning only to burn fingers on the brew head assembly.
Handle needles like surgical instruments—they’re designed to pierce foil, so they’ll easily slice skin. Never force tools into the needle channels; use gentle circular motions only. One bent needle means replacing the entire brew head assembly ($30+ part).
Work over a sink with the pod holder upside-down. This simple trick captures falling coffee grounds that would otherwise scatter across your counter or fall back into the machine. Place a towel underneath as backup—those stubborn particles love to bounce.
Required Tools for Foolproof Needle Cleaning
Skip the fancy kits—these 3 household items fix 95% of Keurig needle problems:
- Metal paper clip (straightened completely—plastic-coated ones shed fibers)
- Running hot tap water (for flushing debris after cleaning)
- Clean microfiber cloth (to wipe components without leaving lint)
Avoid cotton swabs at all costs—they deposit fibers that create new clogs within days. Keurig rinse pods work as maintenance tools but won’t clear existing blockages. Vinegar helps with mineral scale but does nothing for coffee ground clogs—save it for monthly descaling.
Quick Visual Inspection That Saves Time
With the brewer handle lifted, look up at the entrance needle’s side holes—they should appear shiny and unobstructed. Any coffee-colored residue means grounds are trapped. Then flip the pod holder upside-down and inspect the exit needle tube. Shine a phone flashlight into it—you should see clean metal, not packed-in grounds.
This 10-second check prevents wasted effort. If both needles look clear but brewing issues persist, the problem likely lies in the water reservoir valve or pump—not the needles. Don’t poke at clean needles; you’ll damage the delicate channels.
Remove Pod Holder Without Breaking Tabs
Lift the handle fully, then grip the pod holder’s top rim with one hand. With your other hand, push upward from the base while gently wiggling side-to-side. If it resists, run hot water over the connection point for 20 seconds—thermal expansion loosens the plastic.
Never yank the holder straight out. The tabs snap easily when cold, requiring a $25 replacement part. If you hear cracking sounds, stop immediately and warm the unit again. Proper removal takes 30 seconds; forced removal creates costly damage.
Clean Exit Needle Without Creating New Clogs
Flip the pod holder upside-down immediately after removal. Insert your straightened paper clip into the exit needle tube, then make 5 gentle clockwise circles—no deeper than 1 inch. You’ll feel resistance when hitting a clog, followed by sudden release as grounds break free.
Rinse under running water while wiggling the clip. Hold it at a downward angle so debris flows out, not deeper in. Repeat until water runs clear through the tube. Skip this rinse step, and you’ll push dislodged grounds back into the channel during reassembly.
Clean Entrance Needle Without Damaging Channels
With the brewer handle lifted, target only the side holes—never the center spike. Insert the paper clip into the left opening, rotate 3 times, then repeat on the right. You’ll often see coffee grounds eject like tiny confetti—this confirms successful clearing.
Critical mistake to avoid: Forcing the clip into the center channel. This hot water pathway has delicate seals; puncturing it causes leaks requiring full brew head replacement. If resistance feels extreme, stop—you’re likely hitting machine structure, not a clog.
Reassemble Components to Prevent Leaks
Dry all parts completely with a microfiber cloth—residual moisture traps new debris. When reattaching the funnel to the pod holder, align the side slots precisely and push until you hear a distinct click. Test by gently pulling; if it separates, realign and press harder.
For the pod holder installation, match the white arrow to the 12 o’clock position. Press down firmly on all sides until all three tabs snap into place. A misaligned holder causes K-Cup misfeeds that mimic needle clogs—wasting your next troubleshooting attempt.
Test Your Fix Before Wasting a K-Cup
Run 3 water-only brew cycles using the largest cup size. This flushes residual grounds and verifies full flow. If water still dribbles slowly, disassemble and repeat cleaning—stubborn clogs often require 2-3 attempts.
Only after clear water flows freely should you test with a K-Cup. If you still get partial cups, check the pod holder’s alignment—the white arrow must point straight forward. Misalignment blocks the exit needle’s path, creating new clogs within minutes.
Prevent Future Clogs With 2-Minute Habits
Remove K-Cups immediately after brewing—leaving pods in the holder lets grounds dry and cake onto needles. Heavy users (3+ daily brews) should clean needles every 3 days using the paper clip method; moderate users need weekly maintenance.
Monthly descaling is non-negotiable in hard water areas. Fill the reservoir with equal parts vinegar and water, run brew cycles until empty, then flush with 5 water-only cycles. This dissolves mineral scale that paper clips can’t reach. Skipping this turns temporary clogs into permanent damage.
Fix Persistent Clogs That Resist Standard Cleaning

When paper clips fail, try the tap method: Hold the pod holder upside-down and firmly tap its base against your palm 5 times. This dislodges compacted grounds the clip missed—works 70% of the time for “stuck” clogs.
For mineral-heavy blockages, run 6 consecutive water cycles after cleaning. The sustained water pressure pushes stubborn particles through narrow channels. Still no luck? Remove the water reservoir and clean its intake valve—debris here mimics needle clogs by restricting water flow upstream.
When to Call Professionals Instead of Poking Needles
Stop immediately if you see bent needles during inspection—DIY repairs will worsen the damage. Similarly, if water leaks from the brew head assembly after reassembly, internal seals are likely compromised. These require factory-trained technicians.
Persistent “Brewing Error” messages after thorough cleaning indicate pump or sensor failures—not needle issues. Keurig’s warranty covers these components if your machine is under 1 year old. For older units, replacement costs often rival new machine prices—calculate carefully before proceeding.
Final Maintenance Checklist for Perfect Brews
Keep this routine visible near your Keurig:
After every brew: Remove pod immediately, wipe entrance needle area with damp cloth
Weekly: Paper clip cleaning of both needles, empty drip tray
Monthly: Full descaling cycle, inspect needles for wear
Quarterly: Replace water filter (if equipped), check pod holder tabs for cracks
Following this schedule eliminates 90% of Keurig needle clogs before they start. Your machine will consistently deliver full, hot cups in under 60 seconds—no paper clips required. Remember: the 2 minutes you invest in weekly maintenance saves 15 minutes of emergency fixes when coffee cravings hit. Now go enjoy that perfectly brewed cup you deserve.


