
That frustrating moment when your Moka Pot brew tastes bitter and burnt or comes out weak and watery—more often than not, the culprit is your coffee grind size. Getting the texture right transforms your stovetop brew from disappointing to extraordinary, creating that rich, espresso-like coffee with a velvety crema layer that makes Moka Pots so beloved. The ideal grind sits in a precise sweet spot that balances extraction time and flavor development, and mastering it requires understanding how this unique pressure-based system works. In this guide, you’ll discover exactly how fine to grind coffee for Moka Pot brewing, why that specific texture matters, and practical techniques to achieve perfect results every time—whether you’re using a $20 blade grinder or a professional burr model.
Moka Pot Grind Size: The Table Salt Texture Standard
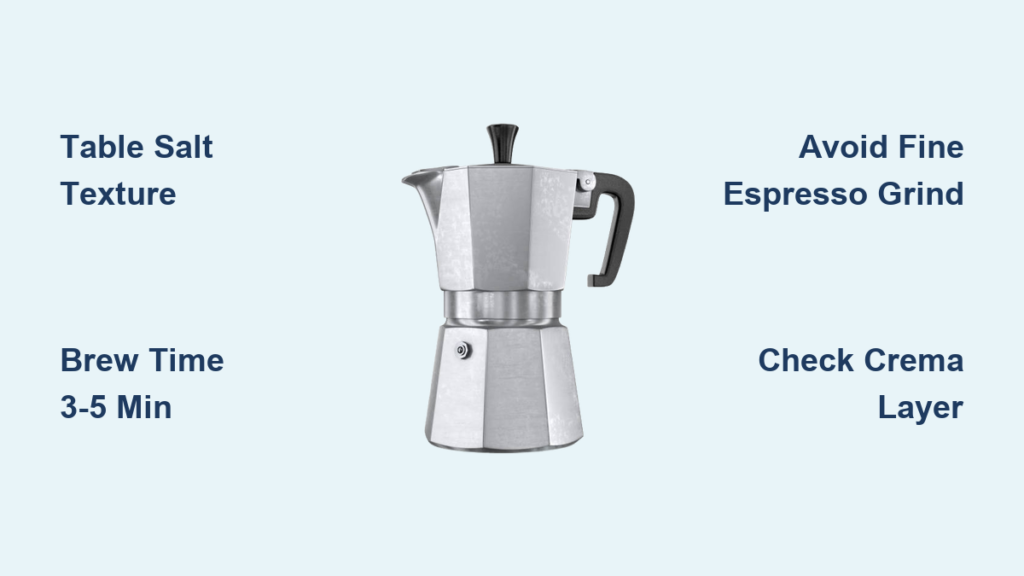
Your perfect Moka Pot grind should resemble fine table salt—slightly coarser than espresso but noticeably finer than drip coffee. When you rub a small pinch between your fingers, it should feel gritty with visible texture, not powdery like flour. This medium-fine grind creates the ideal resistance against the metal filter, allowing water to flow steadily while building enough pressure for proper extraction. Unlike paper-filtered methods that trap fine particles, the Moka Pot’s metal screen needs this specific texture to prevent both clogging and under-extraction.
Why Metal Filters Demand Specific Grind Texture
The metal filter basket in your Moka Pot has larger holes than V60 paper filters or French press mesh screens, creating a unique extraction environment. Too fine, and grounds slip through the filter or compact under pressure, blocking water flow and creating bitter, over-extracted coffee. Too coarse, and water rushes through without proper contact time, producing sour, weak results. This is why medium-fine works perfectly—it’s fine enough to create necessary resistance while coarse enough to stay contained in the basket.
How to Test Your Grind Texture at Home
Without a microscope, how can you verify your grind size? Try this simple test: fill your Moka Pot filter basket with grounds (without tamping), then gently shake it. If fine powder falls through, your grind is too fine. If whole fragments remain visible on top, it’s too coarse. The ideal texture should sit firmly in the basket without excessive fines passing through. Another check: brew time should be 3-5 minutes from when you place the pot on the stove. Less than 3 minutes indicates too coarse; more than 5 minutes suggests too fine.
Avoid These Two Critical Grind Mistakes

Most Moka Pot failures stem from just two grind-related errors that sabotage your brew before you even light the stove. Recognizing and correcting these issues transforms your coffee from inconsistent to exceptional.
Mistake 1: Grinding Too Fine for “Stronger” Coffee
Many beginners mistakenly think finer equals stronger, grinding to espresso consistency. This creates immediate problems: grounds compact under pressure, restricting water flow and causing scalding temperatures to linger on coffee. Result? Bitter, burnt flavors with unpleasant astringency. You might also notice gurgling sounds stopping prematurely as pressure builds but can’t release properly. If your coffee has a thick, sludge-like layer at the bottom of your cup, your grind is definitely too fine.
Mistake 2: Using Pre-Ground “Espresso” Coffee
Pre-ground coffee labeled for espresso machines rarely works in Moka Pots despite both producing concentrated coffee. Espresso grinds are typically 20-30% finer than what Moka Pots require. The pressure systems differ fundamentally—espresso machines use 9 bars of pressure while Moka Pots generate about 1.5 bars. What extracts perfectly in an espresso machine clogs a Moka Pot. Always look for coffee specifically labeled “for Moka Pot” or “stovetop espresso” if buying pre-ground.
Step-by-Step Grind Adjustment Process
Achieving perfect extraction requires systematic testing rather than guessing. Follow this process to dial in your ideal grind setting regardless of your equipment.
Brew Time as Your Primary Diagnostic Tool
Your first indicator of proper grind size is brew time. With fresh beans and correct water temperature (use hot water from your kettle, not cold), timing should be:
– Under 3 minutes: Grind too coarse (weak, sour coffee)
– 3-5 minutes: Ideal extraction window
– Over 5 minutes: Grind too fine (bitter, burnt coffee)
Adjust in small increments: if brewing too fast, move your grinder one notch finer; if too slow, go one notch coarser. Wait for the grinder to cool between adjustments to avoid heat affecting particle size.
The Crema Check: Visual Confirmation of Proper Extraction
A properly brewed Moka Pot should produce a thin layer of golden-brown crema—the emulsified coffee oils that signal correct extraction. No crema typically means under-extraction (grind too coarse), while dark, thick crema often indicates over-extraction (grind too fine). This visual cue works best with fresh beans (roasted within 2-4 weeks); older beans produce less crema regardless of technique.
Grinder-Specific Techniques for Perfect Results

Your equipment determines how you achieve that ideal medium-fine texture. These methods work whether you’re using a $15 blade grinder or professional burr model.
Blade Grinder Method: The Pulse-and-Shake Technique
Blade grinders produce uneven particle sizes, but you can minimize inconsistency with this approach:
1. Start with room-temperature beans (cold beans shatter inconsistently)
2. Pulse 2-3 seconds, then shake the grinder to redistribute beans
3. Repeat 8-12 times until reaching table salt texture
4. Check texture frequently—over-grinding happens quickly
The key is frequent texture checks. Stop when most particles resemble coarse sand with minimal powder. Don’t worry about perfect uniformity—just avoid large chunks or excessive fines.
Burr Grinder Settings: The Sweet Spot Finder
Burr grinders simplify the process with consistent particle size. For most models:
– Set to #4-6 on 11-setting grinders (like Baratza Encore)
– Set to #8-10 on 40-setting grinders (like Eureka Mignon)
– Start midway in this range and adjust based on brew time
Write down your successful settings for future reference. Remember that different beans require slight adjustments—light roasts need slightly finer grinds than dark roasts for equivalent extraction.
Water Temperature and Ratio Synergy
Grind size doesn’t work in isolation—your water temperature and coffee-to-water ratio interact with particle size to determine final flavor.
Why Hot Water Matters More Than You Think
Starting with hot water (not cold) from your kettle reduces total brew time by 30-40 seconds, preventing beans from sitting in hot water too long before pressure builds. This is crucial when using slightly finer grinds, as it prevents premature over-extraction while still allowing proper pressure development. Cold water increases the risk of scorching grounds before brewing completes.
The 1:7 Ratio Rule for Balanced Extraction
Use a 1:7 coffee-to-water ratio (by weight) as your foundation:
– 15g coffee to 105g water for a single cup
– Level tablespoon per cup as a practical measure
This ratio creates espresso-strength concentrate that holds up to milk if desired. If adjusting ratio to fix flavor issues, first verify your grind size—many perceived ratio problems actually stem from incorrect grind texture.
Essential Moka Pot Maintenance for Consistent Results
Even perfect grind technique fails with a neglected pot. Coffee oils and mineral deposits alter extraction dynamics over time.
Cleaning Protocol After Every Use
Disassemble completely after each brew:
1. Separate all components while still warm (not hot)
2. Rinse filter basket under running water
3. Use soft brush to clean screen and internal passages
4. Wipe rubber gasket with damp cloth (never submerge)
5. Air dry completely before reassembly
Dishwashers can’t reach critical areas, allowing residue buildup that affects pressure dynamics. Hard water areas require monthly descaling with 50/50 vinegar-water solution.
Aluminum vs Stainless Steel: How Material Affects Grind Needs
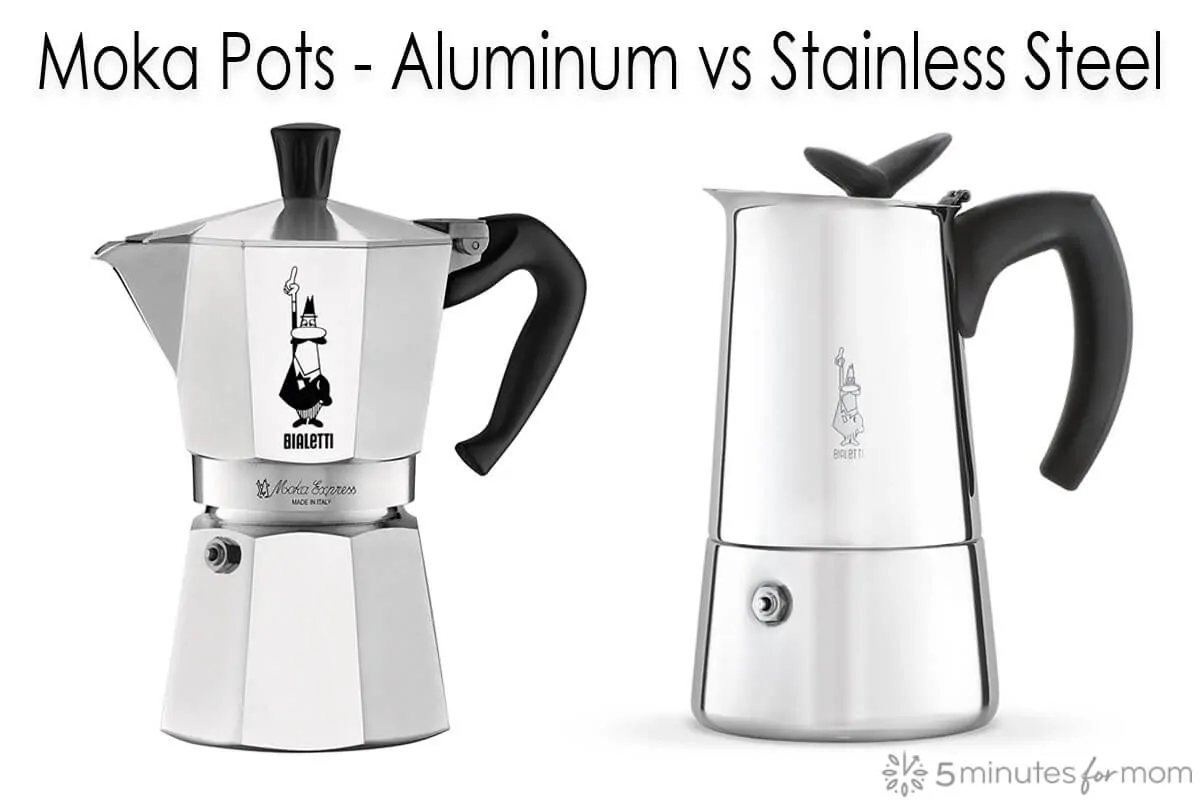
Your pot’s material influences optimal grind size due to different heat transfer properties.
Aluminum Pots: Faster Heat, Slightly Coarser Grind
Aluminum heats quickly and evenly, requiring slightly coarser grinds to prevent over-extraction. Ideal for gas stoves where direct flame concentrates heat. Look for Bialetti’s classic octagonal design for optimal heat distribution.
Stainless Steel Pots: Slower Heat, Slightly Finer Grind
Stainless steel takes longer to heat but distributes temperature more evenly. Requires slightly finer grinds to compensate for slower extraction. Better for electric or induction cooktops where heat transfer differs.
Troubleshooting Common Grind-Related Issues
When problems arise, these targeted fixes address the root cause rather than symptoms.
Problem: Bitter Coffee with Burnt Aftertaste
- Cause: Grind too fine or water too hot
- Fix: Coarsen grind one setting and use medium heat (not high)
Problem: Sour, Weak Coffee with No Crema
- Cause: Grind too coarse or insufficient coffee
- Fix: Refine grind one setting and verify you’re using level tablespoons
Problem: Gurgling Stops Before Chamber Fills
- Cause: Extreme over-extraction from too fine grind
- Fix: Immediately remove from heat and coarsen grind significantly
Your Path to Perfect Moka Pot Coffee Starts Today
Mastering how fine to grind coffee for Moka Pot unlocks café-quality results with minimal equipment. Remember the table salt texture standard—gritty between your fingers but not powdery—and use brew time as your primary diagnostic tool. Start with fresh beans, hot water, and a 1:7 ratio, then adjust your grind in small increments based on results. Within just three to five test brews, you’ll dial in your perfect setting and enjoy consistently rich, smooth coffee with that signature crema layer. The beauty of the Moka Pot lies in its simplicity: with the right grind texture, this century-old design produces espresso-like coffee that rivals machines costing hundreds more. Your journey to perfect stovetop brew begins with that first pinch of properly ground coffee—now you know exactly how fine it should be.


