
That disappointing first sip of weak, lukewarm coffee shouldn’t be your morning reality. When your Keurig water temperature falls outside the optimal range, you’re not just getting subpar coffee—you’re wasting money on premium pods that never reach their flavor potential. Most users never realize their machine’s temperature settings can be customized, settling for inconsistent brews that leave them reaching for the microwave. Understanding and controlling your Keurig water temperature transforms ordinary coffee into café-quality perfection right at your kitchen counter.
The secret lies in the precise 192°F (88.9°C) factory setting engineered into most Keurig models. This isn’t arbitrary—Keurig’s research shows this specific temperature unlocks maximum flavor extraction while preventing scalding. Yet countless coffee drinkers unknowingly sabotage their morning ritual by ignoring this critical variable. Whether you’re battling bitter over-extracted dark roasts or weak light roasts that taste watery, mastering your Keurig’s temperature controls solves these common frustrations. Read on to discover exactly how to calibrate your machine for perfect coffee every single time.
How Keurig’s 192°F Factory Setting Maximizes Flavor Extraction
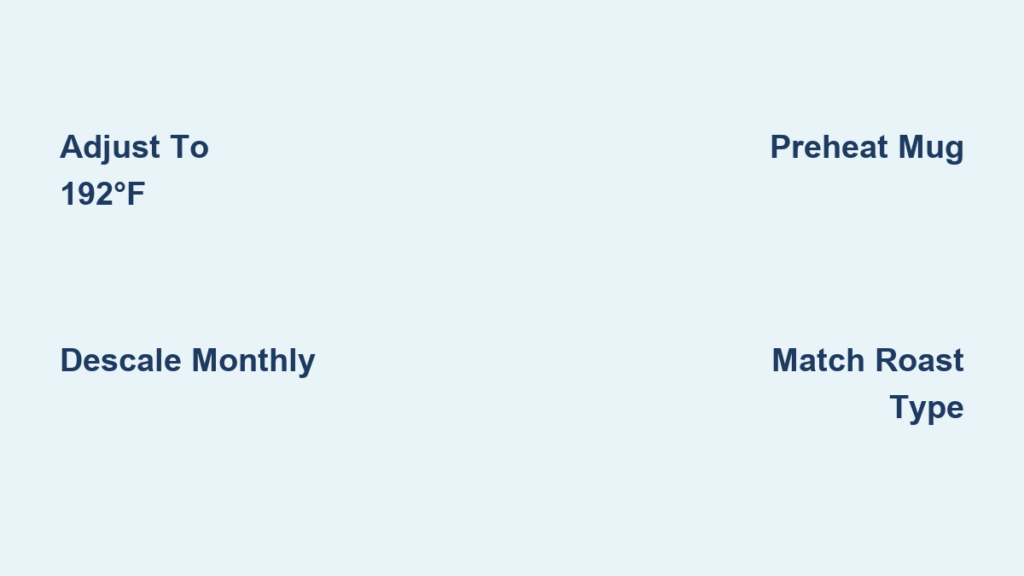
Your Keurig’s default 192°F water temperature represents the scientific sweet spot for coffee extraction. At this precise temperature, water effectively dissolves coffee’s soluble compounds without burning delicate oils that create complex flavor notes. Below this threshold, you risk under-extraction where sour, acidic notes dominate; above it, bitter compounds overwhelm the cup. The 192°F standard maintains this balance across nearly all K-Cup varieties, delivering consistent results whether you’re brewing a light Ethiopian roast or a dark French blend.
Why Lower Temperatures Create Weak Coffee
When your Keurig water temperature drops below 185°F, critical flavor compounds fail to dissolve completely. You’ll notice:
– Thin, watery body with minimal mouthfeel
– Pronounced sourness from under-extracted acids
– Lack of complexity as aromatic oils remain trapped
– Inconsistent strength even with the Strong button activated
This commonly happens in colder kitchens or when brewing multiple cups back-to-back without allowing the machine to reheat properly between cycles.
Why Higher Temperatures Cause Bitterness
Exceeding 198°F triggers over-extraction that releases harsh compounds:
– Astringent bitterness that masks nuanced flavors
– Burnt aftertaste from scorched coffee oils
– Dull, flat profile as delicate notes get overwhelmed
– Rapid cooling as hotter water loses heat faster during brewing
Dark roast enthusiasts particularly suffer at higher temperatures, as these already bold coffees become unpleasantly acrid when brewed too hot.
Step-by-Step Temperature Adjustment for Your Keurig Model
Keurig Plus/2.0 Models: Direct Temperature Control
- Touch the Settings icon (gear symbol) on your display screen
- Select “Preferred Brew Settings” from the dropdown menu
- Choose your pod type (options vary by model, typically 1-2 active for standard pods)
- Slide the temperature control to your desired setting between 185°F-200°F
- Tap Confirm to save your selection before brewing
For frequent adjustments, press and hold the Settings icon for 3 seconds to access temperature controls instantly without navigating menus.
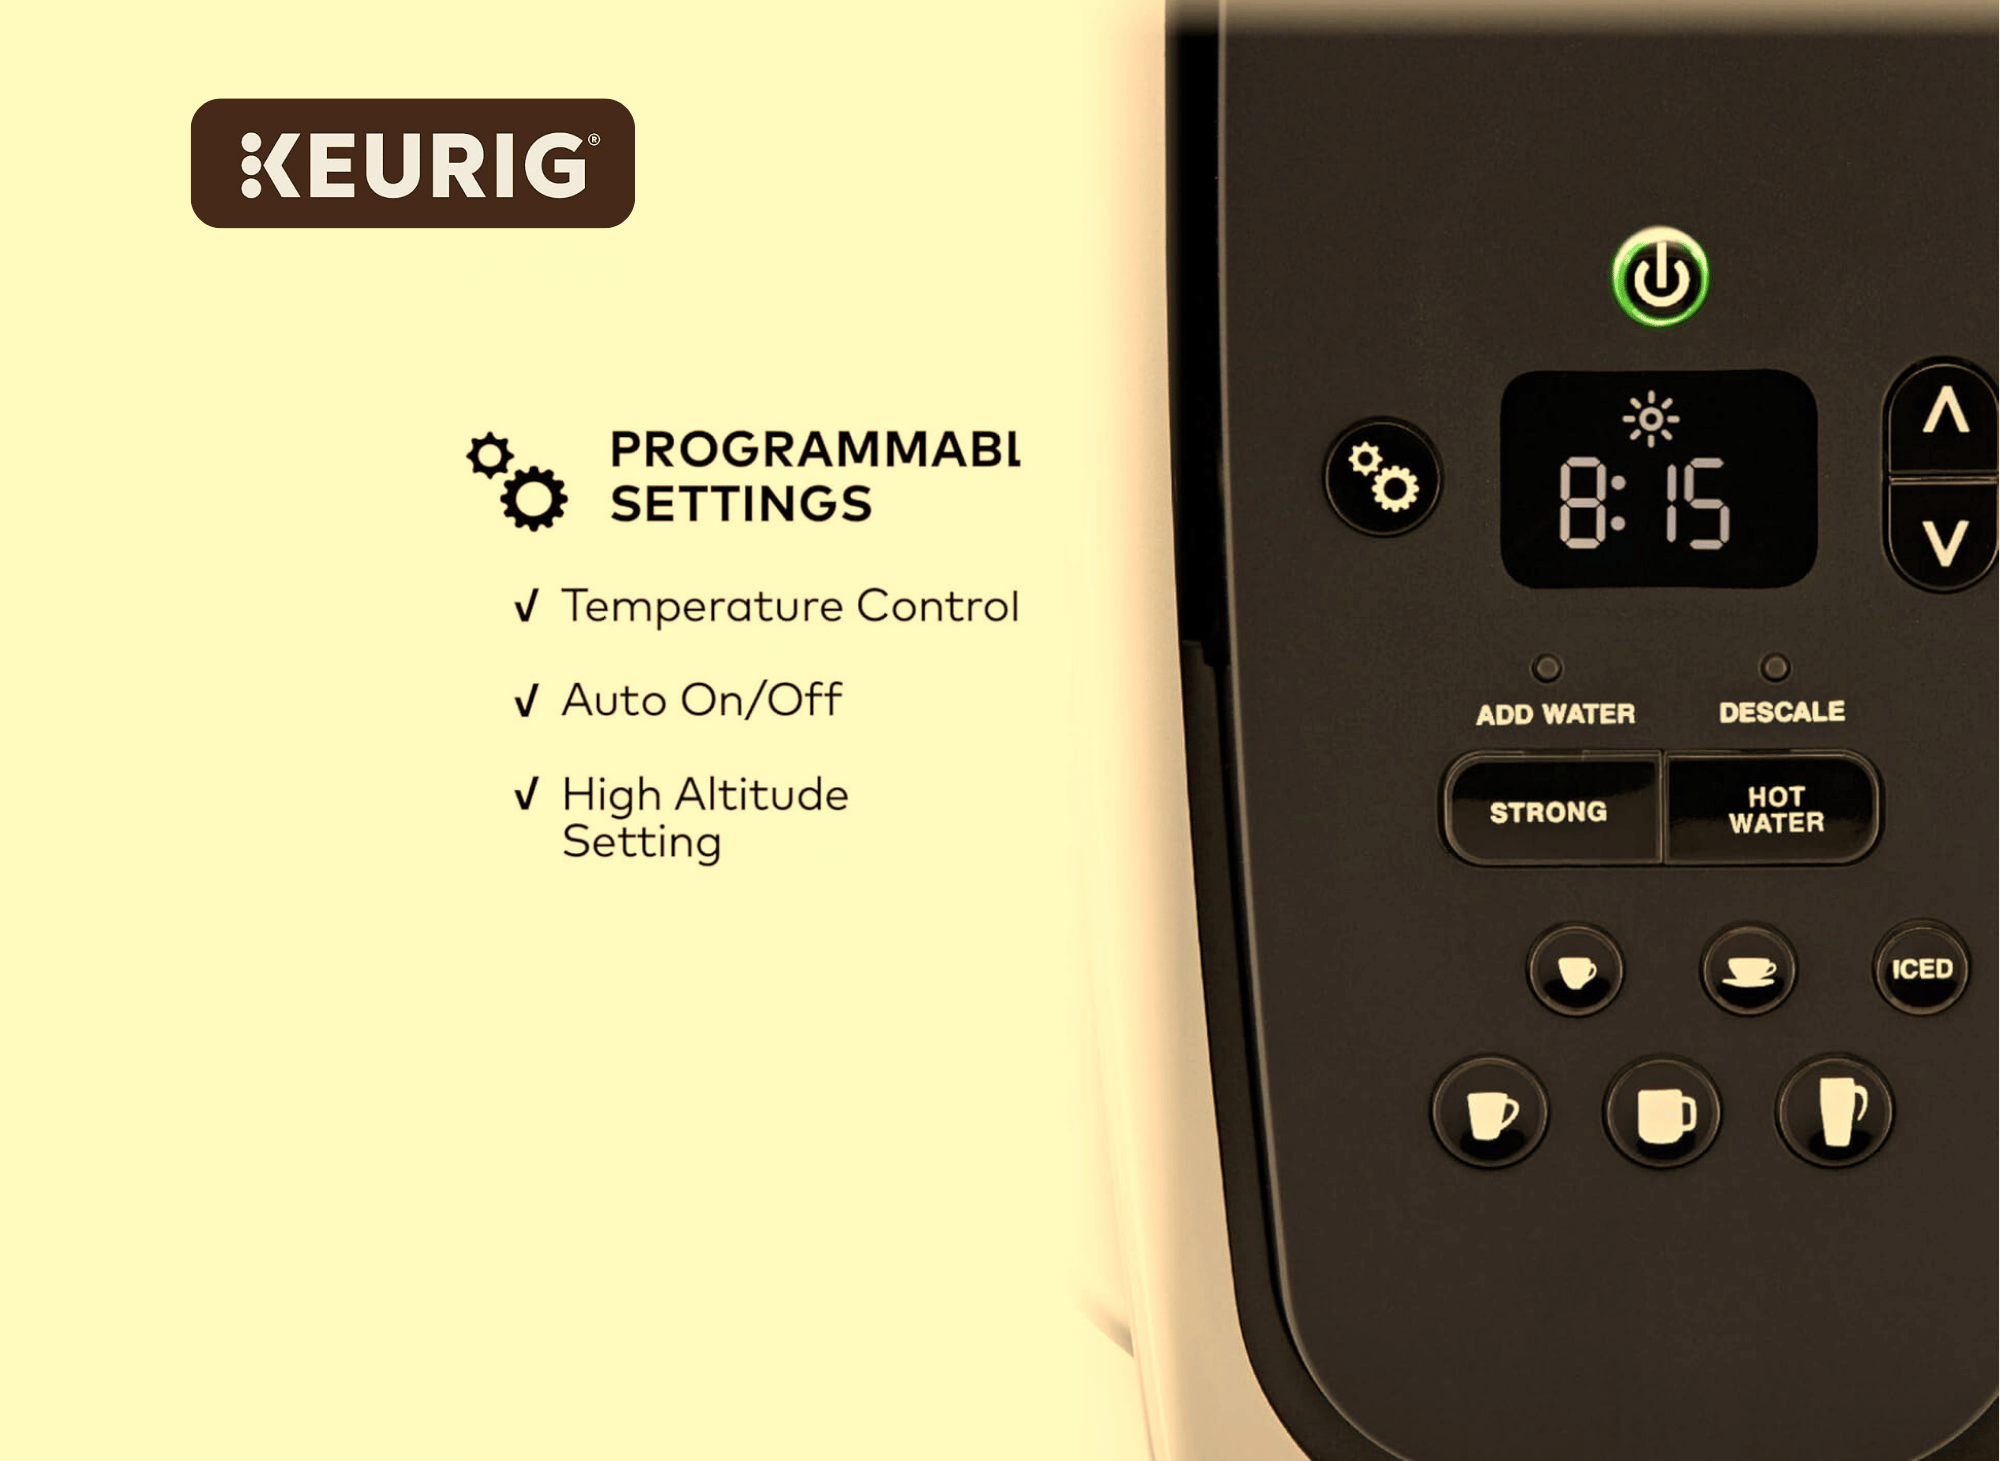
K-Elite Models: Hidden Temperature Menu
The K-Elite buries its temperature controls behind an inconspicuous double gear icon:
- Locate the small double gear icon in the display’s upper left corner
- Tap it twice to reveal the advanced settings menu
- Select “Brew Temperature” from the submenu options
- Adjust using + and – buttons in 1-degree increments
- Your selection saves automatically—no confirmation needed
Unlike basic models, your K-Elite remembers your preferred temperature between brews, eliminating daily reconfiguration.
Match Temperature to Your Coffee Roast for Perfect Flavor
Light Roast Optimization
Light roasts require slightly higher temperatures to extract their complex floral and citrus notes:
– Set to 194-196°F for complete extraction of delicate compounds
– Avoid temperatures below 192°F which leave light roasts tasting sour
– Pair with 6-8 oz cup size to concentrate flavors effectively
Medium Roast Sweet Spot
Most medium roasts perform best at the factory standard:
– Maintain 192°F for balanced flavor development
– Experiment with 190-194°F range for nuanced adjustments
– Use Strong mode when you want bolder flavor without temperature changes
Dark Roast Temperature Tweaks
Dark roasts easily become bitter when brewed too hot:
– Lower to 188-190°F to prevent scorching delicate oils
– Combine with smaller cup size (4-6 oz) for concentrated flavor
– Avoid exceeding 192°F which amplifies harsh burnt notes
Troubleshoot Common Temperature Problems
Lukewarm Coffee Despite Correct Settings
When your Keurig water temperature reads correctly but delivers tepid coffee:
- Descale immediately—mineral buildup insulates heating elements
- Verify full reservoir fill—low water levels cause temperature drops
- Preheat your mug—cold ceramics absorb significant heat
- Check for reservoir cracks—even hairline fractures introduce cold air
Temperature Display Errors
If your Keurig shows correct temperature but brews cold:
- Power cycle the machine—unplug for 10 minutes to reset electronics
- Run multiple cleansing brews—clear potential air pockets in heating system
- Clean the exit needle—clogs reduce water flow and heat transfer
- Contact Keurig support if problems persist—possible heating element failure
Maximize Temperature Control with Pro Techniques
Seasonal Temperature Adjustments
Your kitchen’s ambient temperature significantly impacts final brew heat:
– Winter months: Increase setting by 2-3°F to compensate for cold countertops
– Summer months: Decrease by 1-2°F when brewing in air-conditioned spaces
– Early morning brewing: Add 1°F when brewing before the kitchen warms up
Combine Temperature with Strong Brew Mode
For truly exceptional coffee, strategically pair temperature with the Strong button:
– Set temperature 2°F lower when using Strong mode to prevent over-extraction
– Use 6-8 oz cup size with Strong mode for optimal concentration
– Brew immediately after temperature adjustment—don’t let the machine cool between selections
Maintain Temperature Accuracy with Proper Care

Monthly Temperature Verification
Ensure your Keurig delivers the promised water temperature:
1. Fill reservoir with cold tap water
2. Set brew temperature to 192°F
3. Preheat an insulated travel mug
4. Brew 8 oz directly into the preheated container
5. Immediately check temperature with a digital thermometer (should read 188-192°F)
Descaling for Temperature Stability
Hard water buildup directly impacts heating efficiency:
– Descale every 3 months if using tap water
– Extend to 6 months when using filtered water
– Never use vinegar—Keurig’s descaling solution is specifically formulated for their heating elements
– Run 3 full water-only brews after descaling to flush residual solution
Temperature Control Limitations by Model
Models Without Adjustment Capability
Basic Keurig models (K-Classic, K-Mini, K-Slim) operate exclusively at the fixed 192°F setting with no user adjustment. If you own one of these models and need temperature control, consider:
– Preheating your mug with boiling water before brewing
– Using smaller cup sizes which retain heat better
– Brewing back-to-back cups to maintain higher internal temperature
Advanced Models with Full Control
Premium Keurig models (K-Elite, K-Select+, K-Plus) offer complete temperature customization:
– Real-time temperature display during brewing cycle
– Memory function for different pod types
– 1-degree precision for micro-adjustments
– Visual confirmation before starting brew cycle
Your perfect cup isn’t determined by expensive beans alone—it’s engineered through precise Keurig water temperature control. Start with the 192°F factory setting, then adjust in 1-2 degree increments based on your specific coffee preferences. Remember that temperature interacts with cup size, roast level, and even seasonal changes, so fine-tune these variables systematically. Implement regular descaling to maintain temperature accuracy, and verify your machine’s performance monthly with a simple thermometer check. Within days of mastering these temperature controls, you’ll wonder how you ever settled for inconsistent, lackluster coffee from your Keurig. Every degree matters—take control today and transform your daily brew from ordinary to extraordinary.


