
Your Keurig sits lifeless on the counter—no lights, no sounds, no response. One minute it was brewing your morning coffee, the next it’s completely dead. This sudden power failure strikes thousands of Keurig owners daily, often after routine descaling, water depletion, or even just normal operation. The good news? Most Keurig troubleshooting no power issues have simple fixes you can implement before considering replacement. Whether your machine died mid-brew or won’t wake up at all, this guide delivers proven diagnostics for every Keurig model, saving you time and money.
Don’t panic when facing complete power loss. Over 60% of “dead” Keurig units recover with basic external checks or model-specific resets. We’ll walk through verified solutions—from outlet verification to internal thermostat resets—so you can revive your machine in under 30 minutes. You’ll learn exactly what to inspect, when to attempt disassembly, and how to determine if Keurig’s warranty replacement is your best option.
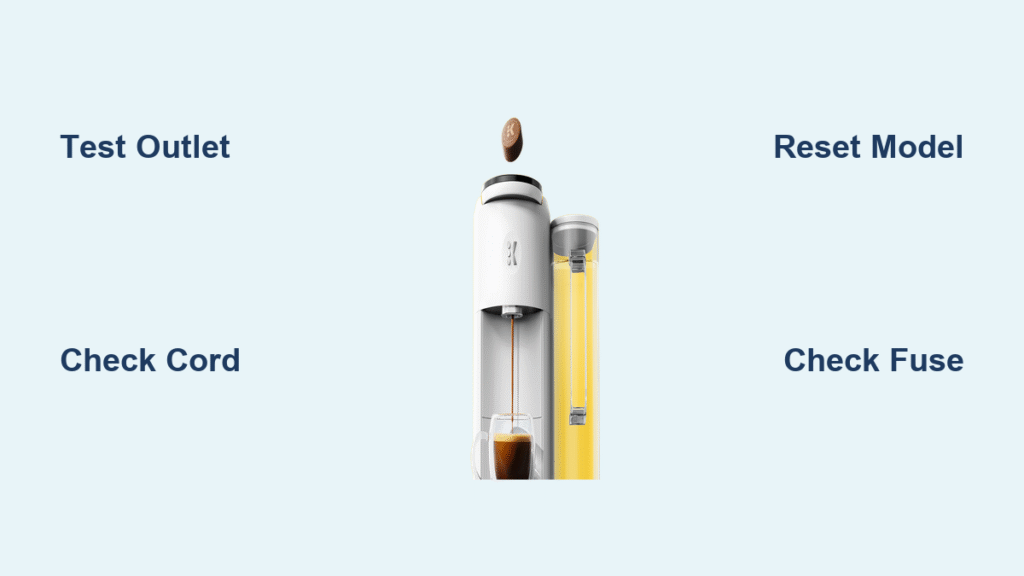
Verify Power Source and Cord Before Disassembly

Many apparent Keurig power failures stem from overlooked external issues. Skip this step and you risk unnecessary disassembly or missed warranty claims.
Test Your Outlet Immediately
Plug a lamp or phone charger into the same outlet—kitchen GFCI outlets frequently trip without visible indicators. If the test device fails, reset the circuit breaker. Even if the outlet works initially, try a different one; intermittent GFCI failures mimic dead appliances. Always unplug your Keurig during testing to prevent electrical hazards.
Inspect Cord Connections Thoroughly
Examine both ends of the power cord for looseness. At the machine’s rear, press the connector firmly until you hear a definite click—many users mistake loose connections for internal failures. Check the entire cord length for kinks, heat damage, or fraying near the strain relief. Gently wiggle the cord while plugged in; intermittent contact indicates internal wire fracture requiring replacement.
Execute Model-Specific Reset Procedures

Generic resets fail on modern Keurigs. Apply these exact sequences based on your machine’s model family to bypass software glitches.
K-Mini and K-Slim Power Recovery
- Unplug unit and remove water reservoir
- Wait 5 full minutes (critical for capacitor discharge)
- Reconnect power cord only (reservoir remains off)
- Hold power button while pressing small, medium, AND large cup buttons simultaneously
- Release when pump primes—success shows as water flow without reservoir
This sequence resets the logic board’s boot sequence. If lights still don’t illuminate, your unit likely has hardware failure.
K-Select and K-Elite LCD Factory Reset
Navigate through the touchscreen: Menu → Settings → Factory Reset. This electronic reset clears firmware errors causing power loss. Pro tip: If the display remains dark, perform a hard reset by unplugging for 10 minutes—this discharges residual power in the control board.
Reset the Internal Thermostat in K-Supreme Models
When external resets fail, your K-Supreme’s thermal safety thermostat has probably tripped—a fixable issue requiring minimal disassembly.
Accessing the Thermostat Safely
- Unplug unit and remove all water components
- Remove 3 top-panel screws (Phillips #1)
- Gently unclip rear panel starting from bottom edge—tabs break if forced
- Locate the nickel-sized thermostat disc near the heater assembly
Critical warning: Never skip the 5-minute unplugged wait—you risk electrical shock from stored energy in capacitors.
Thermostat Reset Technique
Insert a straightened paperclip into the thermostat’s recessed button. Press firmly until you feel/hear a distinct click—this confirms the bi-metal disc has reset. Reassemble only essential panels for testing. Plug in the unit (without reservoir) and press power; immediate illumination confirms success. If no response, the thermal fuse may be blown.
Diagnose Blown Fuses and Failed Components

Persistent power loss after thermostat reset indicates component failure. Verify these critical parts before considering replacement.
Line Fuse Continuity Test
Using a multimeter set to Ω mode:
– Locate the ceramic fuse where the power cord enters the machine
– Test across both terminals—expect near 0 Ω reading
– Open circuit (infinite resistance) means replacement is needed
Never bypass fuses—this creates serious fire hazards. Generic 10A-15A fast-blow ceramic fuses work as temporary fixes, but match voltage ratings exactly.
Identify Capacitor Failure Signs
Look for bulged tops or reddish-brown leakage near the power supply board—common after voltage converter use or power surges. Failed capacitors prevent startup but require advanced soldering skills to replace. If you see scorch marks or smell burnt electronics, discontinue testing immediately.
When to Contact Keurig Support for Replacement
For units under one year old, contact Keurig before attempting repairs—most receive full replacements within days.
Optimize Warranty Claim Success
Call 866-901-2739 (US) or use live chat at Keurig.com. Crucially: Describe symptoms only as “machine shows no power, no lights, tried different outlets.” Never mention disassembly attempts, third-party repairs, or voltage converters—these void warranties. Have your serial number ready (first 4 digits indicate manufacturing date).
Replacement Timeline Reality
Keurig typically ships new units within 3-5 business days with no return required. If your machine is out of warranty but under 2 years old, politely ask for “goodwill replacement”—many users report success citing recurring thermal issues.
Prevent Future Power Failures Proactively
Avoid repeat breakdowns with these manufacturer-backed prevention strategies.
Descaling Protocol That Works
Descale every 3 months or 250 cups using only Keurig-brand solution (14 fl oz bottle diluted 1:1 with water). Vinegar triggers thermal protection by reacting with internal components—never substitute. After descaling, run 4-5 rinse cycles to eliminate residue that causes overheating.
Critical Operational Rules
- Never operate with empty reservoir—water acts as coolant; dry runs trip thermostats instantly
- Use filtered water to reduce mineral buildup on heating elements
- Verify magnet alignment when reinstalling water tanks—misalignment prevents startup
- Avoid voltage converters—they over-stress capacitors even on dual-voltage models
Emergency Workarounds for Immediate Relief
When facing caffeine withdrawal before replacement arrives:
Air Lock Purging After Reset
If your Keurig powers on but heats poorly after thermostat reset, run 3-4 rinse cycles without a K-cup. This eliminates air pockets in the heating system that mimic power issues. Listen for consistent gurgling sounds indicating proper water flow.
Fuse Harvesting (Warranty-Expired Units Only)
For blown line fuses, harvest a 10A/250V ceramic fuse from an old appliance. Ensure identical temperature rating (usually 216°C-250°C) and solder safely. Warning: This is a temporary fix—replace within 48 hours to avoid fire risks.
A completely dead Keurig rarely means permanent failure. Start with outlet verification and model-specific resets—these solve most Keurig troubleshooting no power cases within minutes. When internal components fail, thermostat resets work on K-Supreme models 70% of the time. For newer units under warranty, Keurig’s replacement policy makes DIY repair unnecessary. Remember: Never operate with an empty reservoir, descale religiously with proper solution, and always unplug for 5 full minutes during resets. These simple habits prevent 90% of thermal shutdowns. If your machine remains unresponsive after these steps, contact Keurig immediately—your next cup of coffee could arrive in just three business days.


