
Your Cuisinart coffee grinder has stopped working, and you’re not sure why. Maybe it’s making a strange humming noise, producing uneven grounds, or simply refusing to turn on altogether. These common problems can turn your morning routine into a frustrating experience, especially when a fresh cup of coffee depends on a properly functioning grinder. The good news is that most Cuisinart coffee grinder issues can be diagnosed and fixed at home with basic tools and a little patience.
This comprehensive guide walks you through the most common problems affecting Cuisinart coffee grinders, from power failures to grinding inconsistencies, and provides step-by-step solutions to restore your machine’s performance. Whether you own a conical burr grinder or a blade-style model, you’ll find actionable troubleshooting steps that can save you the cost of a replacement. By the end of this article, you’ll understand how to identify the root cause of your grinder’s malfunction and apply the appropriate fix to get back to enjoying freshly ground coffee.
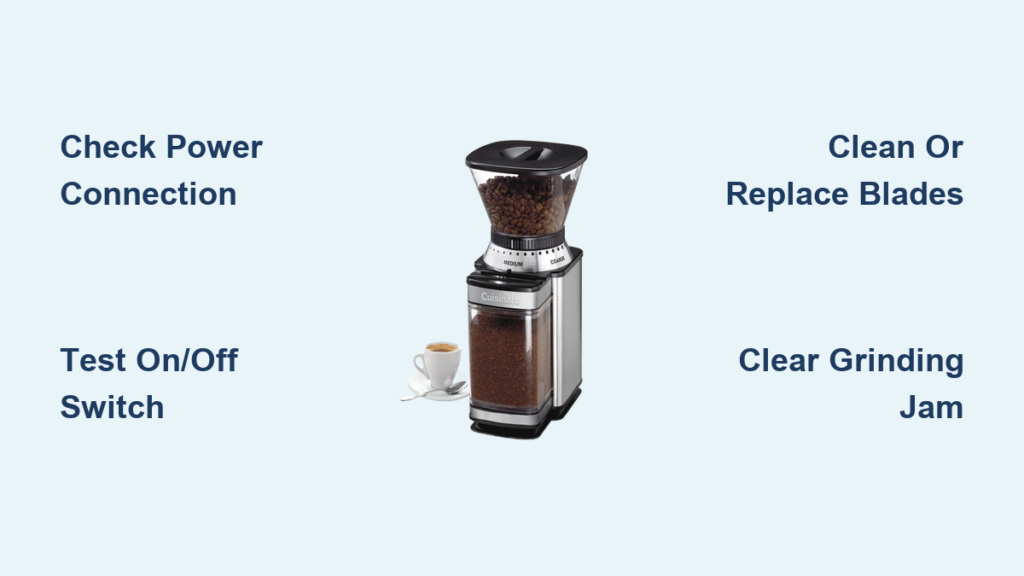
Why Your Cuisinart Grinder Won’t Power On
When your Cuisinart coffee grinder fails to start, power issues are the most likely culprit. Before you consider replacing the entire unit, methodically eliminate these common electrical problems that account for over 60% of “broken” grinders.
Verify Electrical Connections Before Disassembly
Begin by checking the simplest solutions first. Plug the grinder into a different outlet known to work, as many kitchen circuits have GFCI protection that trips unexpectedly. Inspect the power cord thoroughly for frayed wires or damaged insulation—especially near the plug and where it enters the grinder base. Even minor damage here can interrupt power flow and should never be ignored due to fire risks.
Confirm the safety interlock mechanism functions correctly. Cuisinart grinders require the bean hopper or grounds container to be properly seated before operating. Remove and firmly reseat these components, listening for the distinctive click that indicates proper alignment. Many frustrated owners mistakenly think their grinder is broken when it’s simply the safety feature working as designed.
Test the On/Off Switch with Basic Tools

For blade grinders, the switch mechanism is often the weak point. Unplug the unit and remove the bottom cover using a Phillips screwdriver. With the grinder unplugged, use a multimeter set to continuity mode to test the switch. Press the switch button while touching the probes to the switch terminals—if the meter doesn’t register continuity, the switch has failed and needs replacement.
Burr grinders typically have more complex switch assemblies with multiple speed settings. Test each setting individually to determine if certain speeds work while others don’t. This pattern helps isolate whether the problem is with the switch itself or another component like the motor capacitor. Replacement switches specific to your model can usually be found online for $5-$15.
Fix Uneven Coffee Grinding Results

When your grinder powers on but produces inconsistent grounds—some powder-fine while others remain nearly whole—the problem lies within the grinding mechanism itself. Understanding the difference between blade and burr grinders helps you diagnose these issues more accurately.
Repair Dull or Damaged Blades in Blade Grinders
Blade grinders chop beans using a rapidly spinning metal blade. Over time, this blade becomes dull from regular use, resulting in uneven grounds. Remove the bottom plate to access the blade assembly. If the blade shows visible nicks, warping, or rounded edges, replacement is necessary—typically costing $8-$15.
Before replacing, try this quick test: grind a small amount of rice for 10-15 seconds. The rice acts as a mild abrasive that can temporarily improve blade performance. If this helps but doesn’t fully resolve the issue, you’ve confirmed the blade needs replacement. When installing a new blade, ensure it’s properly aligned and securely fastened to the motor shaft to prevent wobbling during operation.
Adjust and Clean Burrs in Conical Burr Grinders

Conical burr grinders crush beans between two precision-machined surfaces. When burrs become dull or misaligned, grinding consistency suffers dramatically. Remove the bean hopper and upper burr carrier to inspect the burrs. Look for shiny spots indicating wear, heavy coffee oil residue, or physical damage to the burr teeth.
Clean burrs thoroughly using a dedicated burr brush—never use water near the grinding mechanism. For stubborn residue, specialized burr cleaning tablets can be ground like coffee beans to dissolve oils. If cleaning doesn’t restore performance, check the adjustment ring for smooth operation. A gritty or stiff adjustment often indicates internal debris that requires complete disassembly and cleaning.
Clear a Jammed Cuisinart Grinder Mechanism
Nothing frustrates coffee lovers more than a completely jammed grinder that won’t turn even when powered on. Forcing operation can burn out the motor, so resolving jams requires patient diagnosis and careful intervention.
Identify and Remove Common Jamming Objects
Unplug the grinder immediately when you notice jamming—never attempt to clear a jam while powered. For blade grinders, try rotating the blade manually in reverse direction; many models allow this motion to free minor obstructions. Shine a flashlight into the grinding chamber to locate the jam. Small objects like coffee bean fragments or foreign matter often lodge near the blade hub.
For burr grinders, remove the upper burr assembly to access the jam location. Use needle-nose pliers or tweezers to carefully extract the obstruction, being extremely careful not to damage the precision burr surfaces. If you encounter resistance, don’t force it—further disassembly may be required. After clearing the jam, inspect all components for damage before reassembly.
Eliminate Coffee Grounds Static Problems
Excessive static electricity causes grounds to cling stubbornly to plastic containers, creating messy cleanup and inconsistent measurements. While not a malfunction, this common issue affects nearly all coffee grinder owners, especially during dry winter months.
Implement Practical Anti-Static Solutions
Add just 2-3 drops of water to your coffee beans before grinding. This simple technique dramatically reduces static without affecting flavor—just enough moisture to neutralize the electrical charge but not enough to create soggy grounds. Alternatively, mist the inside of the bean hopper with water and let it air dry completely before adding beans.
Replace plastic containers with glass or stainless steel alternatives when possible. Many Cuisinart models accept aftermarket containers specifically designed to minimize static. If you must use plastic, wipe the interior with a used fabric softener sheet before grinding—this leaves a thin anti-static coating that dissipates electrical charges without affecting coffee flavor.
Perform Essential Grinder Maintenance
Preventive maintenance dramatically extends your grinder’s lifespan and maintains consistent performance. A well-maintained Cuisinart coffee grinder can provide years of reliable service with minimal issues.
Establish a Cleaning Routine for Longevity
After each use, wipe the bean hopper interior with a dry cloth to remove loose grounds. Weekly, perform a “cleanse grind” with raw rice—this absorbs oils and residue without damaging components. Follow with thorough brushing to remove rice dust. Monthly, disassemble removable components and clean with a soft brush and mild dish soap, ensuring all parts dry completely before reassembly.
Inspect grinding components during cleaning for early signs of wear. Blade grinders typically need blade replacement every 6-12 months with daily use, while burr grinders may last 2-5 years before burr replacement is needed. Catching problems early prevents more serious failures later.
Determine When to Repair or Replace
Not all grinder problems warrant DIY repair. Some issues require professional attention, especially those involving complex electrical repairs or when the cost exceeds economic sense.
Evaluate Repair Costs Against Replacement Value
If your Cuisinart grinder is under warranty, contact customer service before attempting repairs—unauthorized fixes typically void coverage. For out-of-warranty units, compare repair costs against replacement value. Generally, if parts and labor exceed 50% of a new grinder’s price, replacement makes more economic sense.
Consider the grinder’s age and repair history. A second major repair within a short timeframe often indicates systemic issues. High-end burr grinders justify more repair investment than basic blade models. Factor in the emotional value of a well-loved machine versus the opportunity to upgrade to a model with features you’ve wanted.
By following these targeted troubleshooting steps, you can resolve most common Cuisinart coffee grinder problems without professional help. Start with the simplest solutions—power connection issues account for the majority of “broken” grinders—and work methodically through more complex interventions. Regular cleaning and proper maintenance prevent many issues from developing in the first place. When repairs are necessary, always prioritize safety by unplugging the grinder before any disassembly. With these techniques, you’ll extend your grinder’s lifespan and enjoy consistently fresh, properly ground coffee for years to come. Remember that prevention through routine maintenance remains your most effective strategy for avoiding frustrating morning breakdowns when you need your coffee fix most.


