
Waking up to the perfect cup of coffee shouldn’t require a barista degree or complicated equipment. The Nutribullet Brew Choice Pod Carafe Coffee Maker delivers exceptional convenience by combining single-serve pod flexibility with traditional carafe capacity in one streamlined machine. If you’ve recently unboxed this versatile coffee maker or are considering adding it to your morning routine, you’re probably wondering exactly how to use Nutribullet coffee maker to get the most flavorful results without frustration. This comprehensive guide cuts through the confusion to provide actionable steps for flawless operation every time.
Unlike traditional drip machines or complex espresso systems, the Nutribullet Brew Choice model simplifies coffee preparation while offering the flexibility to brew single cups or full carafes. Whether you’re a busy professional needing a quick morning jolt or a household with multiple coffee drinkers, mastering this pod-based system ensures consistent, high-quality coffee with minimal effort. In the following sections, you’ll discover precise techniques for setup, brewing, maintenance, and troubleshooting that transform your Nutribullet coffee maker from an unopened box to your most reliable kitchen companion.
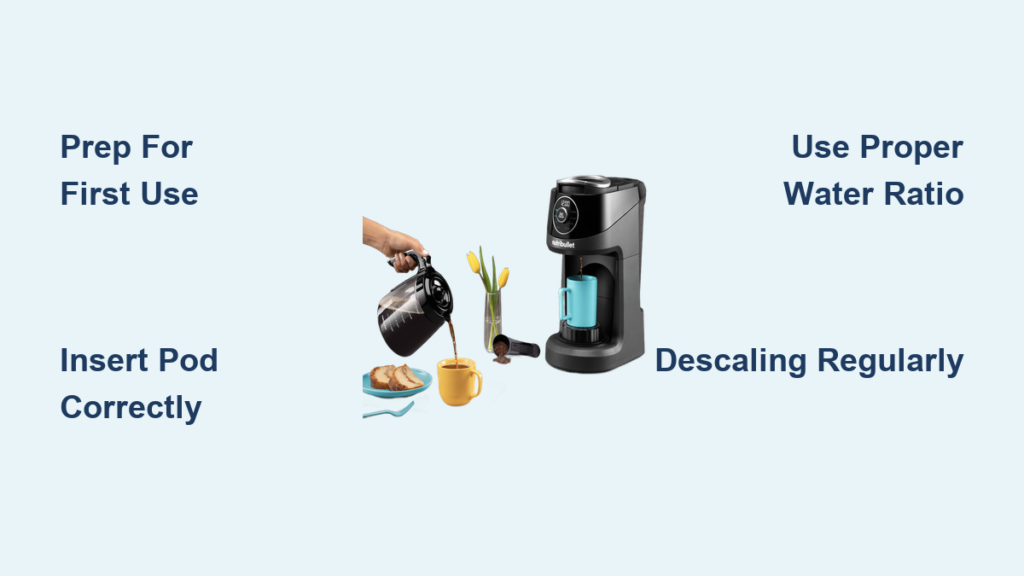
Prepare Your Nutribullet Coffee Maker for First Use
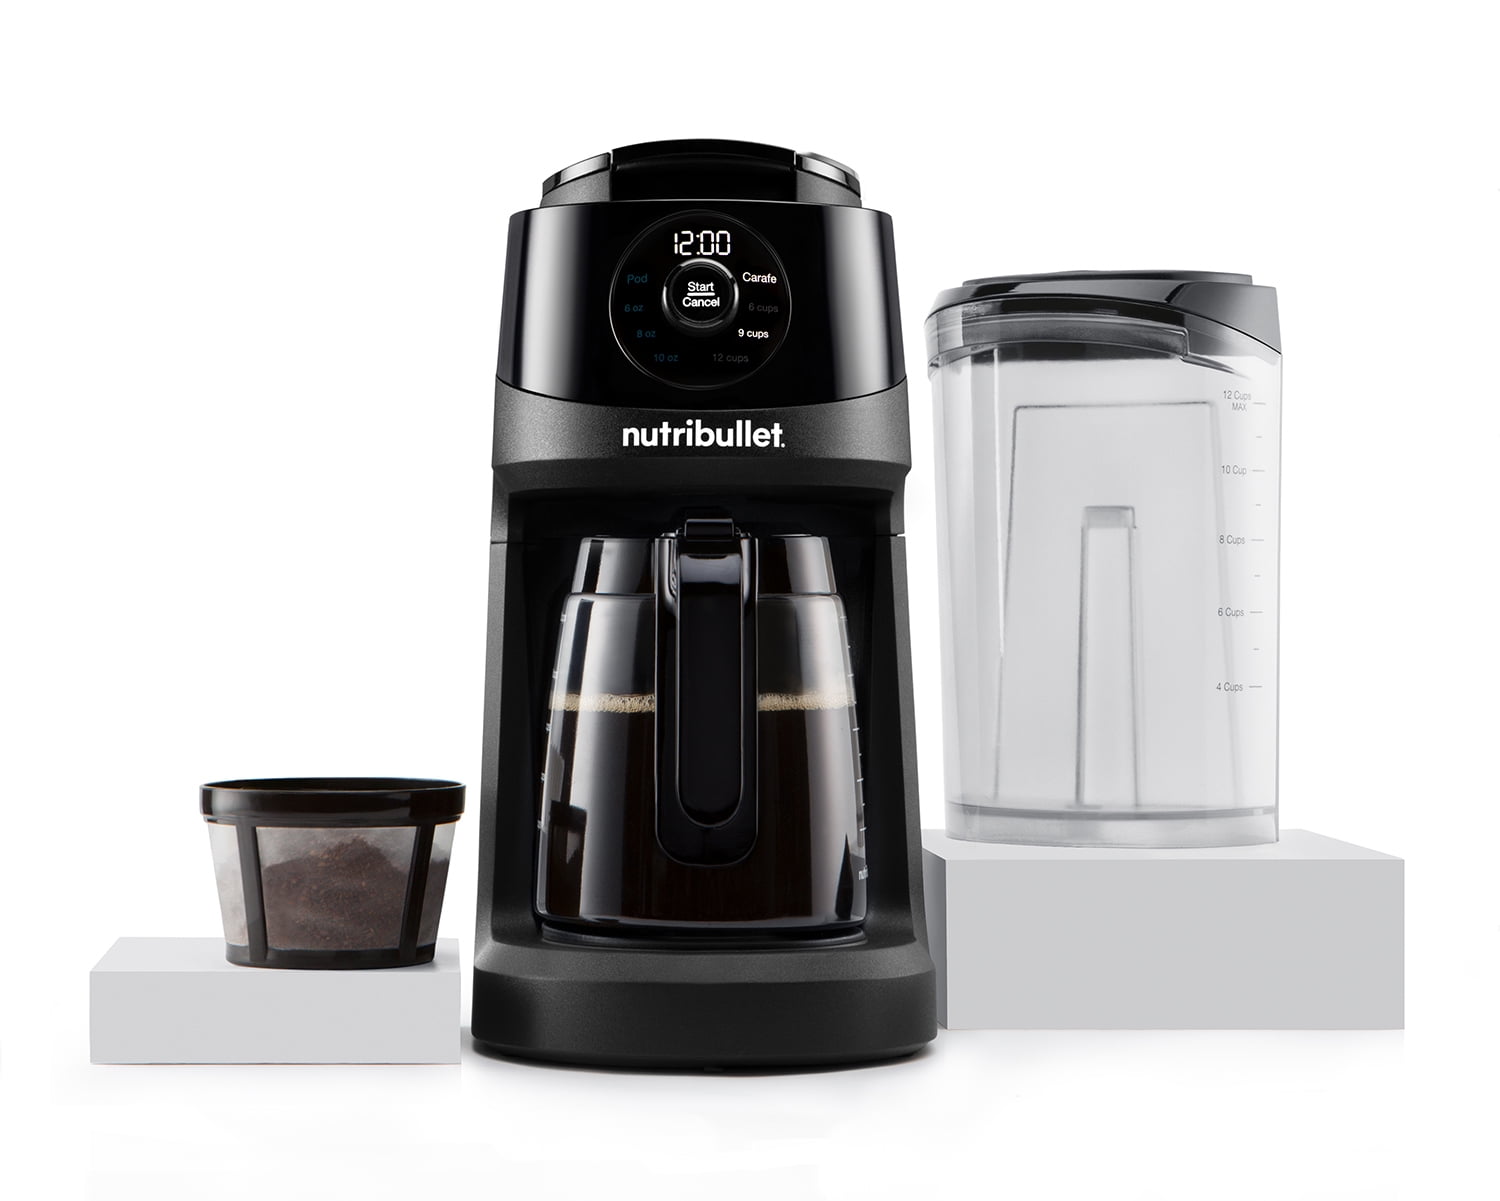
Before brewing your first cup, proper initial setup prevents common issues that plague new coffee maker owners. Start by carefully removing all packaging materials and inspecting each component for shipping damage—pay special attention to the carafe’s glass and the water reservoir’s plastic parts for cracks or deformities. The Nutribullet Brew Choice Pod Carafe system typically includes the main unit, glass carafe, carafe lid, water reservoir cover, and pod holder assembly.
Wash all removable parts in warm, soapy water before first use—this removes manufacturing oils that could affect your coffee’s taste. Focus particularly on the carafe interior where coffee oils can accumulate, using a bottle brush to reach the bottom if necessary. Never submerge the main unit in water; instead, wipe it with a damp cloth. After washing, rinse each component thoroughly to eliminate soap residue that could create off-flavors in your coffee.
Complete your Nutribullet coffee maker preparation with a water-only test cycle. Fill the reservoir to the maximum line with cold, fresh water, place the empty carafe in position, and run a full brew cycle without any coffee pod. This critical step flushes manufacturing residues from internal components and verifies proper operation. Discard this initial water completely before attempting your first actual coffee brew—this isn’t just recommended, it’s essential for optimal flavor in subsequent cups.
What to Check During Your Test Run
Observe the machine closely during your initial test cycle for proper water flow and heating. Listen for unusual sounds that might indicate pump issues, and verify that water flows steadily into the carafe without leaks. If the machine stops prematurely or shows error indicators, check that the carafe is properly positioned on the warming plate and that the water reservoir is correctly seated. Most Nutribullet models require the carafe to be in place before initiating a brew cycle as a safety feature.
Master the Pod Brewing Process for Perfect Results
Achieving consistently delicious coffee with your Nutribullet coffee maker depends entirely on proper pod handling—a step where many users make critical mistakes. Begin by lifting the pod compartment lid located on top of the machine, which typically opens with a simple press or slide mechanism. Insert your coffee pod with the foil side facing up, ensuring it sits completely flat in the holder without tilting. The pod should rest securely against the brewing needles without requiring force—forcing a pod can damage the piercing mechanism and cause leaks.
Close the pod compartment lid firmly until you hear a distinct click, indicating proper sealing. This seal creates the necessary pressure for optimal extraction—failing to secure the lid properly results in weak coffee or incomplete brewing cycles. Now fill the water reservoir to your desired level based on how much coffee you want, always staying between the minimum and maximum fill lines marked inside the reservoir. Never exceed the maximum line, as overflow can damage internal components.
Fix Common Pod Insertion Mistakes
Many users struggle with inconsistent brewing because they’re using incompatible pods or inserting them incorrectly. The Nutribullet Brew Choice system works with standard K-Cup style pods, but some third-party pods may not seat properly. If your coffee tastes weak or the machine leaks, check that the pod is centered in the holder and that the foil top is completely pierced after brewing. If the foil shows only one small puncture instead of the expected cross pattern, the needles might be clogged—clean them with a paper clip before your next brew.
Optimize Your Coffee-to-Water Ratios for Ideal Strength

Understanding how to use Nutribullet coffee maker for your preferred strength transforms mediocre coffee into your perfect morning ritual. For a standard 8-ounce cup, fill the water reservoir to the “medium” line (approximately halfway) with one pod. If you prefer bolder coffee without increasing caffeine content, use the same pod but reduce water to the “small” line—this concentrates the flavor without making the coffee more acidic.
When brewing a full carafe (typically 12-18 ounces depending on your model), use one pod for every 6-8 ounces of water to maintain consistent strength throughout. Contrary to popular belief, adding extra pods for larger batches doesn’t necessarily improve flavor—it can actually create overly bitter coffee as the machine struggles to extract properly from multiple pods simultaneously. Instead, select stronger roast pods labeled “bold” or “intense” for naturally richer flavor in larger quantities.
Prevent Weak Coffee Without Compromising Flavor
If your coffee consistently comes out too weak despite proper pod placement, check that you’re using fresh pods within their expiration date—stale coffee loses flavor intensity over time. Also verify that your machine has completed its full warm-up cycle before brewing; most Nutribullet models require 30-60 seconds to reach optimal brewing temperature. Running a quick descaling cycle can also improve extraction if mineral buildup has affected water temperature.
Maintain Your Nutribullet Coffee Maker for Peak Performance
Regular maintenance prevents the most common issues that shorten coffee maker lifespan and degrade coffee quality. Descale your Nutribullet Brew Choice system every 2-3 months using equal parts white vinegar and water—run this solution through a full brew cycle followed by two plain water cycles to eliminate vinegar taste. This critical step dissolves mineral deposits that accumulate from tap water and interfere with heating elements.
After each use, remove and rinse the pod holder assembly to prevent coffee grounds from clogging the needles. Wipe the warming plate immediately after brewing while it’s still warm (but not hot) to prevent dried coffee stains. The glass carafe requires special attention—wash it daily with mild detergent and occasionally soak in a baking soda solution to remove stubborn coffee oils that turn rancid and affect future brews.
Recognize When Maintenance Is Urgent
Don’t wait for performance issues to appear before cleaning your Nutribullet coffee maker. If you notice decreased water flow, longer brew times, or visible mineral deposits inside the reservoir, perform immediate maintenance. These signs indicate significant buildup that affects both coffee quality and machine longevity. For hard water areas, increase descaling frequency to monthly to prevent premature component failure.
Troubleshoot Common Nutribullet Coffee Maker Issues

When your Nutribullet coffee maker stops working properly, systematic troubleshooting saves unnecessary service calls. If the machine won’t power on, first verify the outlet works by plugging in another device—many users overlook this simple check. Ensure the water reservoir is properly seated; most models have safety switches that prevent operation without correct reservoir placement.
For incomplete brewing cycles that stop mid-process, check that the carafe is properly positioned on the warming plate. The machine won’t complete brewing if it doesn’t detect the carafe, a safety feature preventing hot water spills. If coffee leaks from the pod compartment, the most likely causes are an overfilled reservoir, improperly closed lid, or using damaged/incompatible pods.
Fix Weak Coffee in Three Steps
When your coffee tastes consistently weak despite proper setup, follow this diagnostic sequence: First, confirm you’re using fresh pods within their expiration date. Second, check that the machine has completed its full warm-up cycle before brewing begins. Third, run a descaling cycle to ensure optimal water temperature—mineral buildup insulates heating elements, reducing effective brewing temperature below the ideal 195-205°F range.
Maximize Your Brewing Experience with Pro Techniques
Transform your Nutribullet coffee maker from a basic appliance into a precision brewing tool with these expert techniques. Preheat your carafe by filling it with hot tap water while the machine warms up—this maintains optimal coffee temperature throughout brewing and serving. For richer flavor, let the coffee rest for 30 seconds after brewing completes before pouring, allowing flavors to fully develop similar to wine aeration.
Experiment with different pod varieties to discover unexpected flavor profiles—the Nutribullet system works with all standard K-Cup compatible pods, giving you access to thousands of options beyond Nutribullet’s own offerings. Try medium-dark roasts for balanced flavor or single-origin pods for distinctive tasting notes. Remember that water quality significantly impacts coffee taste—using filtered water instead of tap water produces noticeably cleaner, brighter coffee.
By mastering these techniques for how to use Nutribullet coffee maker effectively, you’ll consistently enjoy café-quality coffee with the convenience of home brewing. Proper setup, precise pod handling, and regular maintenance transform this versatile machine into your most reliable morning companion, delivering perfect coffee whether you need a quick single cup or enough for the whole household.


