
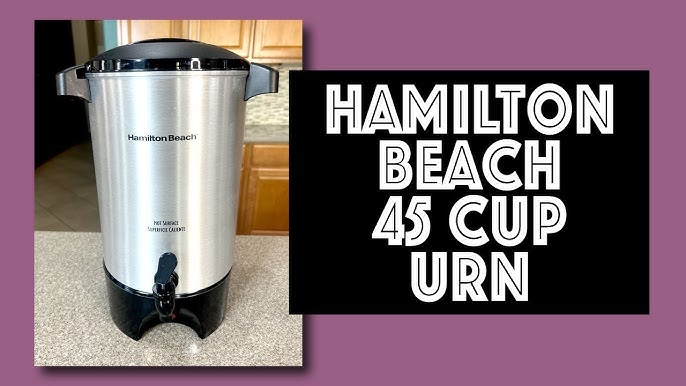
You’ve just unpacked your Hamilton Beach coffee maker, but the blinking lights and multiple components leave you wondering how to work a Hamilton Beach coffee maker properly. Whether you’re preparing coffee for a church breakfast, office meeting, or family reunion, mastering your Hamilton Beach 45-cup coffee urn ensures hot, flavorful coffee for everyone. This powerful appliance can brew large quantities efficiently, but improper use leads to weak coffee, overflowing messes, or even safety hazards. In the next few minutes, you’ll learn exactly how to operate your Hamilton Beach coffee maker for perfect results every time—without the frustration of trial and error.
Most people assume coffee urns work like standard drip machines, but the Hamilton Beach 45-cup model operates differently with its percolation system. Without proper knowledge, you might end up with bitter coffee, mineral buildup that shortens your appliance’s lifespan, or even electrical issues from incorrect setup. The good news is that once you understand the specific workflow for this commercial-style coffee maker, you’ll consistently serve delicious coffee that keeps guests coming back for seconds. Let’s dive into the precise steps for operating your Hamilton Beach coffee maker like a pro.
Setting Up Your Hamilton Beach Coffee Maker for First Use
Before adding water or coffee, proper setup prevents common startup problems that plague first-time users. Unbox your Hamilton Beach coffee maker completely, removing all packaging materials including plastic wraps around the spout and protective foam inside the reservoir. Wash the interior carafe, filter basket, and any removable parts with warm, soapy water—never skip this step as manufacturing residues affect your first brew’s taste.
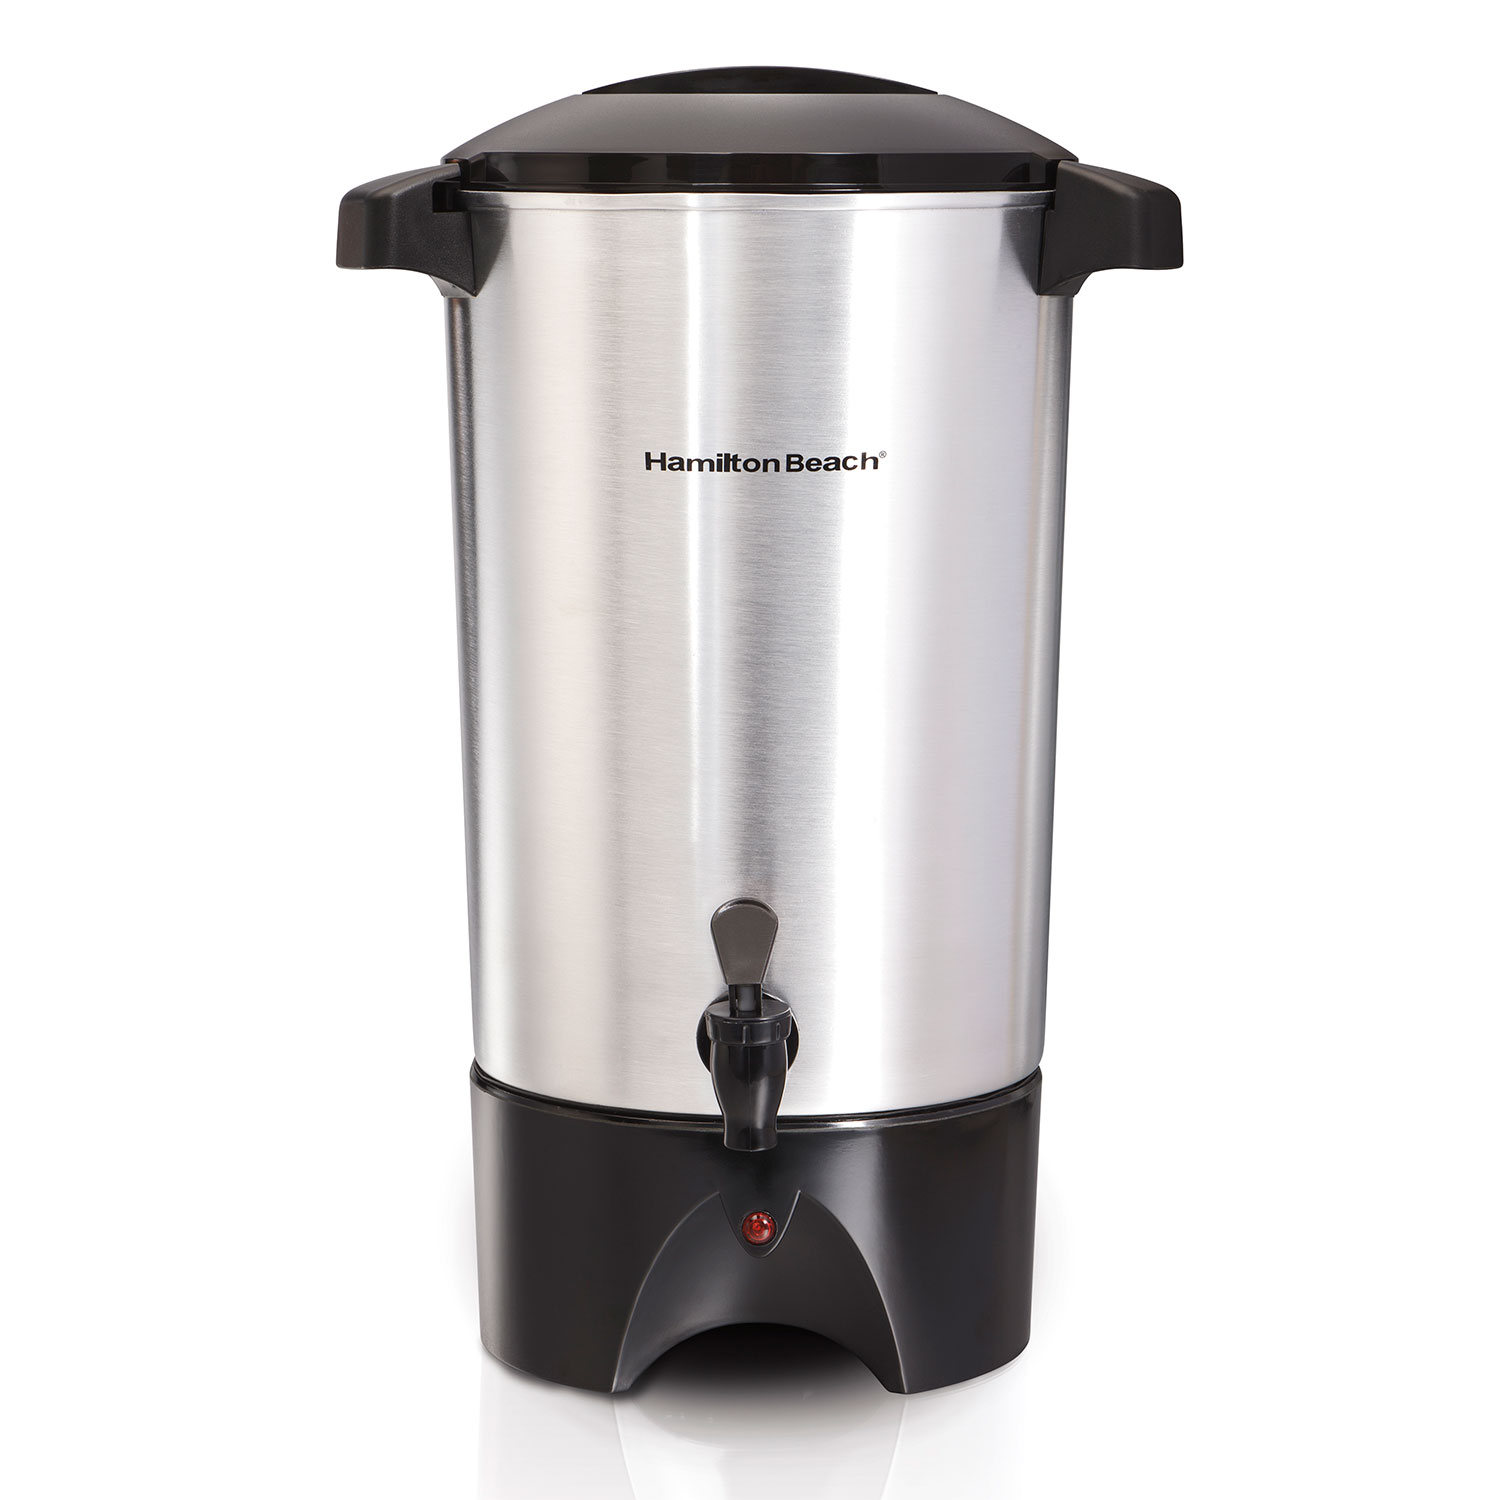
Place your coffee maker on a heat-resistant, level surface at least 6 inches away from walls and flammable materials. The Hamilton Beach 45-cup model generates significant steam during operation, so adequate clearance prevents heat damage to surrounding surfaces. Position it near an electrical outlet but never use an extension cord, as the high wattage requires direct connection to prevent fire hazards. Locate the water level indicator lines inside the reservoir—these precise markings tell you exactly how much water to add for proper brewing without overflow.
Critical Safety Checks Before Powering On
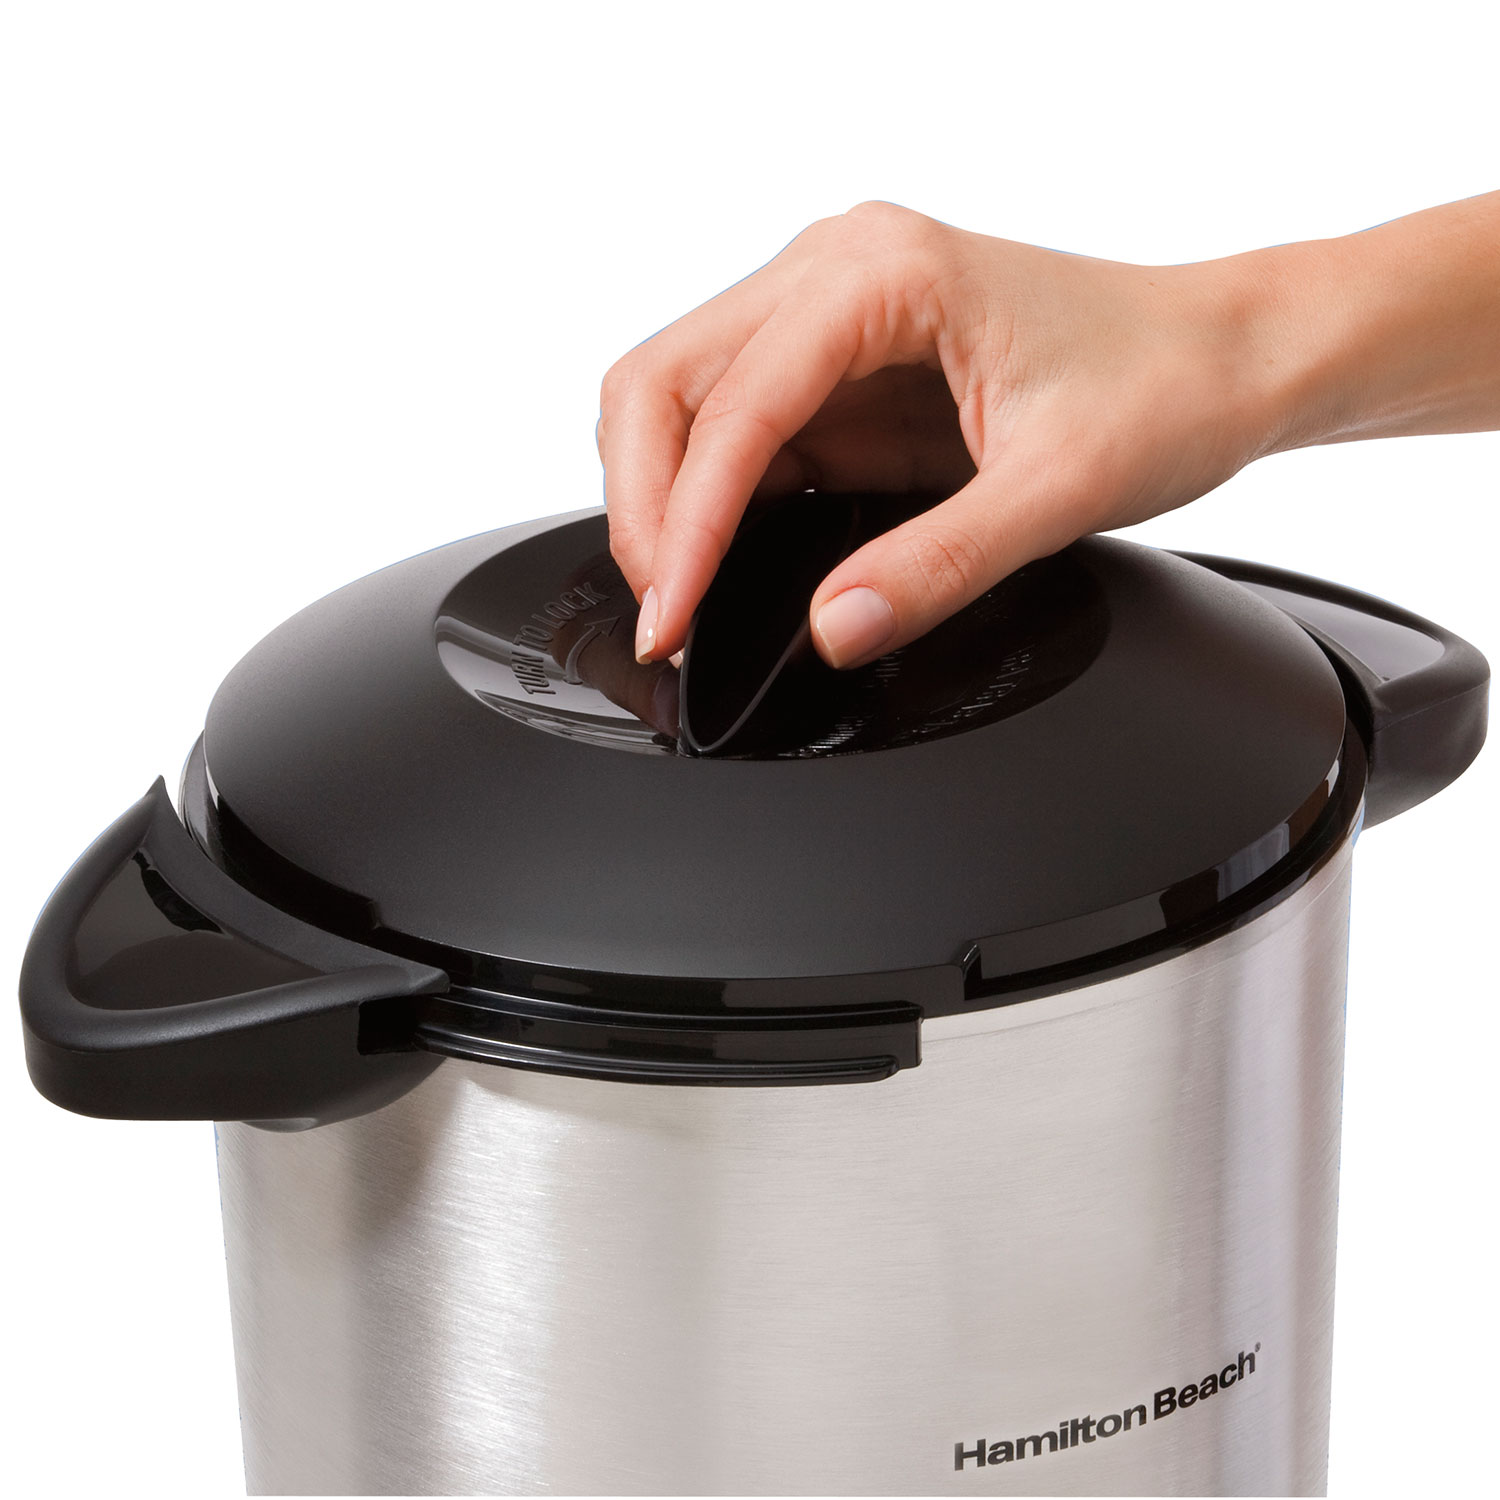
Verify your coffee maker is completely dry before plugging in—moisture near electrical components creates shock risks. Inspect the power cord for nicks or frays that could compromise safety, and ensure the plug fits snugly in your outlet without wobbling. Confirm the urn’s lid locks securely into place, as an improperly seated lid causes dangerous steam leaks during brewing. Finally, double-check that the filter basket sits flush in its designated position; misalignment creates uneven coffee extraction and potential overflow during the percolation cycle.
Measuring Ingredients for Perfect Coffee Strength
The secret to great coffee from your Hamilton Beach coffee maker lies in the precise coffee-to-water ratio—too little coffee yields weak brew, while too much creates bitter, over-extracted results. For the 45-cup model, use 11¼ level tablespoons of medium-ground coffee (approximately 1¾ cups) for a standard strength brew. Adjust this amount based on your taste preferences: add 2-3 extra tablespoons for stronger coffee or reduce by the same amount for milder results.
Why Water Quality Matters for Your Hamilton Beach Coffee Maker
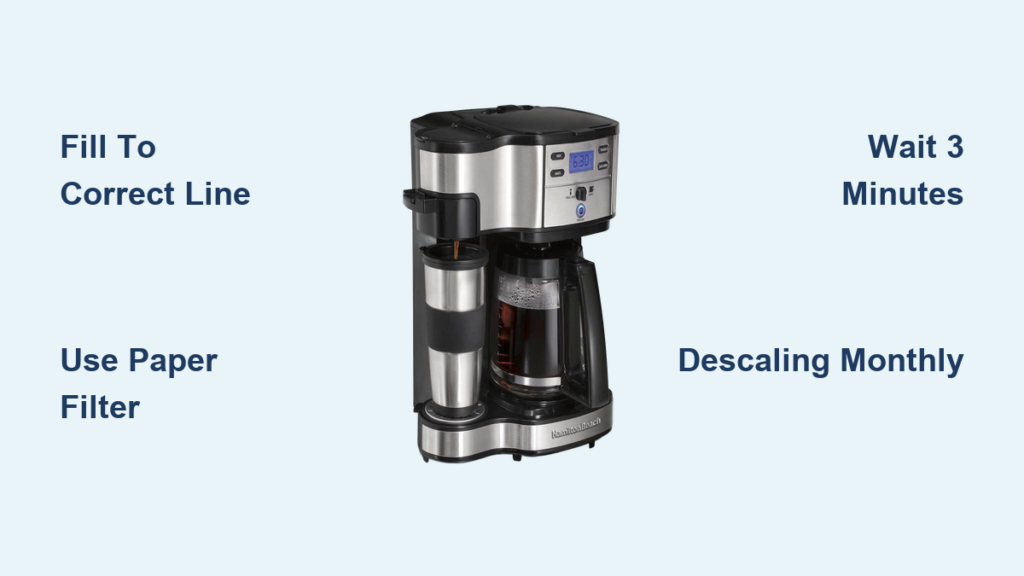
Tap water containing high mineral content creates scale buildup that clogs internal components and affects heating efficiency. Filtered water prevents this problem while enhancing coffee flavor—hard water masks delicate coffee notes with mineral tastes. Never use hot tap water, as it contains more dissolved minerals than cold water and may introduce pipe sediment into your brew. Fill your Hamilton Beach coffee maker to the exact line corresponding to your desired cup count; the 45-cup model has clearly marked indicators preventing dangerous overfilling that could cause boiling water to escape through the spout.
Operating Your Hamilton Beach Coffee Maker: Step-by-Step Brewing
Follow this precise sequence to activate your coffee maker’s percolation system correctly. First, insert a paper filter into the filter basket (required for medium grind coffee to prevent sediment), then add your measured grounds. Pour cold water directly into the reservoir up to your desired cup line—never add water through the filter basket. Securely lock the lid by pressing down until you hear a distinct click, then close the spigot lever to the “off” position before powering on.
Troubleshooting Common Brewing Mistakes
Many users wonder why their Hamilton Beach coffee maker stops mid-cycle—this usually happens when water levels drop below the minimum line during prolonged warming. Never remove the lid during brewing, as this interrupts the percolation cycle and causes temperature fluctuations that ruin extraction. If you hear loud gurgling sounds, your water level is too low or the filter basket isn’t properly seated. For best results, allow the complete brewing cycle to finish (typically 15-20 minutes for 45 cups) before opening the spigot, as premature serving releases pressure needed for proper percolation.
Serving Coffee Without Mess or Safety Risks
After the brewing cycle completes, wait exactly 3 minutes before serving—this critical waiting period allows coffee grounds to settle at the bottom of the reservoir. Hold the urn handle firmly with your dominant hand while operating the spigot lever with your other hand; tilting the entire unit risks hot coffee spills and sediment transfer. Press the lever down slowly to control flow rate, filling cups to no more than ¾ full to prevent dangerous splashes from residual heat.
Preserving Coffee Quality During Extended Service
Hamilton Beach coffee makers maintain temperature for hours, but coffee degrades after 45 minutes on the warming plate. For events lasting longer than an hour, brew multiple smaller batches rather than one massive pot that sits too long. Never add fresh coffee grounds to existing hot water—this creates uneven extraction and bitter flavors. If coffee strength diminishes during service, it’s time to start a new batch rather than attempting to “refresh” the existing pot with additional grounds.
Deep Cleaning Your Hamilton Beach Coffee Maker After Each Use
Residual coffee oils and mineral deposits accumulate after every brew, affecting taste and performance. After the urn cools completely, discard used grounds and rinse the filter basket under warm water—use a soft brush to clear grounds from the mesh screen. Wipe interior surfaces with a damp cloth (never submerge the base unit in water), and clean the spigot mechanism by running hot water through it while operating the lever.
Monthly Descaling Procedure for Longevity
Hard water areas require monthly descaling to maintain your Hamilton Beach coffee maker’s efficiency. Mix equal parts white vinegar and water to fill the reservoir to the 20-cup line, then run a complete brew cycle without coffee. Follow with two complete cycles using only fresh water to eliminate vinegar taste. This simple maintenance extends your coffee maker’s lifespan by preventing scale buildup that insulates the heating element and causes overheating failures.
Troubleshooting Your Hamilton Beach Coffee Maker in Under 5 Minutes
When your coffee maker won’t power on, check three critical points immediately: verify the outlet works with another device, ensure the power cord clicks firmly into the urn’s base, and confirm the on/off switch isn’t stuck in intermediate position. For weak coffee output, examine the filter basket for clogs—coffee fines can pack tightly and restrict water flow through the system.
Solving the Most Common Urn Emergencies
If coffee overflows during brewing, turn off the unit immediately and unplug it—this usually indicates overfilling beyond the MAX line or a blocked overflow tube. For metallic-tasting coffee, perform an emergency descaling cycle as mineral deposits have likely contaminated your brew. When the warming function fails after brewing completes, check that the thermostat isn’t covered by coffee residue; a thorough cleaning often resolves this issue without professional service.
Pro Tips for Coffee Maker Operation From Commercial Users
Seasoned Hamilton Beach coffee maker operators swear by the “pre-wet” technique: pour 1 cup of hot water over dry grounds before starting the full brew cycle. This blooming process releases trapped CO2 for more even extraction and richer flavor. Always grind beans to medium consistency (similar to sea salt) for optimal percolation—too fine creates sludge, while too coarse yields weak coffee.
Store your Hamilton Beach coffee maker with the lid slightly ajar to prevent musty odors from developing in the sealed environment. Keep spare paper filters, a dedicated cleaning brush, and replacement parts like spigot gaskets in your coffee station for instant problem resolution during events. For church breakfasts or other early morning events, set up your coffee maker the night before—measuring grounds into filter baskets saves crucial time when you’re rushing in the morning.
Mastering how to work a Hamilton Beach coffee maker transforms you from an appliance operator into a coffee professional who consistently serves exceptional coffee. By following these precise steps for setup, brewing, and maintenance, you’ll avoid the common pitfalls that ruin coffee service at important events. Remember that perfect coffee comes not just from following instructions, but from understanding why each step matters for the final result. Your Hamilton Beach coffee maker will deliver reliable performance for years when treated with this level of care and knowledge—so go brew with confidence at your next gathering.


