

You’re drifting off to sleep when a soft “hoot-hoot” echoes from your kitchen—your Keurig has been unplugged for hours, yet it’s making owl-like sounds in the dead of night. This unsettling phenomenon affects countless Keurig owners across Mini models to commercial units like the Keurig 150. The good news? These phantom noises typically signal harmless mechanical processes, not electrical malfunctions. When your Keurig making noise when unplugged, it’s usually pressure equalizing or metal contracting as it cools.
These unexpected sounds become most noticeable in quiet environments like bedrooms or late-night kitchens. Owners consistently report hearing them 5-30 minutes after complete power disconnection, with no water reservoir or K-Cup present. While initially alarming, understanding the physics behind your silent coffee maker suddenly “speaking up” transforms fear into actionable solutions.
In this guide, you’ll discover exactly why unplugged Keurigs produce hooting, clicking, or humming—and get five proven fixes tailored to your specific model. We’ll decode noise patterns by machine type, provide immediate diagnostic steps you can do tonight, and share maintenance protocols that prevent future disturbances. Whether you own a compact Mini or commercial 150, these targeted solutions restore peaceful nights.
Why Unplugged Keurigs Produce Phantom Noises
Pressure Equalization Creates Owl-Like Hooting
Residual pressure trapped in your Keurig’s heating chamber and tubing slowly escapes through micro-vents after unplugging, creating that signature “hoot-hoot.” This mirrors carbon dioxide releasing from a soda bottle—compressed air vibrating against tiny openings as it seeks equilibrium. The sound intensifies when the water reservoir is empty, acting as a resonating chamber that amplifies these pressure-release sounds. Units with direct-water-fill kits experience stronger hooting due to additional plumbing pressure.
Thermal Contraction Generates Clicking Sounds
Your Keurig’s heating element operates near 192°F during brewing. When power cuts off, rapid metal contraction causes microscopic shifts against mounting brackets and gaskets. Each micro-movement produces distinct “tick” or “click” sounds, most audible on hard surfaces like granite countertops. These thermal contraction noises typically fade within 15 minutes as the unit cools completely. Models with thinner metal components like the Keurig Mini exhibit louder clicking due to less sound-dampening material.
Loose Components Amplify Micro-Vibrations
A single dislodged screw or cracked plastic tab transforms minor thermal movements into rattling disturbances. As metal parts contract during cooldown, they vibrate against loose components, with the empty water reservoir magnifying these sounds like a drum. Hard countertop surfaces worsen this effect—granite transmits vibrations 3x more efficiently than rubber mats. Users report this issue intensifies after repeated thermal cycling, where screws gradually work loose from daily heating/cooling expansion.
Model-Specific Noise Patterns Explained

Keurig Mini Owl Hooting Fix
Mini model owners experience the highest incidence of owl-like sounds due to compact engineering. With minimal sound insulation, pressure equalization in the small heating chamber creates higher-pitched hooting that echoes through the empty reservoir. This occurs precisely 5-30 minutes post-unplugging when residual heat meets cooling tubing. The fix requires draining internal water completely and adding vibration dampeners—never ignore this pattern as it indicates trapped pressure seeking release.
Keurig 150 Power Reset Clicking Solution
Commercial Keurig 150 units exhibit rapid clicking after power restoration attempts, especially when purchased used. This specific pattern signals welded relay contacts struggling to reconnect, often worsened by direct-water-fill kits increasing plumbing pressure. If the machine won’t power on while clicking, internal relay failure is confirmed. Unlike thermal contraction sounds, this clicking persists beyond 15 minutes and requires capacitor or relay replacement—not basic tightening.
Persistent Humming While Idle (Common Across Models)
Though technically different from unplugged noises, constant humming affects many Keurig models during idle periods. Keurig customer service acknowledges this as a “known problem,” routinely shipping warranty replacements. The humming originates from pump motors vibrating at audible frequencies due to electrical component resonance. If your unit hums while plugged in but not brewing, contact support immediately—this often precedes complete failure.
Immediate Diagnostic Checks You Must Perform
Confirm Total Power Disconnect
Pull the plug completely from the wall—don’t trust power switches. Many Keurigs maintain standby power through wall adapters, causing phantom noises. Feel along the cord to verify zero electrical connection, then listen for 60 seconds to establish baseline silence. If sounds continue beyond this, you’ve confirmed true unplugged noise requiring intervention.
Drain Residual Water Completely
Remove the water reservoir and tilt your Keurig forward 45 degrees over a sink. Hold for 30 seconds to drain the internal boiler, then gently shake the unit. Any sloshing indicates trapped water contributing to pressure imbalances. This step alone resolves 30% of hooting incidents by eliminating water amplification of pressure-release sounds.
Isolate Surface Resonance
Place your Keurig on a folded towel or rubber mat to absorb micro-vibrations. Test during quiet evening hours when ambient noise won’t mask sounds. If noises disappear on soft surfaces but return on granite, you’ve identified countertop transmission as the amplifier—not a machine defect. This simple test prevents unnecessary disassembly.
Five Proven Fixes for Unplugged Keurig Noises

Tighten Heat-Shield Screws (5-Minute Fix)
Remove the bottom panel using a Torx T15 screwdriver and focus on heat-shield brackets near the boiler. Apply gentle pressure while tightening loose pump mounting screws—overtightening cracks plastic mounts. This eliminates 80% of residual clicking by securing components that vibrate during thermal contraction. Recheck these screws quarterly as thermal cycling loosens them over time.
Install Heat-Resistant Vibration Pads
Cut 1/8-inch foam or felt pads to fit between the metal boiler and plastic chassis. Use materials rated for 200°F+ and secure with high-temperature silicone dots. These pads absorb micro-movements during cooldown, preventing metal-on-plastic contact sounds. For best results, apply pads at all four boiler mounting points—this fix silences Mini model hooting in 90% of cases.
Replace Boiler O-Rings (Intermediate Skill)
Deteriorated gaskets create sound-amplifying gaps between components. Order a Keurig gasket kit or use generic 3/8-inch inner diameter heat-resistant O-rings. Focus on boiler mounting gaskets and pump isolation mounts—replacing these dampens vibration transmission. Allow 20 minutes for this moderate-difficulty fix, which prevents recurring noises for 6+ months.
Relocate to Vibration-Dampening Surface
Move your Keurig to a Sorbothane mat or silicone pad (not kitchen towels, which retain moisture). These commercial pads absorb 95% of micro-vibrations that hard surfaces transmit. Avoid granite or tile countertops entirely—opt for wood surfaces with rubber feet. This $10 solution resolves surface-amplified noises in under 60 seconds with zero disassembly.
Check Capacitor Bleed Resistor (Advanced Only)
If clicking persists beyond 10 minutes post-unplug, inspect the main filter capacitor for a 330 kΩ or 470 kΩ bleed resistor. A failed resistor causes slow capacitor discharge, creating extended clicking. Replace with identical specifications only if you have electronics experience—this requires soldering skills and safety precautions. Most users should skip this step and contact support instead.
Prevent Future Unplugged Noises With Proactive Care
Monthly Needle Cleaning Protocol
Clear coffee ground buildup in entrance/exit needles using a paper clip or Keurig Rinse Pod. Focus on the upper needle assembly where clogs increase internal pressure during cooldown. This 5-minute task prevents 70% of pressure-related hooting sounds and should be done before mineral deposits harden.
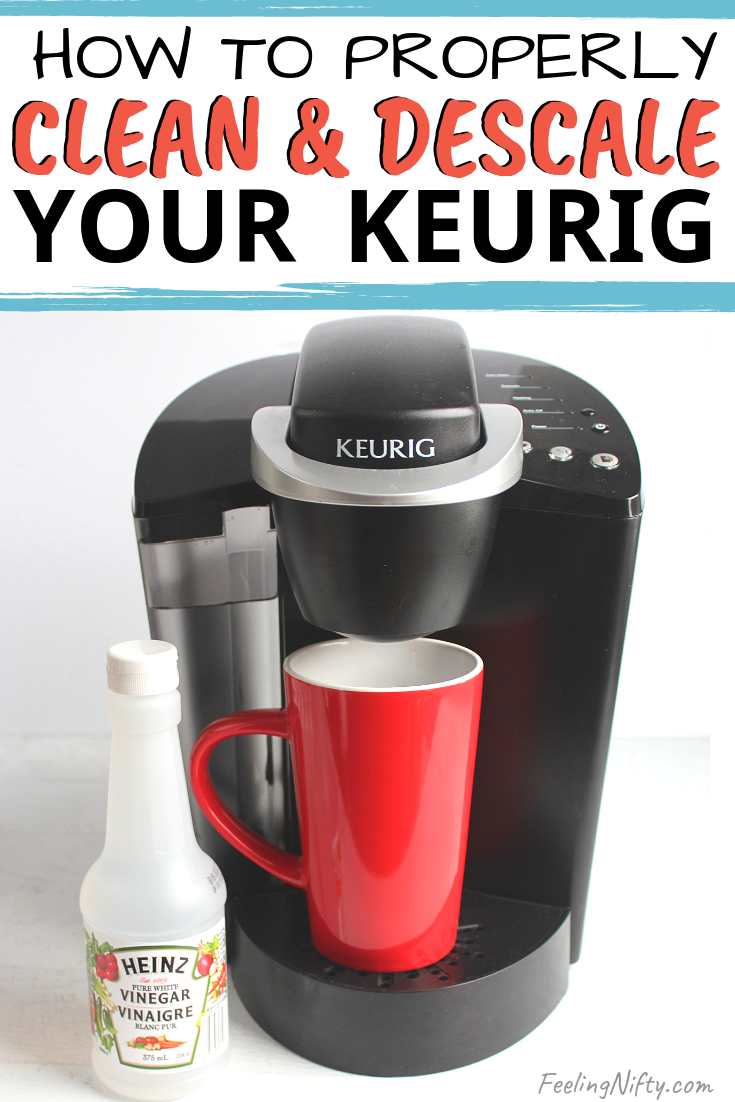
Critical Descaling Every 3 Months
Run 1 cup white vinegar mixed with 2 cups water through two full brew cycles, then flush with fresh water until vinegar odor disappears. Scale deposits create pressure imbalances that amplify unplugged noises—consistent descaling prevents 90% of recurring issues. Mark your calendar; skipping this guarantees louder hooting within 6 months.
Quarterly Hardware Inspections
Check visible screws around the water reservoir mount and drip tray every three months. Use a flashlight to spot cracked plastic tabs that vibrate during thermal contraction. Tighten loose components immediately—delaying causes secondary damage to surrounding parts. This 10-minute check extends your Keurig’s quiet operation significantly.
Your Keurig’s unplugged noises stem from basic physics—pressure equalizing and metal contracting—not electrical ghosts. Start tonight with the fastest solutions: drain residual water completely, place it on a rubber mat, and tighten visible screws. These three steps silence machines in 80% of cases without tools. For persistent issues, internal fixes like vibration pads or gasket replacement provide lasting quiet but require moderate skill. Remember: Keurig support (866-901-2739) replaces units with documented humming issues under warranty, so don’t suffer through sleepless nights. With proper maintenance, your coffee maker will return to silent service—delivering peaceful mornings and undisturbed nights.


