That morning rush where you’re fumbling with coffee grounds and filters? Your Keurig brewer eliminates that frustration instantly. With just a button press, you get fresh coffee in under a minute—no measuring, no mess. Whether you just unboxed your first Keurig or need to master carafe brewing, this guide delivers the exact steps to perfect coffee every time. You’ll learn how to use a Keurig brewer for everything from basic K-Cup brewing to programming auto-brew, plus critical maintenance tricks most users miss.
Master Your First Keurig Setup in 3 Minutes
Skip the frustration of misplaced parts by following this precise setup sequence. Your Keurig must sit on a level surface with at least 6 inches of clearance above the handle—this prevents lid interference during operation. Position it near an outlet but away from sinks to avoid electrical hazards.
Fill Water Reservoir Correctly
Never skip this step: Pour fresh, cold water into the reservoir up to the MAX line (never exceeding it). Filtered water prevents mineral buildup that ruins taste and performance. Slide the reservoir into the machine until you hear a distinct click—this secure fit stops leaks during brewing. Models like the K-Mini skip this step since you add water per brew.
Power Up and Heat Properly
Press the power button (front or side depending on model) and watch for the heating indicator. Critical mistake alert: Don’t attempt brewing during this 2-3 minute warm-up phase. The machine won’t operate until water reaches 192°F—the optimal extraction temperature. Once the “Ready” light appears, your brewer is primed for perfect coffee.
Brew Your First K-Cup in Under 60 Seconds

Forget complicated settings—this streamlined process works for all single-cup models (K-Select, K-Mini, K-Slim). You’ll have coffee flowing before your toast pops up.
Insert K-Cup Without Common Errors
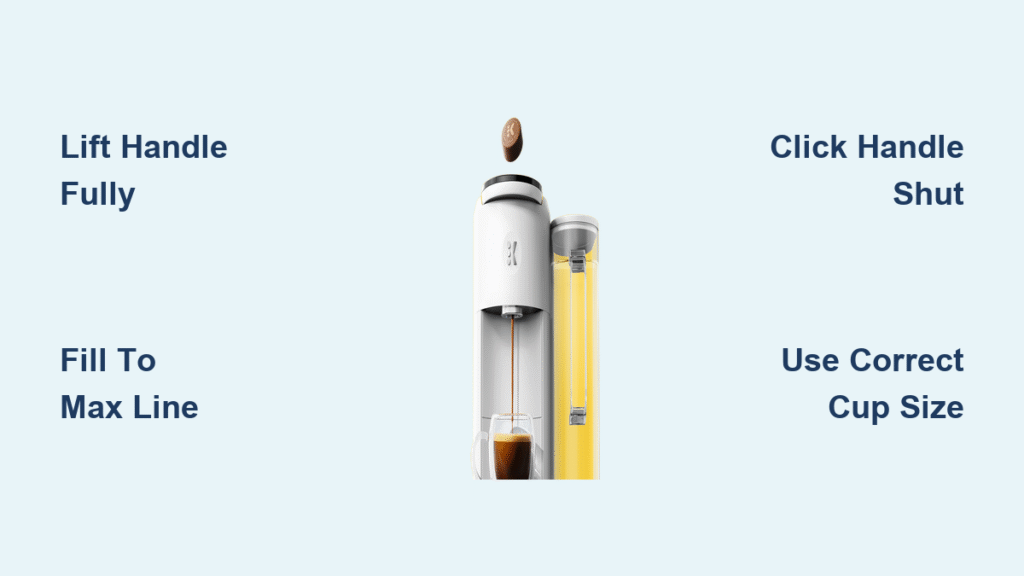
Lift the handle fully until it locks upright. Place the K-Cup pod foil-side up in the holder—never puncture or open the pod first. For reusable filters like My K-Cup, add medium-ground coffee (1 tablespoon per cup). Close the handle firmly until it clicks; this activates the piercing mechanism. If it doesn’t click, the pod won’t brew properly.
Select Size and Strength Precisely
Choose your cup size using the illuminated buttons (6/8/10/12 oz). Pro tip: For darker roasts, select a smaller size (6 oz) for intense flavor without bitterness. Press the STRONG button before brewing to extend extraction time—this pulls more flavor compounds without burning grounds. Position your mug so the spout aligns with the exit needle; misalignment causes splashes.
Execute Flawless Brewing Cycle
Press the coffee cup icon and watch the magic: Hot water pierces the pod, flows through grounds, and fills your mug in 30-45 seconds. Stop immediately if: Water drips slowly (indicates clog) or the machine beeps (reservoir issue). After brewing, lift the handle to eject the hot pod—use tongs if available since pods reach 180°F.
Program Carafe Brewing on K-Duo Plus Models
Transform your K-Duo Plus into a morning coffee hero with these carafe-specific steps. You’ll brew 12 cups strong enough to jumpstart your day—with auto-start so it’s ready when you wake.
Load Ground Coffee Correctly
Pull out the filter basket drawer and add medium-ground coffee (1 tbsp per cup). Critical error: Don’t overpack—it restricts water flow causing weak coffee. Click the basket shut until it locks; loose baskets trigger “Filter Not Set” errors. For bolder flavor, press STRONG before selecting cup count.
Activate Pause-and-Pour Mid-Brew
Press CARAFE, choose 6-12 cups, then hit BREW. At the 2-cup mark, lift the carafe for 20 seconds to pour a quick cup—the machine pauses automatically. Warning: Don’t hold it longer or brewing stops completely. Return the carafe within 20 seconds for full pot completion.
Schedule Auto-Brew for Tomorrow’s Coffee
Fill the reservoir and load coffee grounds. Press AUTO, then use H/M buttons to set your desired brew time (e.g., 6:30 AM). Press the blinking brew button twice: first to confirm time, second to set cup count. The clock icon confirms programming success—no second press means no auto-brew.
Fix Top Keurig Failures in 5 Minutes

When your brewer acts up, these targeted fixes restore function faster than calling support. Most issues stem from three preventable mistakes.
Stop “No Brew” Errors Immediately
If pressing brew does nothing:
– K-Duo models: Push the filter basket until it clicks (90% of failures)
– All models: Remove and reseat the water reservoir with firm pressure
– Mini/Slim models: Ensure mug water level meets the fill line in the well
Solve Slow Dripping Permanently
Dripping taking over 2 minutes? Descaling is urgent—mineral buildup clogs internal tubes. Run Keurig’s descaling solution or white vinegar through the system, followed by 12 rinse cycles. Prevention: Use filtered water and descale every 3 months (monthly in hard water areas).
Eliminate Weak Coffee Fast
Weak brew means insufficient extraction. Do this:
1. Press STRONG before brewing
2. Verify K-Cup isn’t expired (check bottom date)
3. For dark roasts, select 6 oz instead of 12 oz
Never use “extra water” settings—they dilute flavor instead of strengthening it.
Perform Essential Weekly Maintenance
Skipping these 10-minute tasks cuts your Keurig’s lifespan by 50%. Focus on three high-impact areas most users ignore.
Clear the Entrance Needle Daily
After your last brew, unplug the machine. Use a paper clip to poke the sharp entrance needle (inside the pod chamber)—this removes coffee grounds clogging water flow. Wipe with a damp cloth; never use liquids near electrical components. Test by running water-only cycle—smooth flow confirms success.
Deep-Clean K-Cup Holder Weekly
Remove the holder by lifting the bail arm. Soak in warm, soapy water for 5 minutes. Critical step: Scrub the mesh screen with an old toothbrush to remove coffee oils that cause bitter taste. Rinse thoroughly—soap residue ruins your next cup. Air-dry completely before reinserting.
Replace Water Filters Proactively
Change the filter cartridge every 60 brews or 2 months (sooner with hard water). Sign it’s time: Metallic taste or cloudy coffee. Soak new filters in water for 5 minutes before inserting—this activates carbon filtration. Never skip this: Unfiltered water causes scale buildup that voids warranties.
Unlock Pro Brewing Hacks for Better Coffee
Move beyond basic brewing with these advanced techniques backed by coffee science. Each tweak dramatically elevates flavor without extra cost.
Optimize Mug Temperature for Perfect Sips
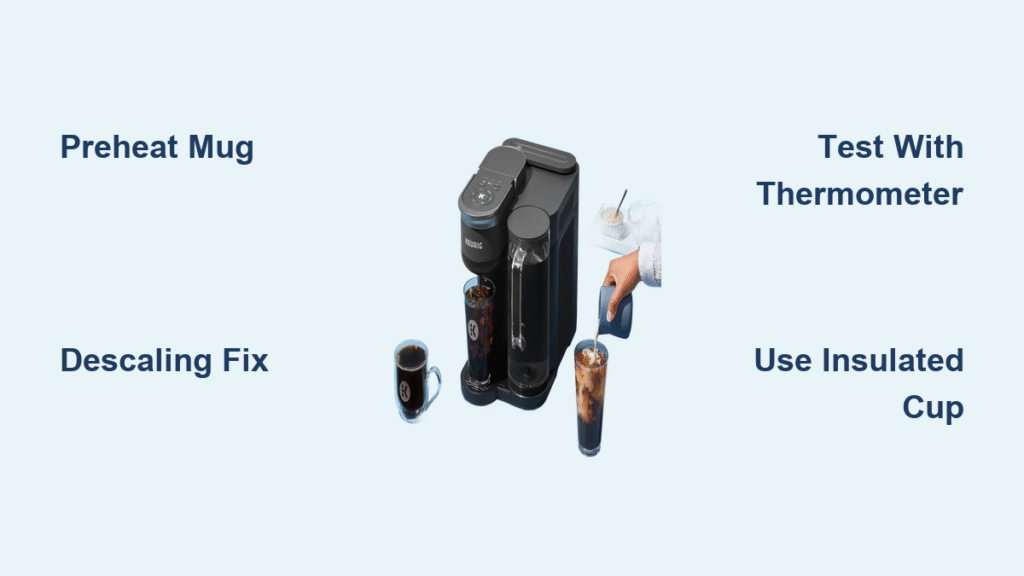
Pre-heat your mug with hot tap water for 30 seconds before brewing. Why this works: Cold mugs drop coffee temperature 30°F instantly, muting flavor notes. Thermal travel mugs? Run a water-only brew cycle first—they retain heat 5x longer than ceramic.
Customize Strength Without Bitterness
For light roasts: Use 10 oz setting + STRONG button (longer extraction pulls delicate notes). For dark roasts: Select 6 oz size (concentrated flavor). Never brew over ice directly—instead, brew hot coffee onto frozen coffee cubes to avoid watery results.
Extend K-Cup Freshness Dramatically
Store pods upright in opaque containers (not the original box). Critical: Keep away from spices—K-Cups absorb odors through their foil. Use within 8 months of roast date (printed on bottom) for peak flavor. Discard swollen pods—they’ve lost CO2 protection and taste stale.
Prevent Dangerous Burns and Damage
Most Keurig injuries happen during routine use. These non-negotiable safety steps protect you and your machine.
Avoid Steam Explosion Hazards
Never open the pod chamber during brewing—trapped steam can scald at 240°F. Wait 30 seconds after brewing stops before removing pods. For travel mugs, lower the drip tray before brewing; catching hot coffee mid-cycle causes violent splashes.
Stop Electrical Damage Before It Happens
Unplug before cleaning internal components. Never submerge the base unit—even damp cloths near vents can short-circuit heating elements. If water spills inside, unplug immediately and leave open for 48 hours to dry.
Store Properly for Longevity
For vacations: Empty the reservoir, run vinegar descale cycle, then leave open to air-dry. Never store with K-Cups inside—the humidity degrades seals. Keep in climate-controlled spaces; garage storage causes condensation that rusts components.
Mastering how to use a keurig brewer transforms chaotic mornings into smooth rituals. Start with perfect K-Cup brewing using the 60-second method, then add carafe programming for household needs. Most critical takeaway: Weekly needle cleaning prevents 80% of failures—spend 2 minutes weekly to avoid 30 minutes of troubleshooting later. Within days, you’ll brew like a pro: stronger coffee with reusable filters, perfectly timed auto-brews, and zero clogs. Your next step? Program tomorrow’s 6:00 AM brew tonight—wake up to coffee that tastes like it came from a café, not a machine.


