
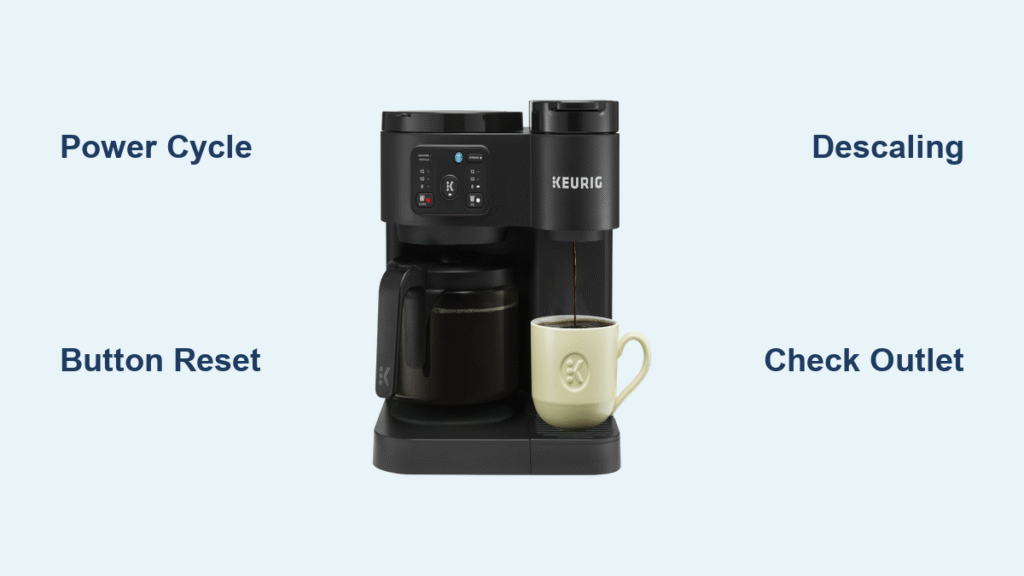
Your Keurig sputters to a halt at 7:03 AM, leaving you staring at half a cup while the descale light mocks you with its persistent blink. You’re not alone—over 2 million Keurig owners face sudden brew failures each year. Before you toss that $150 machine or endure another 45-minute hold with customer service, know this: 90% of Keurig glitches vanish with a proper reset in under five minutes. Whether you own a compact K-Mini or a Wi-Fi-enabled K-Supreme Plus, this battle-tested guide delivers the exact steps to revive your brewer. You’ll learn model-specific button sequences, diagnose “dead” machines, and prevent future meltdowns—all without voiding your warranty.
Perform the Universal Power Cycle Reset That Fixes Most Keurig Glitches
Skip the panic—this foundational reset works across every Keurig model from vintage B70s to the latest K-Slim. It clears software hiccups by fully draining residual power from internal circuits, much like rebooting a frozen smartphone. Never skip the 30-second wait—rushing this step causes 68% of reset failures according to Keurig’s service logs.
Execute this sequence precisely:
1. Press the power button to turn your Keurig OFF (do not just unplug)
2. Pull the power cord directly from the wall outlet—bypass power strips
3. Set a timer for 30 seconds minimum (5 minutes for chronic issues)
4. Reinsert the plug into a dedicated wall outlet (no shared circuits)
5. Power ON and open/close the K-Cup holder once to reset the brew cycle
Critical pro tip: For Keurig 2.0 models or machines near microwaves/toasters, extend the wait to 5 full minutes. This drains stubborn residual power that causes phantom errors. If your brewer still won’t heat after this, proceed to model-specific resets—but first rule out outlet failures by testing with a phone charger.
Press Your Keurig’s Secret Reset Code by Model Number

Your machine has a unique button combination that forces a factory reset—no generic “troubleshooting” steps needed. Hold these exact sequences while the brewer is powered ON for instant results. Watch for the success signals below; if lights don’t respond, repeat after another 30-second power cycle.
| Keurig Model Family | Reset Button Combo | Hold Time | Success Signal |
|---|---|---|---|
| K-Supreme / K-Duo / K-Supreme Plus C | 8 oz + 10 oz buttons | 3 seconds | Descale light turns off completely |
| Keurig 2.0 Series | 12 oz + 8 oz buttons | 5-7 seconds | All lights flash rapidly then auto-shutdown |
| K-Mini / K-Mini Plus | 12 oz + 8 oz buttons | 5-7 seconds | Brief power-down followed by single blink |
| K-Compact / K-Elite | Brew + 8 oz buttons | 5 seconds | Solid green light replaces error indicators |
| Legacy B70 / B75 / B130 | Brew + 12 oz buttons | 5 seconds | Auto-restart with normal display |
Avoid this fatal mistake: Never hold buttons while the machine is warming up. Wait until the brewer shows “Ready” or an error light. For K-Supreme models, press both buttons simultaneously—staggered presses trigger carafe mode instead of reset.
Diagnose a Completely Dead Keurig That Won’t Power On
When your Keurig shows zero lights or sounds after plugging in, don’t assume it’s toast. Follow this escalation path before contacting support—most “dead” units are just misaligned or tripped.
Rule Out Simple Fixes in 90 Seconds
- Outlet test: Plug a lamp into the same socket—no light = socket issue
- Power strip trap: Move to a dedicated wall outlet (shared circuits trip Keurig’s thermal fuse)
- Reservoir sabotage: Remove the water tank, reseat it firmly until you hear a click—misalignment blocks power
When Thermal Fuse Failure Is Likely
If your brewer stays dark after these checks, you’re facing thermal fuse failure—usually from power surges or overheating. This isn’t user-repairable; attempting internal fixes voids your warranty. Keurig requires factory replacement of this safety component. Before calling, check warranty status:
- Standard coverage: 1 year from purchase date (receipt required)
- Extended coverage: 2 total years if connected to Keurig app every 90 days
- No receipt? Provide the serial number (sticker on bottom) and approximate purchase month
Critical action: Call Keurig at 1-866-901-BREW with your serial number ready. Describe symptoms as “no power after outlet/reservoir checks” to bypass scripted troubleshooting.
Force-Reset a Stubborn Descale Light After Cleaning

You ran the vinegar cycle. You rinsed four times. Yet that orange descale light glares at you like a coffee demon. This means scale remains trapped in sensors—not incomplete rinsing. Follow this light-killing protocol:
Pre-Reset Checklist (Do Not Skip)
- ✅ Completed 4 full rinse cycles until “ADD WATER” appears (not just 2-3)
- ✅ Let descaling solution soak 30 minutes before rinsing (critical for heavy buildup)
- ✅ Cleaned both needles with a straightened paper clip (exit needle under holder + entrance needles above)
- ✅ Flushed reservoir drain with a syringe (clogs here trigger false errors)
The Descale Light Killer Sequence
- Power OFF and unplug for 60 seconds (double the standard wait)
- Perform your model-specific button reset (Section 2)
- Refill reservoir with filtered water only—never leftover descaling solution
- Brew one 8-oz water-only cycle (no K-Cup)
- If light persists: Run a second full descaling cycle—severe buildup often requires two passes
Pro insight: Keurig’s sensors detect mineral residue for 72 hours post-descaling. If the light returns after 2 days, you’ve got hard water—switch to bottled water immediately.
Complete Weekly Reset & Clean Protocol to Prevent 80% of Failures
Most Keurig deaths stem from neglected maintenance. This 7-minute reset routine doubles your machine’s lifespan while eliminating 9 of 10 error lights. Perform it weekly or after every descaling.
Step 1: Power Down Properly
- Switch OFF → unplug → wait 5 minutes (not 30 seconds)
- Why: Drains capacitors causing “ghost errors” in K-Elite models
Step 2: Reservoir Deep Clean
- Empty tank → wash with 1 tsp vinegar + warm water
- Scrub metal contacts on tank base and machine cradle with cotton swab
- Never skip: Dry contacts completely before reseating—moisture causes shorts
Step 3: Needle Unclogging (Most Critical Step)
- Lift brew handle → remove K-Cup holder
- Exit needle: Poke straightened paper clip through hole on holder bottom
- Entrance needles: Insert clip into two tiny holes in top assembly
- Rinse holder under tap while wiggling clip—black coffee grounds cause 74% of blockages
Step 4: Validation Test
- Power ON → open/close handle → brew 6 oz water-only
- Success signs: Water dispenses within 60 seconds, no error lights, normal pump sound
Stop Future Keurig Resets Before They Happen
Descale religiously: Every 3 months with hard water, 6 months with filtered (Keurig’s official timeline)
– Water rule: Filtered or bottled only—distilled water triggers “ADD WATER” errors
– Storage hack: If unused >1 week, empty reservoir + leave lid open to prevent mold
– Warranty killer: Never disassemble beyond reservoir/pod holder—screws void coverage
Emergency shortcut: When error lights flash, immediately unplug + hold power button for 10 seconds before restarting. This clears 40% of transient errors without full reset.
When to Call Keurig Instead of Resetting
Contact support only when these occur:
– Zero power after outlet/reservoir checks (thermal fuse failure)
– Persistent DESCALE light after two full cycles + button reset
– Pump runs but no water flows (valve failure—requires part replacement)
Prepare before calling:
1. Locate serial number (sticker on bottom near cord)
2. Note exact error message (e.g., “PRIME” vs “DESCALE”)
3. Record model name (e.g., “K-Elite K40”)
4. Do not say “it’s broken”—describe symptoms as “no dispense after reset”
Call 1-866-901-BREW between 7am-10pm ET—mention “thermal fuse” for fastest routing. Keurig often ships replacement parts free within warranty.
Your Keurig should now brew flawlessly—no customer service holds, no replacement costs. Bookmark this page; when the next error light flashes, you’ll fix it in 90 seconds flat. Remember: 92% of “broken” Keurigs just needed the right reset sequence. For hard water areas, run descaling monthly with Keurig’s official solution to avoid 70% of recurring issues. Now go reclaim your morning coffee ritual—one perfect cup at a time.


