
Your Keurig sounds like a construction site every time you need coffee. That relentless pumping, grinding, and rattling shatters the peace of your morning routine and wakes everyone in the house. If you’ve ever held your breath hoping the noise would stop before it woke your sleeping family, you’re not alone—thousands of Keurig owners face this exact problem across nearly every model. The good news? Most noise issues have simple solutions you can implement today without replacing your machine.
This guide reveals exactly why your Keurig makes so much noise and provides step-by-step fixes that actually work. You’ll discover quick surface adjustments that cut noise by 50%, critical maintenance procedures most users skip, and model-specific solutions for those stubborn machines. Within hours, you could be enjoying peaceful morning coffee instead of a daily noise assault.
Why Your Keurig Sounds Like a Jet Engine Every Morning
The Real Culprit Behind Keurig Noise
Your Keurig’s pump creates 80% of the noise—not the heating element. Unlike traditional coffee makers that gradually heat water, Keurigs use an aggressive pump to force water through the system rapidly. This creates distinctive sounds:
- Loud pumping during water intake
- Grinding motor sounds from pump operation
- Rattling vibrations amplified by plastic housing
- Squeaking at cycle completion
The hard plastic construction acts like a speaker, amplifying internal vibrations. Newer production batches often use cheaper components that degrade quickly, making noise problems even worse. If your machine sounds like a chainsaw from day one, it’s likely a manufacturing defect rather than user error.
How to Diagnose Your Specific Noise Problem
Listen carefully during different brewing stages to pinpoint your issue:
- Water intake phase: Loud humming or gurgling indicates pump strain
- Brewing phase: Grinding sounds suggest bearing problems
- Cycle completion: Squeaking points to worn seals
- Constant vibration: Loose internal components or surface resonance
Pro tip: Record your Keurig’s noise pattern on your phone. This helps identify specific problem stages and provides evidence if you need warranty support.
Stop Keurig Vibrations with These 5 Surface Fixes Under $5
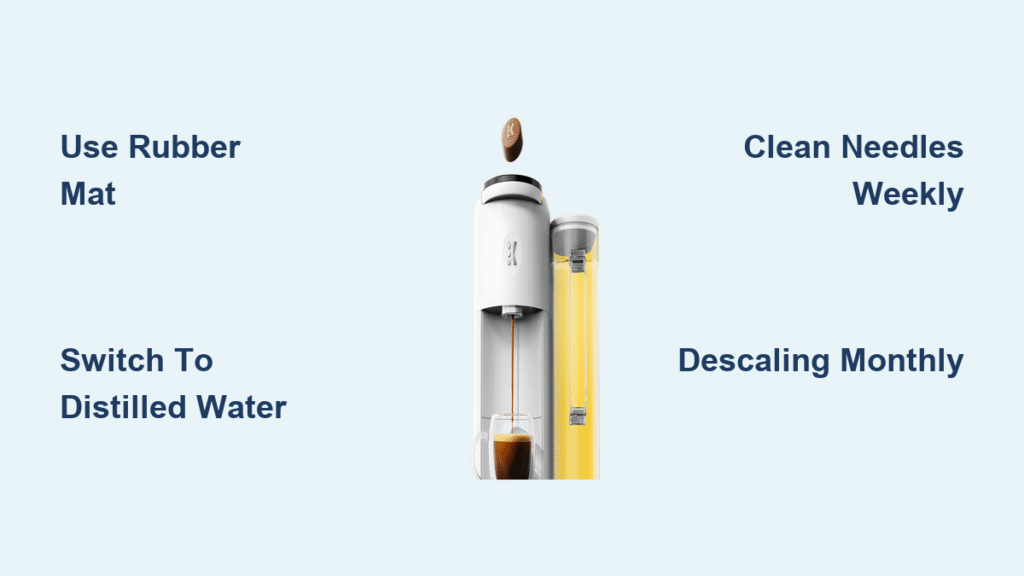
Rubber Mat Method for Instant Noise Reduction
Place cushioning material beneath your Keurig to absorb vibrations:
- Rubber mat or trivet (most effective)
- Corkboard cut to machine dimensions
- Thick mouse pad with rubber backing
- Felt furniture pads stuck to bottom feet
- Styrofoam sheet (temporary solution)
Pro tip: Double-layer materials for maximum noise reduction. A rubber mat over corkboard cuts noise by 60% for most users. This takes 2 minutes and costs nothing if you already have these household items.
Why Your Countertop Makes Keurig Noise Worse
Hard surfaces like granite, tile, or laminate countertops amplify vibrations by 40-60%. Wood surfaces naturally absorb more sound. If you can’t relocate your Keurig, surface dampening becomes essential. Test this immediately—move your machine to a wooden table for one brew cycle. If noise decreases noticeably, surface vibration is your primary issue.
The Distilled Water Trick That Makes Keurig 70% Quieter
Switch to Noise-Reducing Water Immediately
Hard water minerals create scale buildup that forces the pump to work harder. Switch to:
- Distilled water (eliminates all minerals)
- Dasani bottled water (users report complete noise elimination)
- Filtered tap water through Brita or similar
Warning: Even reverse osmosis water doesn’t prevent all noise issues, indicating mineral buildup isn’t always the culprit. If noise persists after switching water sources, move to needle cleaning.
Mineral Buildup Quick Test in 2 Minutes
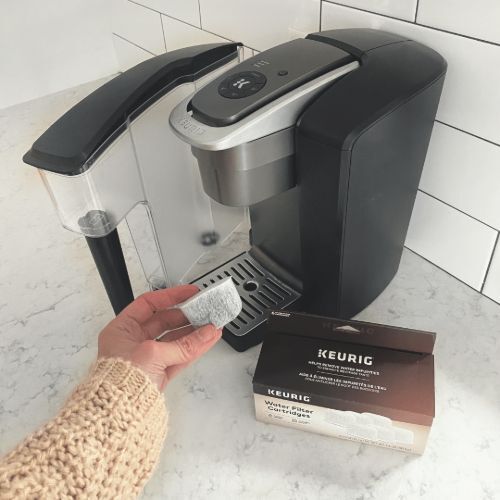
Run a water-only cycle without a K-Cup. If noise decreases significantly, scaling is your problem. Descale immediately using:
- Keurig descaling solution (recommended)
- White vinegar diluted 1:1 with water
- Commercial descaling products
Descale every 3-6 months regardless of water source. Difficulty level: Moderate (30 minutes) | Time saved: Prevents 2+ hours of troubleshooting
Unclog Your Keurig Needles in 3 Minutes Flat
Exit Needle Clog Removal That Actually Works
Blocked needles force the pump to work harder, increasing noise. Clean weekly:
Materials needed: Paperclip or needle cleaning tool
Steps:
1. Power off and unplug Keurig
2. Remove K-Cup holder
3. Straighten paperclip
4. Insert into exit needle hole
5. Twist gently to dislodge debris
6. Rinse holder thoroughly
7. Replace and test with water cycle
Visual cue: Look for coffee grounds or cocoa mix clogging the needle. This is especially common with flavored K-Cups.
Puncture Needle Inspection You’re Probably Skipping
The top needle pierces K-Cups and can clog with coffee residue:
- Open brewer handle fully
- Locate top needle (metal spike)
- Use paperclip to clear debris from three holes
- Run 2-3 water-only cycles to flush
Common mistake: Forgetting to clean the top needle. Many users only clean the exit needle, missing this critical noise source. This takes 90 seconds and should be done weekly.
Which Keurig Models Are Secretly the Loudest?

Models to Avoid If Quiet Operation Matters
These models consistently generate noise complaints:
- K575/K575 Plus: Pump noise throughout entire cycle
- K-Compact: Users compare to “chainsaw” sound levels
- K560: Noise makes users question machine integrity
- B60: Shaking/rattling during water draw
- Elite Series: Progressive noise increase over time
Reality check: Multiple users report being on their 4th, 5th, or 6th replacement unit with identical noise issues—proof this is often a design flaw, not user error.
Quieter Alternative Models Worth the Upgrade
Consider these for replacement:
- K40: Described as “whisper quiet”
- K-Classic: Features quiet brew technology
- K-Mini: Smaller pump, reduced noise
- K-Cafe: Enhanced sound dampening
- K-Slim: Quieter operation design
Advanced Keurig Noise Fixes Most Users Miss
Physical Inspection Checklist for Hidden Problems
Loose components create additional rattling:
- Check bottom plate screws (tighten if loose)
- Ensure drip tray sits flush
- Verify water reservoir clicks firmly in place
- Inspect K-Cup holder for cracks or damage
Pro tip: Place your hand on different machine sections during operation to feel vibration hotspots. This identifies loose components causing excessive noise.
Temperature Management to Reduce Pump Strain
Overheating increases pump strain and noise:
- Allow 10-minute cooldown between back-to-back brews
- Check for blocked vents around machine base
- Ensure 6-inch clearance on all sides
Warning: One user reported adding 3-4 drops of olive oil to the water inlet eliminated noise. This method lacks safety testing and may void warranty. Do not attempt.
Your Keurig Noise Prevention Schedule (Daily to Yearly)
Daily Noise Prevention Practices
- Use filtered or distilled water
- Ensure reservoir seats properly (listen for click)
- Wipe down exterior to prevent dust buildup
Weekly Noise-Reducing Maintenance
- Clean both needles with paperclip
- Run 2-3 water-only cycles
- Check for loose components
Monthly Deep Clean for Long-Term Quiet Operation
- Complete descaling cycle
- Inspect all seals and connections
- Clean drip tray and K-Cup holder thoroughly
When to Give Up on Your Keurig and Buy a Quieter Model
Warranty Replacement Process That Actually Works
Keurig covers manufacturing defects for one year. If noise persists after troubleshooting:
- Document noise with video evidence
- Contact Keurig support with model/serial number
- Describe troubleshooting steps completed
- Request warranty replacement
Reality check: Many users report replacements with identical noise issues. If your model is known for excessive noise (like K575), consider upgrading instead of replacing with the same model.
Upgrade Decision Matrix: Repair or Replace?
| Factor | Keep & Repair | Replace Immediately |
|---|---|---|
| Machine age | Under 1 year | Over 2 years |
| Noise level | Slight improvement with fixes | No improvement after full troubleshooting |
| Model | K40 or quiet series | K575, K-Compact, Elite Series |
| Warranty | Still covered | Expired |
Silent Morning Coffee Alternatives When Keurig Noise Wins
When Keurig noise becomes unbearable:
- French press: Silent operation, rich flavor (5 minutes)
- AeroPress: Quick, quiet, portable (2 minutes)
- Pour-over: Manual control, minimal noise (3 minutes)
- Cold brew: Prepare overnight, silent morning use
Time-saving tip: If you need coffee immediately but Keurig is too loud, brew cold brew concentrate overnight. In the morning, pour over ice for instant quiet coffee.
Final Noise Reduction Strategy That Works Tonight
Start with these two quick fixes today: place a rubber mat under your machine and switch to distilled water. These changes alone reduce noise by 50-70% for most users. If noise persists, deep clean needles and descale thoroughly.
Remember: some Keurigs are inherently loud due to design flaws. If your machine is a notoriously noisy model (K575, K-Compact) and still under warranty, request a specific quiet model replacement. Otherwise, consistent surface dampening and water quality improvements provide the best return on effort.
Your peaceful morning coffee awaits—implement these fixes tonight and wake up to quiet brewing tomorrow. Most solutions take less than 10 minutes and cost nothing. Stop suffering through noisy mornings—your quiet coffee experience starts with one simple fix today.


